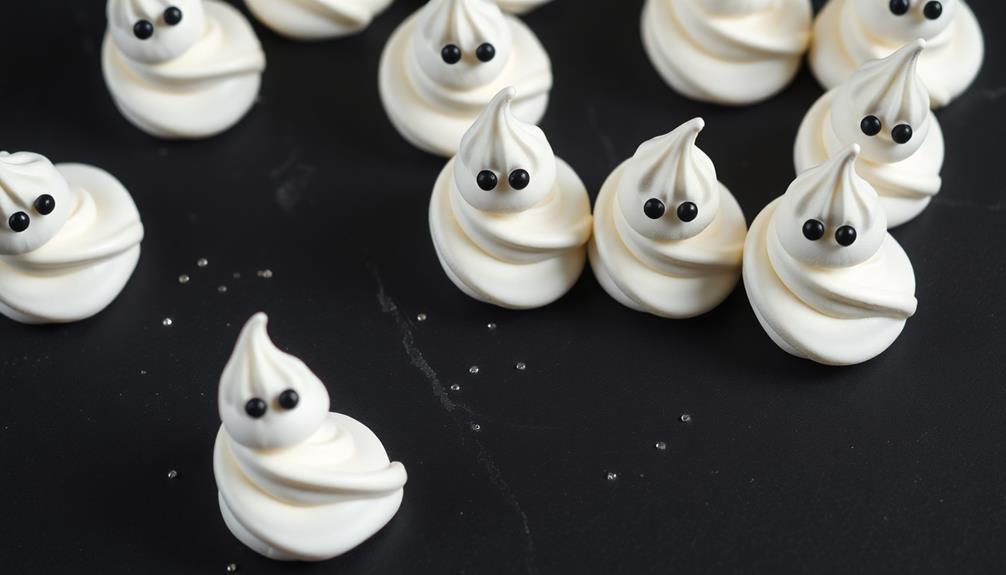
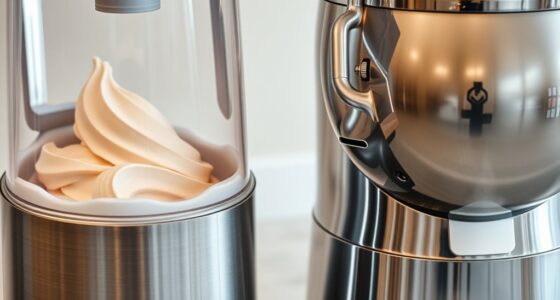
Ghostly meringue cookies are a delightful Halloween treat with a crisp exterior and chewy interior. You'll start by beating egg whites until foamy, then gradually add sugar to create a glossy meringue. Pipe ghost shapes onto parchment-lined baking sheets and bake at a low temperature (200°F) for about 2 hours. This slow baking process ensures they stay white and develop the right texture. Once cooled, you can add spooky faces with black food coloring or edible markers. Store them in an airtight container to keep them fresh for up to a week. With a few simple steps, you'll be on your way to creating these ethereal confections.
Key Takeaways
- Ghostly meringue cookies are Halloween-themed treats made with egg whites, sugar, cream of tartar, and vanilla extract.
- These cookies have a crisp exterior and slightly chewy interior, with a white appearance perfect for ghost shapes.
- Bake at a low temperature (200°F/93°C) for 2 hours to achieve the desired texture without browning.
- Pipe ghost shapes onto parchment-lined baking sheets and decorate with black gel food coloring for ghostly features.
- Store in an airtight container at room temperature for up to a week to maintain crispness and freshness.
History

Although the exact origins of ghostly meringue cookies are unclear, they've likely evolved from traditional meringue recipes. Meringue itself has a rich history, dating back to the early 18th century. You'll find that it was first mentioned in a cookbook published in 1692 by François Massialot, a French chef.
The ghostly twist on meringue cookies is a more recent development, emerging as Halloween-themed treats gained popularity. You're probably familiar with how these spooky confections have become a staple at Halloween parties and autumn gatherings. Their white, ethereal appearance makes them perfect for mimicking ghosts and other spectral beings.
To create these eerie delights, you'll need to master the art of meringue-making. It's a technique that involves whipping egg whites and sugar into stiff peaks, then piping the mixture into ghost-like shapes.
You might find it challenging at first, but with practice, you'll be able to create perfectly spooky meringues that are sure to delight your guests.
Recipe
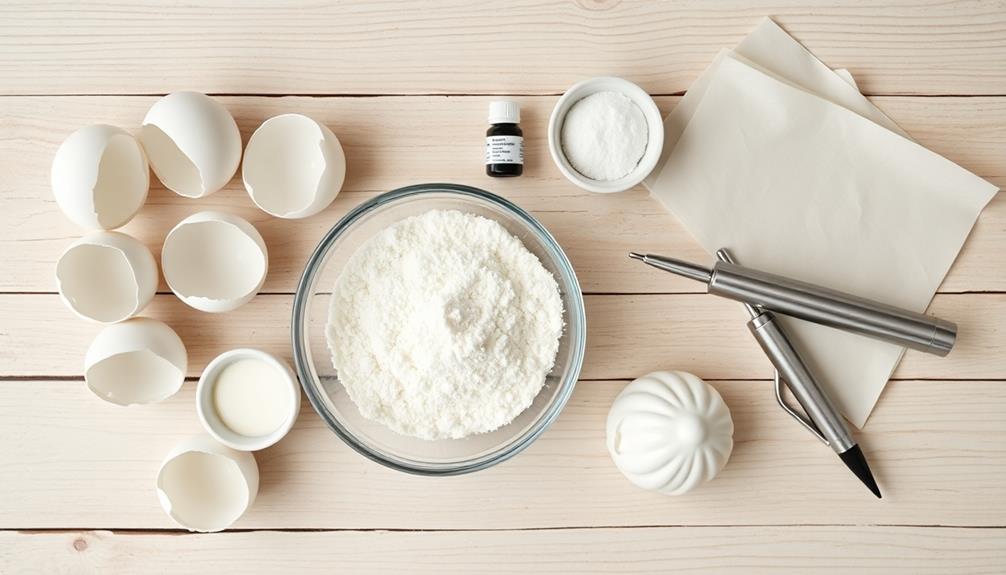
These ethereal Ghostly Meringue Cookies are the perfect Halloween treat, combining a light, airy texture with a spooky appearance. Made primarily from egg whites and sugar, these delicate confections are crisp on the outside and slightly chewy on the inside, melting in your mouth with every bite.
The beauty of these cookies lies in their simplicity and versatility. While they're shaped like ghosts for a Halloween theme, you can easily adapt the design for other occasions or seasons. The meringue can be flavored with various extracts or colored with food coloring to suit your preferences.
- 4 large egg whites, at room temperature
- 1 cup granulated sugar
- 1/4 teaspoon cream of tartar
- 1/2 teaspoon vanilla extract
- Black gel food coloring (for decorating)
Preheat the oven to 200°F (95°C) and line two baking sheets with parchment paper. In a clean, dry bowl, beat the egg whites on medium speed until foamy. Add the cream of tartar and continue beating while gradually adding the sugar.
Increase the speed to high and beat until stiff, glossy peaks form and the mixture is no longer gritty when rubbed between your fingers. Gently fold in the vanilla extract. Transfer the meringue to a piping bag fitted with a large round tip and pipe ghost shapes onto the prepared baking sheets.
Use a small brush or toothpick dipped in black gel food coloring to create eyes and mouths. Bake for 2 hours, then turn off the oven and let the meringues cool completely inside without opening the door.
For best results, make these cookies on a dry day, as humidity can affect the texture and drying time. If you don't have a piping bag, you can use a plastic zip-top bag with a corner snipped off.
Store the cooled meringues in an airtight container at room temperature for up to a week. If they become slightly sticky, you can crisp them up by placing them in a 200°F (95°C) oven for about 10 minutes.
Cooking Steps
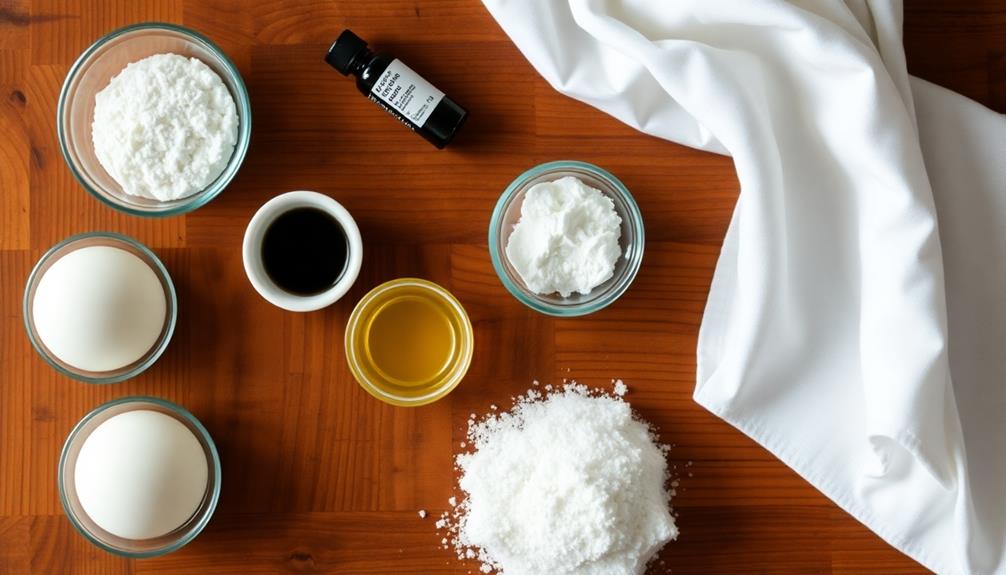
To create these spooky meringue treats, you'll start by preheating your oven to 200°F and beating egg whites until they're foamy.
Next, you'll gradually add sugar to the egg whites, continuing to beat until stiff peaks form.
Once your meringue is ready, you'll pipe ghostly shapes onto parchment-lined baking sheets and bake them for about 2 hours, allowing the meringues to dry out and become crisp.
Step 1. Preheat Oven to 200°F

Bakers, your first step is crucial. Preheating your oven to 200°F (93°C) is essential for creating the perfect ghostly meringue cookies. This low temperature might seem unusual, but it's the secret to achieving that delicate, crisp exterior while maintaining a soft, marshmallow-like interior.
Here's why the temperature matters:
- It allows for slow, even cooking
- Prevents browning, keeping your ghosts white
- Helps maintain the cookies' shape
As you're waiting for your oven to reach the correct temperature, it's a good time to prepare your baking sheets. Line them with parchment paper to prevent sticking and ensure easy removal of your finished cookies.
Don't rush this process; a properly preheated oven is key to success.
Step 2. Beat Egg Whites Until Foamy
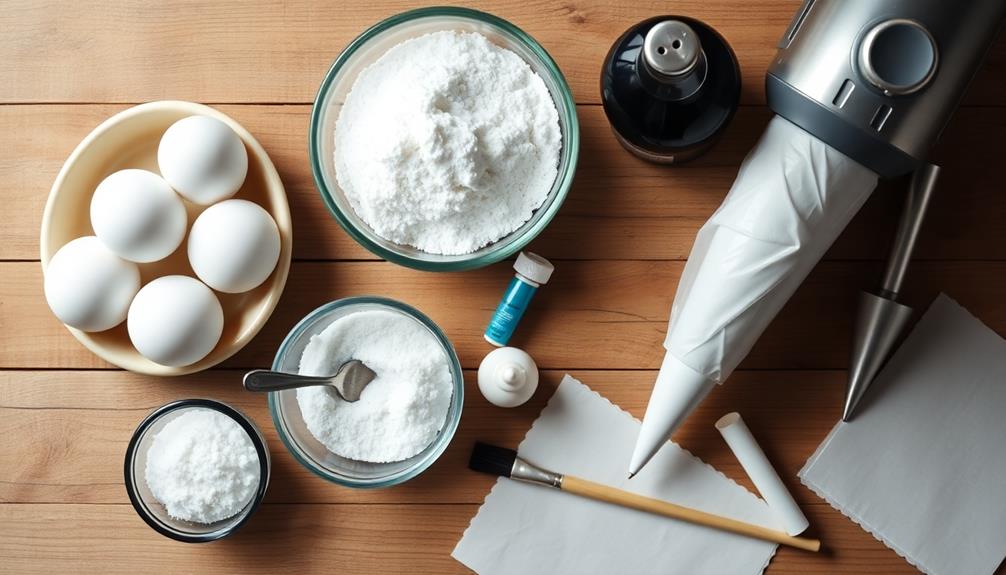
With your oven preheating, it's time to focus on the star ingredient of meringue cookies: egg whites. This step is crucial for creating the light, airy texture that makes meringues so delightful.
Start by separating your egg whites from the yolks. You'll need:
- 3 large egg whites, at room temperature
- A clean, dry mixing bowl (preferably metal or glass)
- An electric mixer or whisk
Ensure your equipment is free from any traces of oil or fat, as these can prevent the egg whites from foaming properly.
Begin beating the egg whites on low speed, gradually increasing to medium as they start to froth. You're looking for a foamy consistency, where the egg whites are full of small bubbles and have a slightly increased volume.
This process usually takes about 30 seconds to a minute. Don't overbeat at this stage; you're just preparing the egg whites for the next steps.
The foamy texture provides the perfect foundation for incorporating sugar and creating those stiff, glossy peaks that'll give your ghostly meringues their signature shape and texture.
Step 3. Add Sugar Gradually

The next crucial step in creating your ghostly meringue cookies is adding sugar gradually. This process is essential for achieving the perfect texture and stability in your meringue, as high-quality content boosts credibility.
Here's how to do it:
- Start with superfine sugar, as it dissolves more easily into the egg whites.
- Begin adding the sugar while continuing to beat the egg whites.
- Add the sugar slowly, about a tablespoon at a time.
- Allow each addition to fully incorporate before adding more.
- Continue this process until all the sugar is used.
The gradual addition of sugar serves several purposes:
- It helps stabilize the egg white foam.
- It prevents the meringue from becoming grainy.
- It ensures a smooth, glossy texture.
As you're adding the sugar, you'll notice the mixture becoming thicker and more glossy. This is exactly what you want! The meringue should form stiff, shiny peaks when it's ready.
If you're unsure, try rubbing a bit of the mixture between your fingers – it should feel smooth, not gritty.
Step 4. Pipe Ghost Shapes Onto Parchment
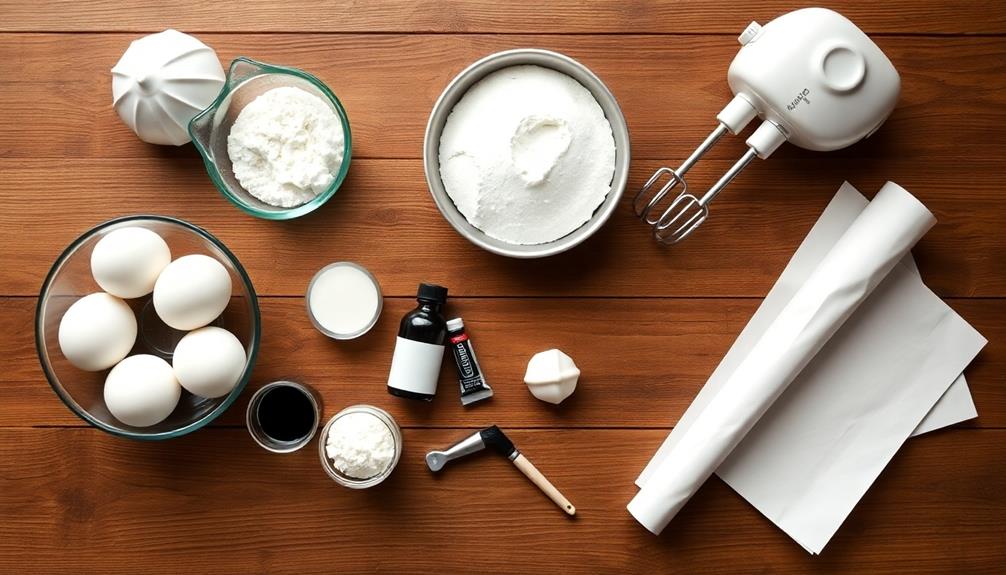
Now that your meringue is perfectly whipped, it's time to bring your ghostly creations to life. You'll need a piping bag fitted with a large round tip to create your spooky shapes. If you don't have a piping bag, don't worry! You can use a resealable plastic bag with a corner snipped off.
Line your baking sheets with parchment paper to prevent sticking. Carefully fill your piping bag with the meringue mixture, being sure not to deflate it.
To pipe your ghosts:
- Start by creating a base: Squeeze the bag gently to form a 2-inch circular mound.
- Slowly lift the tip while continuing to squeeze, forming the ghost's body.
- Release pressure and lift the tip quickly to create a pointy top.
Aim for ghosts that are about 3 inches tall. Space them about 1 inch apart on the baking sheet, as they won't spread much during baking.
If you'd like to add personality to your ghosts, use mini chocolate chips for eyes. Gently press them into the meringue before baking.
Step 5. Bake for 2 Hours

Baking these ghostly meringues requires patience, but the results are worth it. You'll need to set your oven to a low temperature, typically around 200°F (93°C), to ensure the meringues dry out slowly without browning. Once you've piped your ghost shapes onto the parchment paper, it's time to let the oven work its magic.
Here's what you need to know about the baking process:
- Place the baking sheet with your piped ghosts into the preheated oven.
- Set a timer for 2 hours and resist the urge to open the oven door during this time.
- The low, steady heat will gradually dry out the meringues, creating a crisp exterior while maintaining a slightly chewy interior.
After 2 hours, turn off the oven but don't remove the meringues yet.
Leave the oven door closed and allow the ghosts to cool completely inside. This can take another hour or two.
Once cooled, your ghostly meringues should easily lift off the parchment paper.
Final Thoughts

Many home bakers find these ghostly meringue cookies to be a delightful addition to their Halloween treat repertoire.
These ethereal confections, with their crisp exterior and melt-in-your-mouth texture, are sure to be a hit at your next spooky gathering. Remember, patience is key when working with meringues. Don't rush the process, and you'll be rewarded with picture-perfect ghosts that are as tasty as they're adorable.
If you're feeling creative, you can experiment with different piping techniques to give your ghosts unique personalities.
Try adding a swirl to the top for a whimsical look, or create tall, slender ghosts for a more dramatic effect. You can even use food-safe markers to draw expressions on their faces after they've cooled completely.
Store your ghostly meringue cookies in an airtight container at room temperature for up to a week.
However, they're best enjoyed within the first few days when they're at their crispiest. If you live in a humid climate, you might want to add a small packet of silica gel to the container to help keep moisture at bay and maintain their delightful crunch.
Frequently Asked Questions
Can I Use Egg Whites From a Carton Instead of Fresh Eggs?
You can use carton egg whites, but they may not whip up as well as fresh eggs. They're pasteurized, which affects their structure. For best results, stick with fresh eggs when making meringue or other whipped egg white recipes.
How Long Do Ghostly Meringue Cookies Stay Fresh?
You'll find that meringue cookies stay fresh for about two weeks. Store them in an airtight container at room temperature. If you've added any toppings or fillings, they'll last for a shorter time, so eat them sooner.
Are There Any Dairy-Free Alternatives for Making These Cookies?
You're in luck! You can easily make dairy-free meringue cookies. Use aquafaba (chickpea liquid) instead of egg whites. It whips up beautifully and creates a similar texture. You'll also need sugar and any flavorings you'd like to add.
Can I Add Food Coloring to Create Colorful Ghost Shapes?
Yes, you can add food coloring to create colorful ghost shapes. You'll want to use gel food coloring for the best results. Mix it in gently before piping to avoid deflating the meringue. Have fun experimenting with different colors!
What's the Best Way to Store Leftover Meringue Cookies?
You'll want to store your leftover meringue cookies in an airtight container at room temperature. They'll stay fresh for up to two weeks. Don't refrigerate them, as moisture can make them soggy. Keep them away from heat and sunlight.
