Witch's Broomstick Cheese Straws are a delightful Halloween-themed twist on classic cheese straws. You'll combine flour, sharp cheddar, butter, and seasonings to create a dough that's rolled into thin ropes and shaped like broomsticks. Bake these savory treats at 375°F for 12-15 minutes until golden brown and crispy. They're perfect for spooky gatherings, offering a tasty alternative to sweet Halloween snacks. You can customize the flavor with different cheeses or herbs, and even prepare them in advance. With a bit of practice, you'll master the art of crafting these whimsical appetizers. Discover how to elevate your Halloween spread with these crispy, cheesy delights.
Key Takeaways
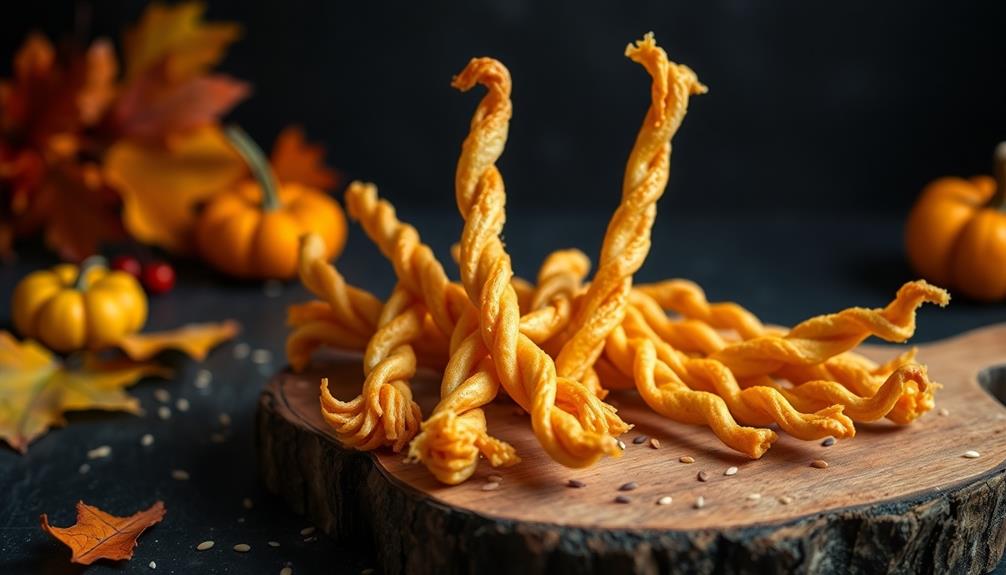
- Witch's Broomstick Cheese Straws are Halloween-themed savory appetizers shaped like witches' broomsticks.
- They combine flour, sharp cheddar cheese, butter, and seasonings, baked until crispy and golden brown.
- The recipe originated in the early 20th century as a spooky twist on traditional cheese straws.
- Preparation involves rolling dough into thin ropes, tapering one end to create the broomstick effect.
- These cheese straws offer a savory alternative to sweet Halloween treats and can be customized with various cheeses and herbs.

Sweets Indeed Sandwich Cookie Decorating Kit – Halloween DIY Set with Oreo Mold, Spooky Sprinkles, Candy Eyeballs, Monster Teeth & Piping Bags
Complete Halloween Cookie Decorating Kit – Includes everything you need: 1 Oreo mold, spooky sprinkle mix, 18 candy…
As an affiliate, we earn on qualifying purchases.
As an affiliate, we earn on qualifying purchases.
History
The origins of Witch's Broomstick Cheese Straws are shrouded in mystery, much like the magical implements they're named after. You might wonder how these delightful snacks came to be associated with witchcraft and Halloween. While there's no definitive answer, it's believed that the tradition began in the early 20th century when creative bakers sought to add a spooky twist to their cheese straws for Halloween parties.
The connection to witches' broomsticks likely stems from their elongated shape and the way they're often arranged to resemble a bundle of twigs. As Halloween celebrations grew more elaborate, these cheesy treats became a popular addition to festive spreads.
Over time, they've evolved from simple cheese sticks to more intricate designs, with bakers adding food coloring, herbs, and even edible glitter to enhance their magical appearance.
You'll find that Witch's Broomstick Cheese Straws have become a beloved Halloween staple in many households, offering a savory alternative to the abundance of sweet treats typically associated with the holiday. Their enduring popularity is a testament to their delicious taste and whimsical charm.
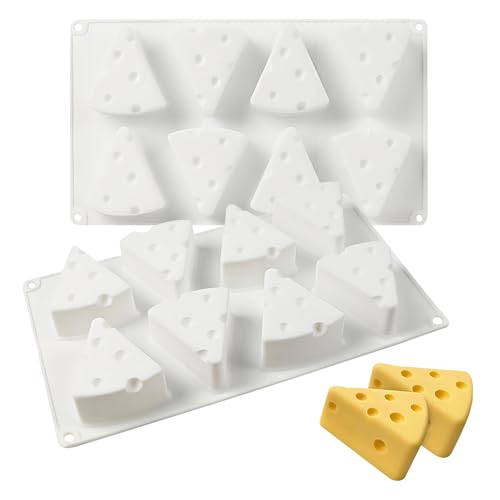
3D Cheese Silicone Baking Molds for Mousse Cake, 8-Cavity Chocolate Pan for French Dessert Pudding Ice Cream Candle
VERSATILE DESIGN: Our cheese-shaped molds can make desserts, mousse, cake,cheesecake, pastry, chocolate, ice cream
As an affiliate, we earn on qualifying purchases.
As an affiliate, we earn on qualifying purchases.
Recipe

Witch's Broomstick Cheese Straws are a delightful Halloween-themed appetizer that combines the savory flavors of cheese with a whimsical presentation. These crispy, cheesy straws are shaped to resemble witch's broomsticks, making them a perfect addition to any spooky gathering or autumn-inspired meal.
For a nutritious twist, consider pairing these cheese straws with high-protein options like Greek yogurt or cottage cheese to create a balanced snack that satisfies both cravings and dietary goals. This recipe is simple to make and can be customized with different cheese varieties and seasonings to suit your taste preferences.
The key to achieving the broomstick appearance lies in the shaping technique, which involves twisting the dough and fraying the ends to create a broom-like effect.
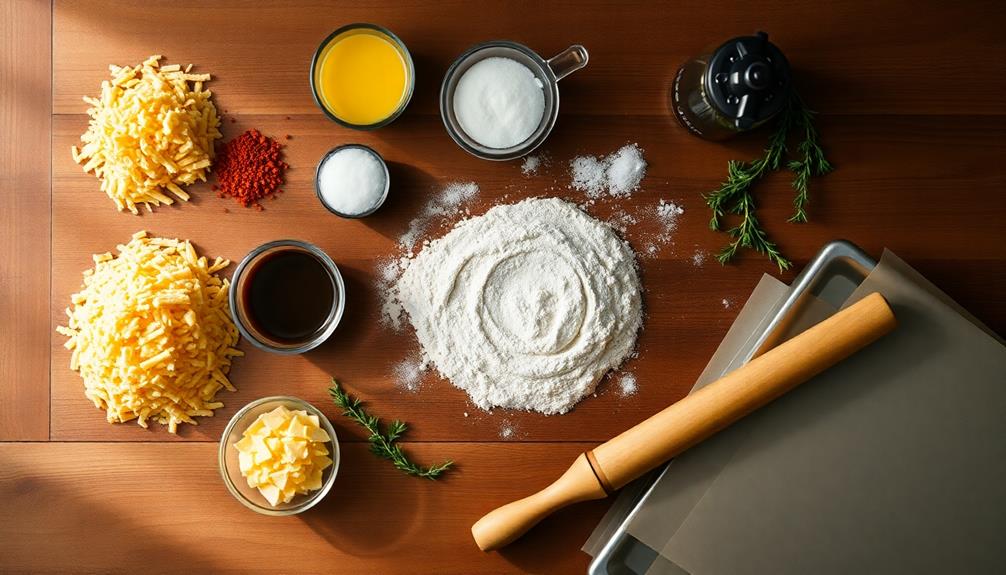
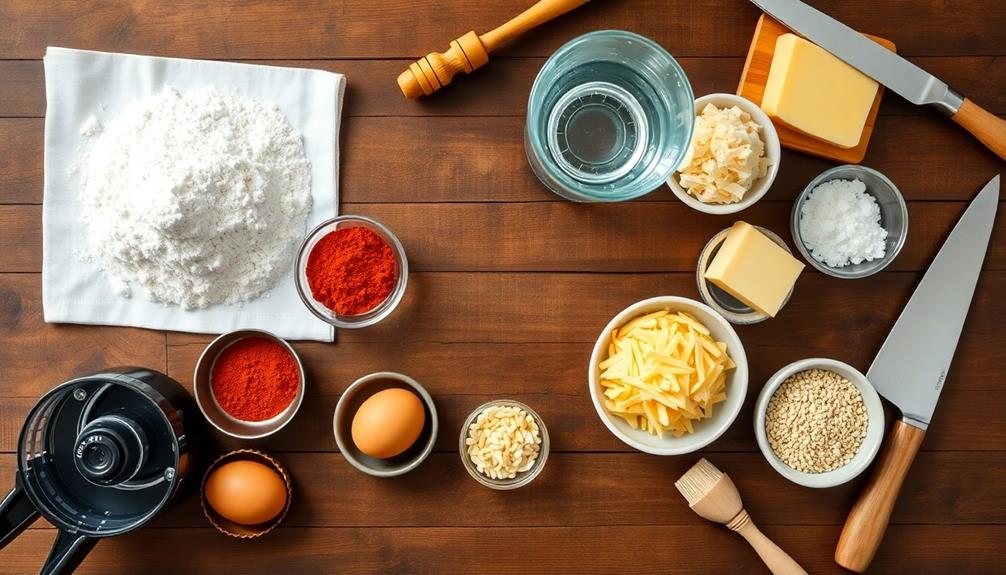
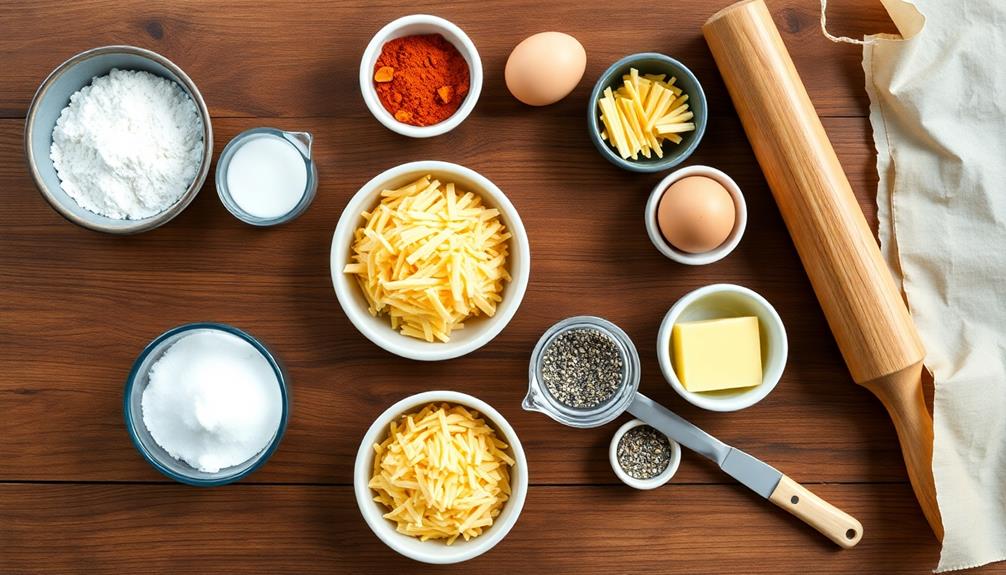
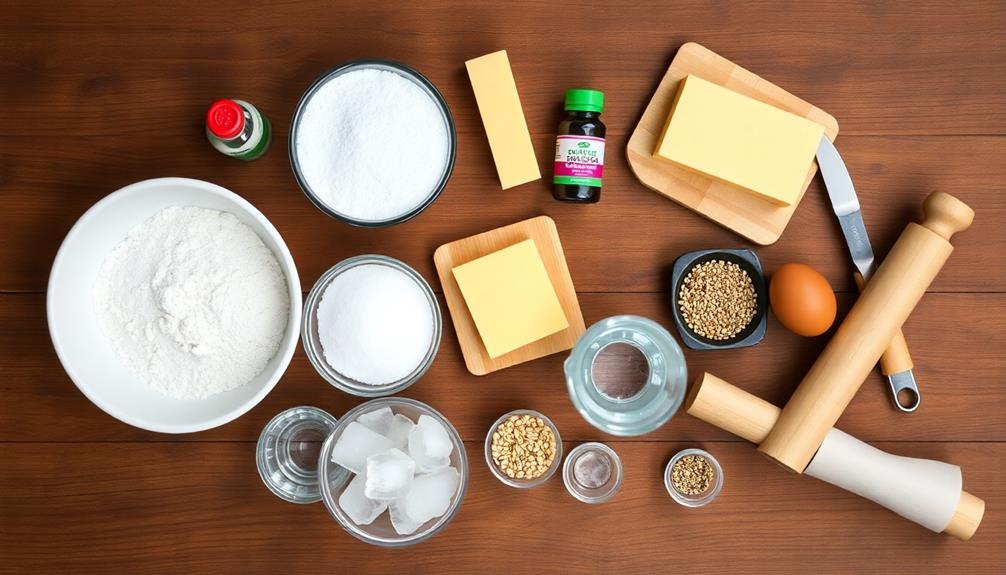
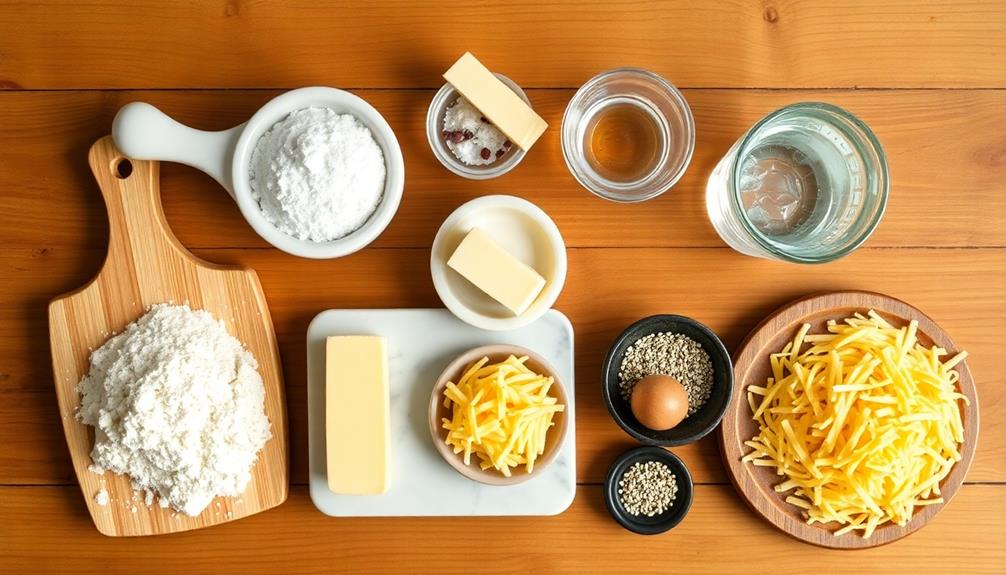
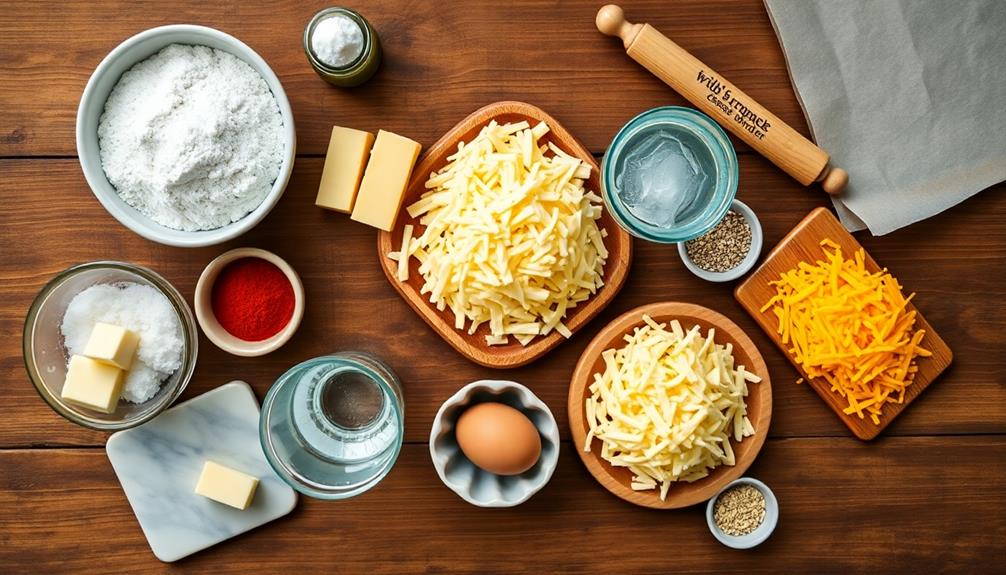
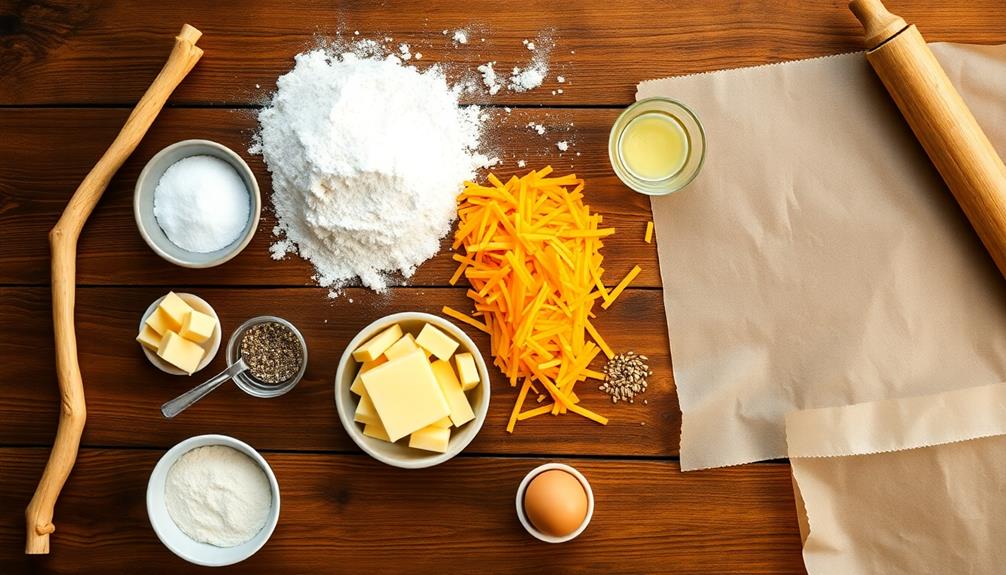
- 1 1/2 cups all-purpose flour
- 1/2 teaspoon salt
- 1/4 teaspoon paprika
- 1/4 teaspoon garlic powder
- 1/2 cup unsalted butter, cold and cubed
- 2 cups shredded sharp cheddar cheese
- 2-3 tablespoons ice water
- 1 large egg, beaten (for egg wash)
- Poppy seeds or sesame seeds (optional)
Preheat the oven to 375°F (190°C). In a food processor, combine the flour, salt, paprika, and garlic powder. Add the cold butter cubes and pulse until the mixture resembles coarse crumbs.
Add the shredded cheese and pulse briefly to incorporate. Gradually add ice water, one tablespoon at a time, until the dough comes together. Roll out the dough on a lightly floured surface to 1/4-inch thickness. Cut into thin strips, about 8 inches long.
Twist each strip and place on a baking sheet lined with parchment paper. Fray the ends of each strip to create a broom-like appearance. Brush with beaten egg and sprinkle with seeds if desired. Bake for 12-15 minutes or until golden brown.
For best results, make sure the butter and cheese are very cold before incorporating them into the dough. This will help create a flakier texture in the final product.
If the dough becomes too soft while working with it, refrigerate it for 10-15 minutes before continuing. These cheese straws can be made ahead of time and stored in an airtight container for up to 3 days, making them a convenient party snack option.

8 Inch Parchment Paper Rounds, Set of 100, Non Stick Baking Parchment Circles, Round Parchment Paper for Round Cake Pan, Springform Pan, Tortilla Press and so on
PREMIUM QUALITY: Our parchment paper circles are designed with food grade paper, non toxic, 100% safe. Heat resistance…
As an affiliate, we earn on qualifying purchases.
As an affiliate, we earn on qualifying purchases.
Cooking Steps
You'll start by preheating your oven to 400°F, ensuring it's nice and hot for your cheese straws.
Next, you'll mix the cheese and flour together, then add butter to create a dough that's perfect for rolling into sticks.
Once you've shaped your broomstick cheese straws, you'll bake them until they're golden brown and crispy.
Step 1. Preheat Oven to 400°F
Before diving into the cheese straw preparation, preheat your oven to 400°F (200°C). This step is crucial for ensuring your witch's broomstick cheese straws bake evenly and achieve that perfect golden-brown color.
While your oven's heating up, you'll have time to gather your ingredients and prepare your baking sheets.
Here's why preheating is so important:
- It ensures consistent cooking temperatures throughout the baking process
- It helps create that desirable crispy texture on the outside of your cheese straws
- It reduces overall cooking time, preventing your straws from drying out
Step 2. Mix Cheese and Flour
Now that your oven's preheating, let's dive into the heart of our witch's broomstick cheese straws.
You'll need to mix the cheese and flour, which forms the base of these deliciously crispy treats. Here's what you'll do:
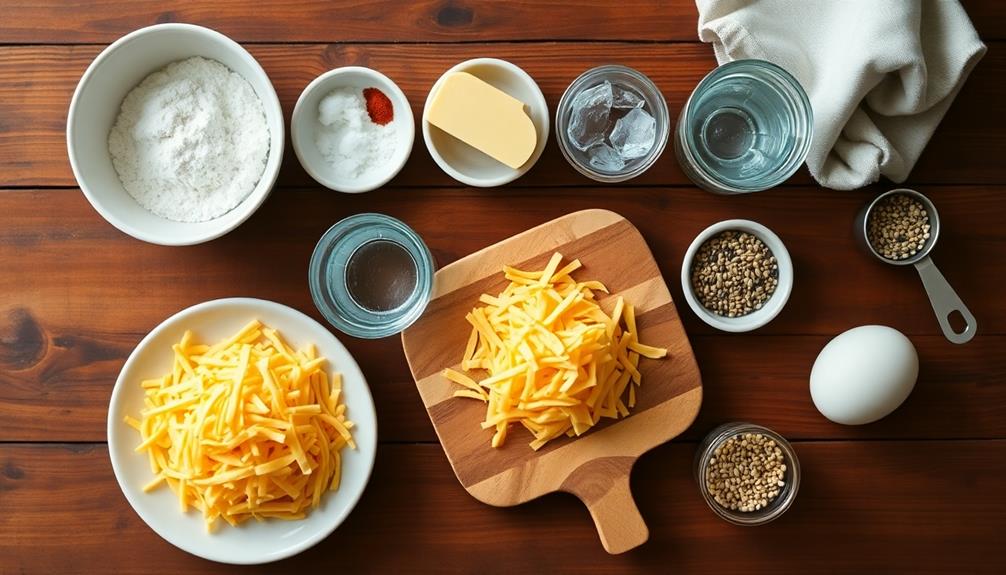
- In a large bowl, combine:
- 2 cups of all-purpose flour
- 2 cups of finely grated sharp cheddar cheese
- Use your fingers to mix the ingredients thoroughly. This step is crucial as it ensures even distribution of the cheese throughout the dough.
- Add a pinch of salt and a dash of cayenne pepper for extra flavor. These spices will give your cheese straws that magical kick.
- Cut in 1/2 cup of cold butter using a pastry cutter or two knives. The mixture should resemble coarse crumbs.
- Gradually add 1/4 cup of ice water, mixing until the dough comes together.
Step 3. Add Butter to Mixture
The next step in creating our witch's broomstick cheese straws involves adding butter to the mixture. You'll want to use cold, unsalted butter for the best results. Here's how to proceed:
- Cut the cold butter into small cubes, about 1/4 inch in size.
- Gradually add the butter cubes to your cheese and flour mixture.
- Use a pastry cutter or two forks to incorporate the butter into the dry ingredients.
- Work quickly to prevent the butter from melting.
- Continue until the mixture resembles coarse crumbs.
This process, known as "cutting in" the butter, is crucial for achieving the right texture in your cheese straws. The cold butter creates pockets of fat within the dough, which will melt during baking and result in a flaky, crisp texture.
As you work the butter into the mixture, you'll notice it becoming slightly more cohesive.
Don't worry if it's not completely uniform – those small bits of butter are what'll give your witch's broomstick cheese straws their signature crunch and flavor.
Step 4. Roll Dough Into Sticks
Anticipation builds as you prepare to transform your dough into witch's broomstick shapes. With your well-chilled dough ready, it's time to roll it out and create those spellbinding cheese straws. Here's how to proceed:
- Lightly dust your work surface with flour to prevent sticking.
- Take a portion of the dough and roll it into a long, thin rope, about 1/4 inch in diameter.
- For the broomstick effect, taper one end slightly thinner than the other.
- Cut the rope into 6-inch lengths, or adjust based on your preference.
- Place the sticks on a parchment-lined baking sheet, leaving space between each.
As you roll, you'll notice the dough becoming more pliable. Don't worry if it warms up slightly; this is normal.
If it becomes too soft to work with, simply return it to the refrigerator for a few minutes.
Remember, the key to achieving that perfect crispy texture is maintaining a consistent thickness throughout each stick.
You're not just making cheese straws; you're crafting edible magic wands that'll cast a delicious spell on everyone who tries them!
Step 5. Bake Until Golden Brown
Excitement fills the air as you're ready to transform your carefully shaped broomstick cheese straws into golden, crispy delights. Preheat your oven to 375°F (190°C) and line a baking sheet with parchment paper for easy cleanup.
Gently transfer your cheese straws onto the prepared sheet, leaving about an inch of space between each one to allow for expansion.
Before baking, you can brush the straws with a beaten egg for a glossy finish, or sprinkle them with additional grated cheese for extra flavor and crunch.
Place the baking sheet on the middle rack of your preheated oven and set a timer for 12-15 minutes.
Keep a close eye on your cheese straws as they bake, as oven temperatures can vary. You're looking for a uniform golden-brown color across the surface. The cheese should be melted and slightly bubbly, creating those irresistible crispy edges.
Once they've reached the perfect hue, carefully remove the baking sheet from the oven using oven mitts. Let the straws cool on the sheet for a few minutes before transferring them to a wire rack to cool completely.
Straw Covers Cap Cartoon Silicone Fruit-shaped Straw Topper Straw Cover Straw Plugs Cup Accessories,Splash Proof,Dustproof(cheese)
High quality material: Made of high-quality silicone material, ensuring durability and reliability, able to be used for a…
As an affiliate, we earn on qualifying purchases.
As an affiliate, we earn on qualifying purchases.
Final Thoughts
Throughout the process of making these Witch's Broomstick Cheese Straws, you've likely discovered a fun and tasty Halloween treat.
These savory snacks aren't only delicious but also visually appealing, making them perfect for your spooky gatherings. As you've seen, the recipe is versatile, allowing you to experiment with different cheese combinations or even add herbs for extra flavor.
Remember, practice makes perfect. If your first batch isn't as neat as you'd like, don't worry. With each attempt, you'll improve your technique and create more uniform "broomsticks."
These cheese straws can be made in advance, which is great for party planning. Store them in an airtight container at room temperature for up to three days, or freeze them for longer storage.
Don't limit yourself to Halloween! With a few tweaks, you can adapt this recipe for other occasions.
Try shaping them into candy canes for Christmas or hearts for Valentine's Day. The possibilities are endless, and your creativity is the only limit.
Enjoy sharing these tasty treats with friends and family, and happy baking!
Frequently Asked Questions
Can Witch's Broomstick Cheese Straws Be Made Gluten-Free?
You can make gluten-free cheese straws! Simply substitute regular flour with gluten-free alternatives like almond or rice flour. You'll need to adjust the recipe slightly, but you'll still enjoy crispy, cheesy treats without the gluten.
How Long Do These Cheese Straws Stay Fresh?
You'll find these cheese straws stay fresh for about 3-5 days when stored in an airtight container at room temperature. If you've made a big batch, you can freeze them for up to 3 months.
Are There Any Vegetarian Alternatives for the Recipe?
You can easily make vegetarian cheese straws by using plant-based cheese alternatives. Try vegan cheddar or nutritional yeast for a cheesy flavor. You'll also need to swap butter for a vegetable-based margarine or oil to keep them fully vegetarian.
Can the Cheese Straws Be Frozen for Later Use?
You can freeze cheese straws for later use. They'll keep well for up to three months. Just wrap them tightly in plastic wrap or aluminum foil before freezing. When you're ready to eat, thaw them at room temperature.
What Drinks Pair Well With Witch's Broomstick Cheese Straws?
You'll find these cheese straws pair wonderfully with various drinks. Try a crisp white wine like Sauvignon Blanc, a light beer, or even a dry martini. For non-alcoholic options, consider sparkling water or a fruity iced tea.