Haunted Graveyard Brownies are a spooky twist on classic chocolate treats, perfect for Halloween parties. You'll start with a rich, fudgy brownie base made from scratch, ensuring a decadent chocolate flavor. Once cooled, you'll transform the surface into a miniature graveyard scene using chocolate frosting, crushed cookie "dirt," and an array of candies. Create tombstones with whole cookies, scatter gummy worms and candy pumpkins, and add a ghostly drizzle with green-tinted white chocolate. This fun project combines baking with creative decoration, allowing you to personalize your eerie scene. The result is not only delicious but also a captivating centerpiece for your Halloween festivities. Discover how to make your graveyard truly come alive with some extra tips and tricks.
Key Takeaways
- Haunted Graveyard Brownies feature a rich, fudgy brownie base decorated to resemble a spooky graveyard scene.
- The brownies are topped with chocolate frosting, cookie crumbs for "dirt," and candy decorations like tombstones and gummy worms.
- These themed desserts combine homemade baking with creative Halloween-inspired decorations, perfect for parties and gatherings.
- Key ingredients include cocoa powder, chocolate chips, and assorted candies for customizable graveyard designs.
- The preparation involves baking brownies from scratch, then decorating with various toppings to create a visually appealing haunted graveyard effect.
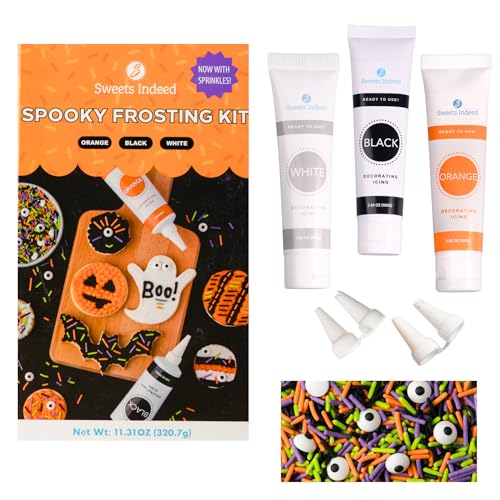
Halloween Frosting Kit with Sprinkles & Eyeballs – 11.31 oz Decorating Set with 3 Frosting Tubes (Orange, Black, White), 4 Nozzles & 2 oz Sprinkle Mix – Cookie & Cupcake Kit for Kids & Families
11.31 oz Complete Decorating Kit – Everything you need in one box: 3 squeeze frosting tubes (3 oz…
As an affiliate, we earn on qualifying purchases.
As an affiliate, we earn on qualifying purchases.
History
Throughout history, bakers have crafted spooky treats for Halloween celebrations. The tradition of creating themed desserts for this haunting holiday can be traced back to ancient Celtic festivals, where people would leave offerings of food to appease wandering spirits.
As Halloween evolved over the centuries, so did the treats associated with it. In the early 20th century, you'd find homemade candies and baked goods taking center stage at Halloween parties. It wasn't until the 1950s that the concept of "trick-or-treating" became popular, shifting the focus to store-bought candies.
However, the allure of homemade Halloween treats never truly faded. In recent years, there's been a resurgence of interest in creating unique, themed desserts for Halloween gatherings. Haunted Graveyard Brownies are a perfect example of this trend, combining the classic appeal of chocolate brownies with spooky decorations to create a visually striking and delicious treat.
These brownies have become increasingly popular at Halloween parties, bake sales, and family gatherings. They're not only tasty but also serve as a fun, interactive dessert that allows you to get creative with your decorating skills.

Sour Halloween Gummy Worms, 1 Pound Bulk Bag, Halloween Gummy Candy, Halloween Sour Candy, Gummies
Halloween Gummy Worms – Spooky and Delicious! These halloween gummy worms are a fun and festive treat for…
As an affiliate, we earn on qualifying purchases.
As an affiliate, we earn on qualifying purchases.
Recipe
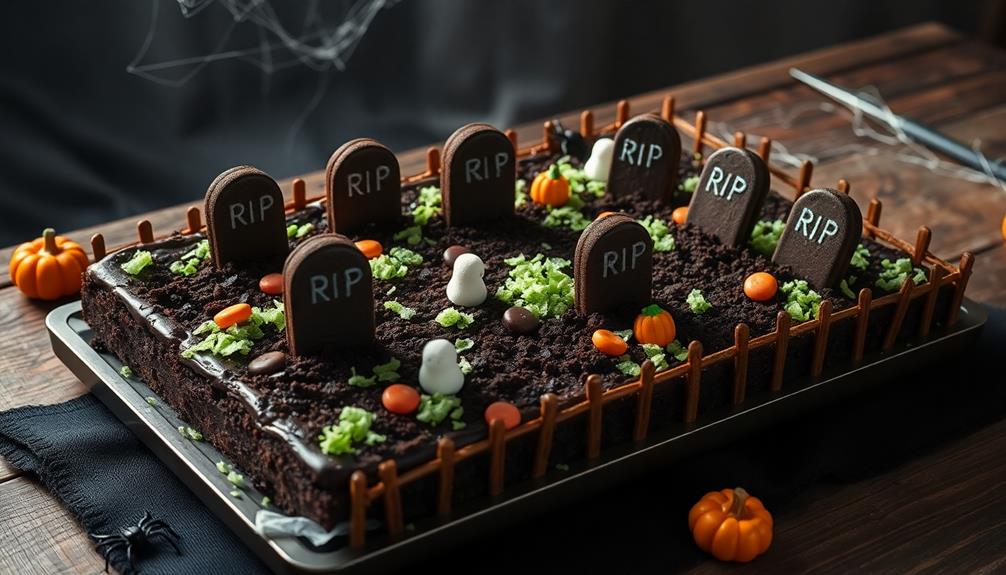
These Haunted Graveyard Brownies are the perfect spooky treat for Halloween parties or autumn gatherings. With a rich, fudgy brownie base and a creatively decorated surface resembling a haunted graveyard, these desserts are sure to impress both kids and adults alike.
The brownies themselves are made from scratch, resulting in a decadent chocolate flavor and moist texture. The graveyard decorations are created using a combination of chocolate frosting, cookie crumbs, and various candies to form tombstones, ghosts, and other eerie elements. Let your imagination run wild as you bring this haunted graveyard scene to life on top of your brownies.
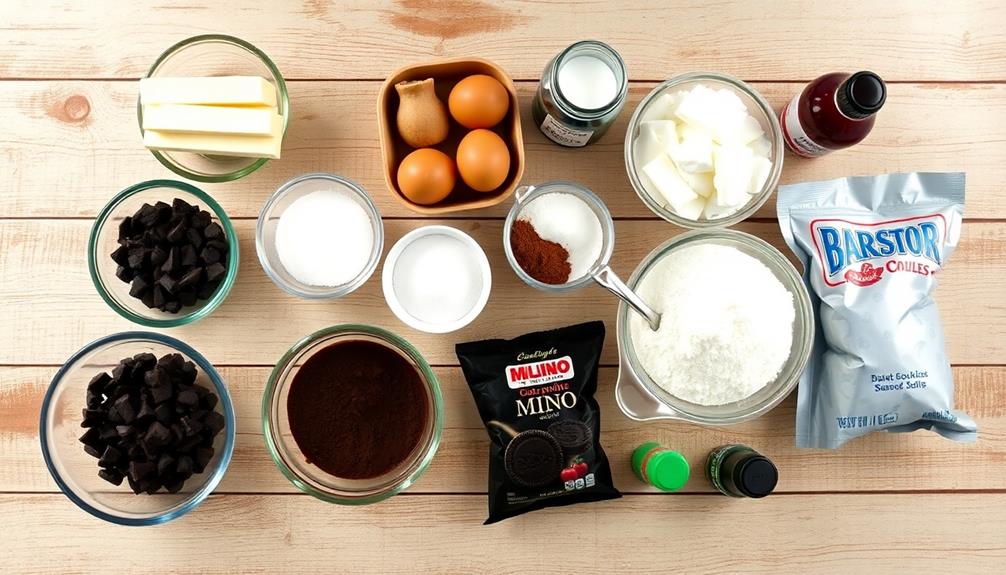
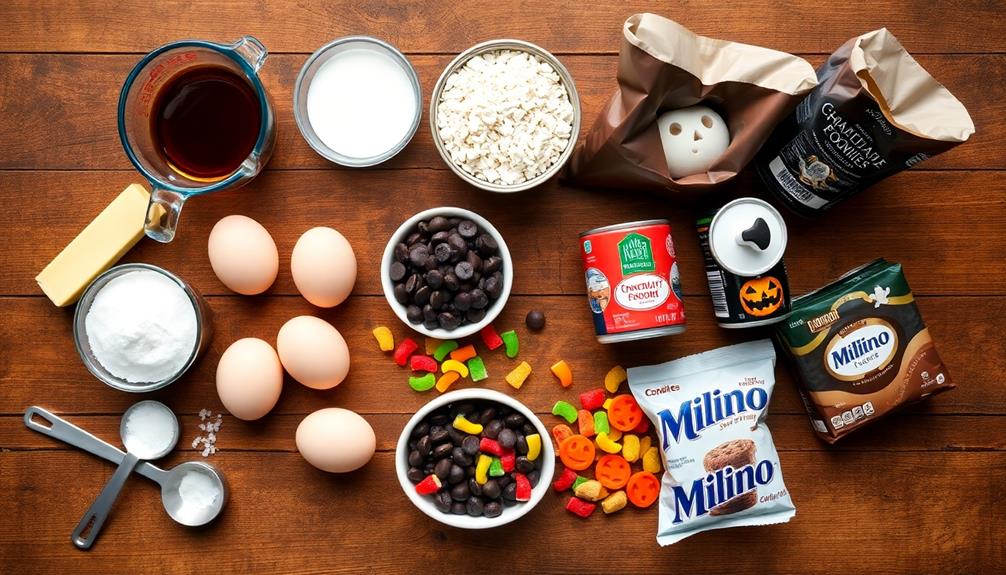
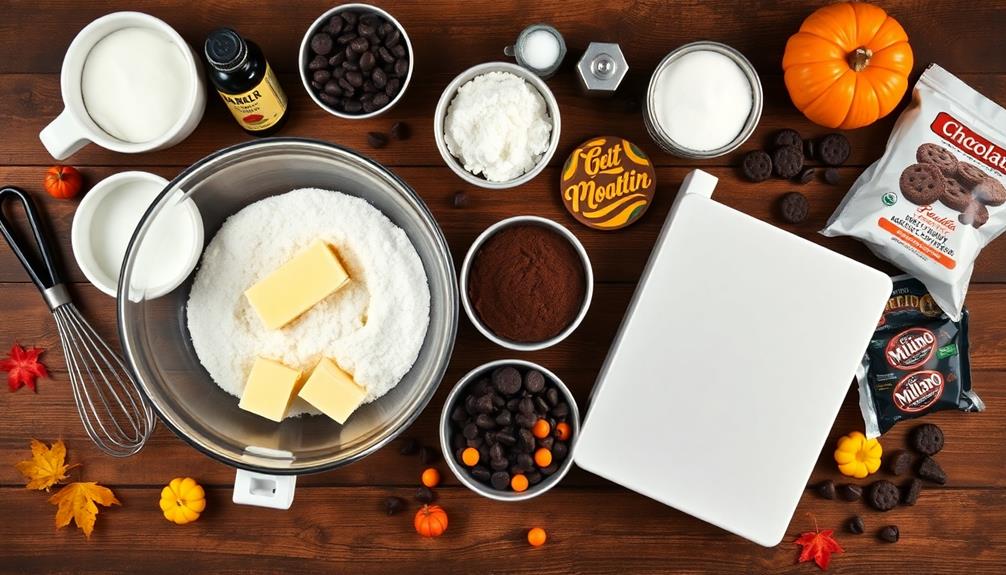
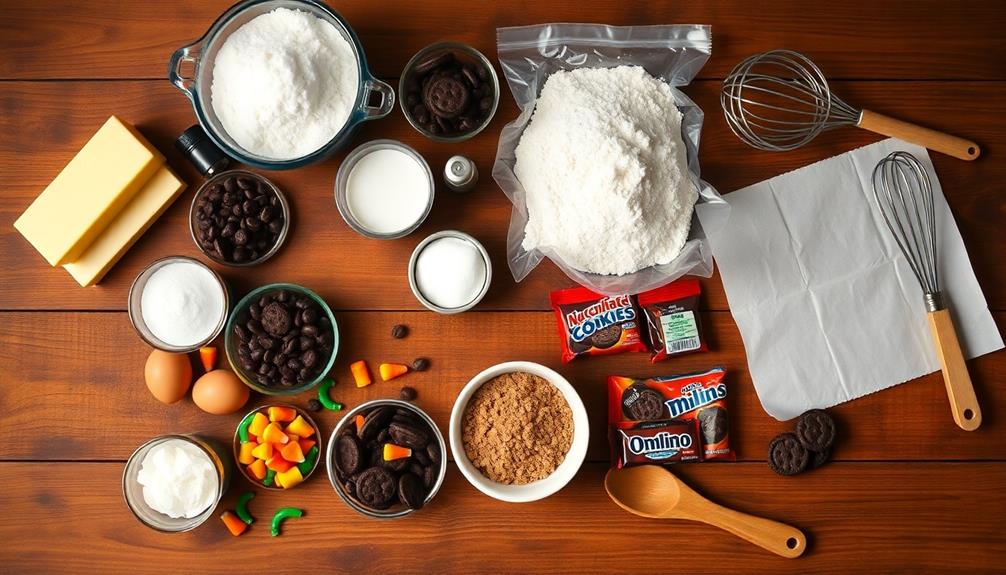
- 1 cup unsalted butter
- 2 cups granulated sugar
- 4 large eggs
- 2 teaspoons vanilla extract
- 1 cup unsweetened cocoa powder
- 1 cup all-purpose flour
- 1/2 teaspoon salt
- 1 cup chocolate chips
- 1 can chocolate frosting
- 1 package chocolate sandwich cookies, crushed
- Assorted candies for decorating (gummy worms, candy pumpkins, etc.)
- Milano cookies or rectangular shortbread cookies for tombstones
Preheat the oven to 350°F (175°C) and line a 9×13-inch baking pan with parchment paper. In a large microwave-safe bowl, melt the butter. Whisk in sugar, eggs, and vanilla. Add cocoa powder, flour, and salt, mixing until just combined. Fold in chocolate chips.
Pour the batter into the prepared pan and bake for 25-30 minutes. Allow to cool completely. Once cooled, spread chocolate frosting over the brownies and sprinkle with crushed cookies to create "dirt." Decorate with candy tombstones, gummy worms, and other spooky elements to create your haunted graveyard scene.
For best results, chill the brownies in the refrigerator for at least an hour before serving to allow the decorations to set. If you're short on time, you can use a boxed brownie mix as a base instead of making them from scratch.
Get creative with your decorations – use white chocolate to pipe ghosts, green-tinted coconut for grass, or pretzel sticks for fence posts. These brownies can be made up to two days in advance and stored in an airtight container in the refrigerator.

Arched Cookie Cutter Set ANCKNE 4 piece geometric cookie cutter molds – Stainless steel from 2 to 5 inches, Cake Cutters for Kitchen Baking
【Durable Material】The arch cookie cutter is made of high quality food-grade stainless steel, anti-corrosion and anti-rust, sturdy and…
As an affiliate, we earn on qualifying purchases.
As an affiliate, we earn on qualifying purchases.
Cooking Steps
You'll begin your haunted graveyard brownie adventure by preheating your oven to 350°F and mixing the dry ingredients together in a large bowl.
Next, you'll melt the chocolate and butter in a separate bowl, then combine this mixture with the eggs and vanilla before folding it into the dry ingredients.
Step 1. Preheat Oven to 350°F
Before diving into the spooky baking process, set your oven to preheat at 350°F (175°C). This crucial step ensures your haunted graveyard brownies will bake evenly and achieve the perfect texture.
While your oven's heating up, it's the ideal time to gather your ingredients and prepare your baking pan.
Preheating serves several important purposes:
- It creates a consistent baking environment
- It helps your brownies rise properly
- It ensures even cooking throughout
Most modern ovens take about 15-20 minutes to reach 350°F, but older models might need up to 30 minutes. Use this time efficiently by measuring out your dry ingredients, melting chocolate, or lining your baking pan with parchment paper.
If you're using a convection oven, you'll want to reduce the temperature by 25°F to 325°F (165°C). Convection ovens circulate hot air more efficiently, cooking food faster and at lower temperatures.
Step 2. Mix Dry Ingredients Together
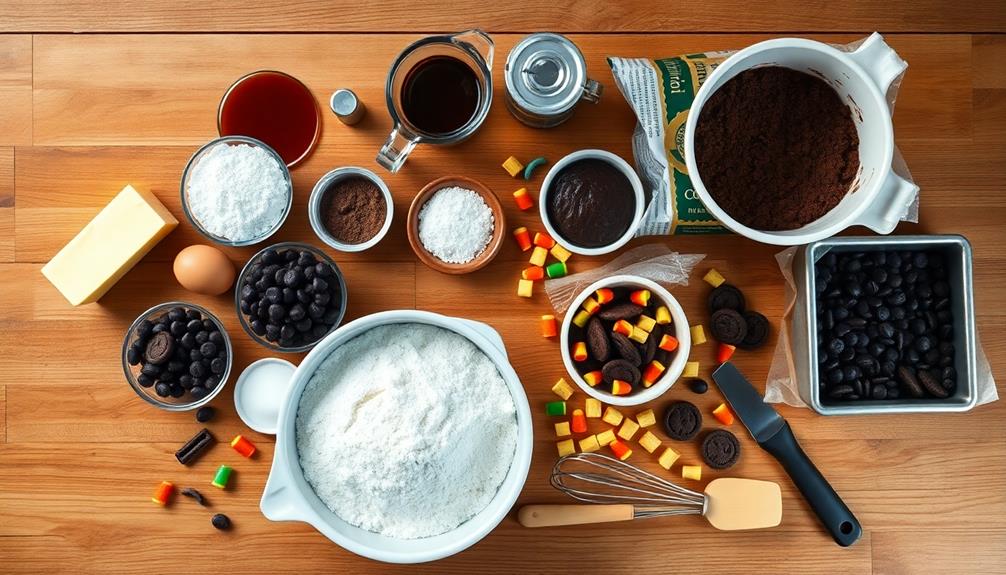
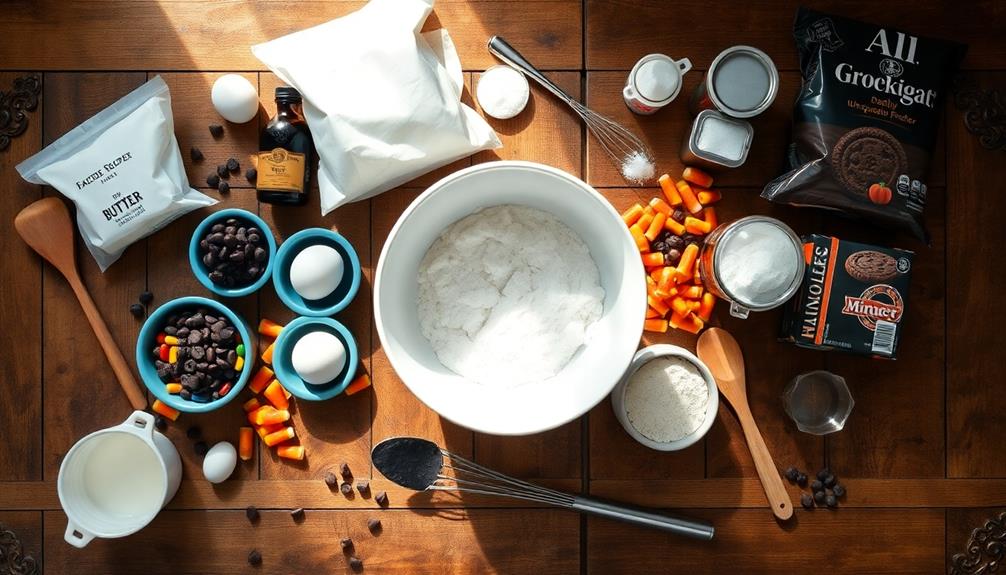
In a large mixing bowl, combine the dry ingredients for your haunted graveyard brownies. You'll need:
- 1 cup all-purpose flour
- 3/4 cup unsweetened cocoa powder
- 1/2 teaspoon salt
- 1/4 teaspoon baking powder
Sift these ingredients together to ensure there aren't any lumps. This step is crucial for achieving a smooth, velvety texture in your brownies.
The cocoa powder adds a rich, chocolatey flavor that's perfect for the spooky theme.
Next, you'll want to add some special touches to enhance the "haunted" aspect:
- 1/2 cup crushed chocolate sandwich cookies (for a graveyard dirt effect)
- 1/4 cup finely chopped dark chocolate (to resemble small stones)
Gently fold these into your dry mixture.
The cookies will create a crumbly texture, while the dark chocolate pieces will melt slightly during baking, adding pockets of intense flavor.
Step 3. Melt Chocolate and Butter
The next crucial step in creating your haunted graveyard brownies is melting the chocolate and butter. This process is essential for achieving that rich, fudgy texture that makes brownies irresistible.
You'll need to use a double boiler method to ensure the chocolate doesn't burn or seize up.
Here's how to do it:
- Fill a medium-sized pot with about an inch of water
- Place a heat-safe bowl on top, making sure it doesn't touch the water
- Break your chocolate into small pieces and add it to the bowl
- Cut your butter into cubes and add it to the chocolate
- Turn the heat to medium-low and stir occasionally
As the chocolate and butter melt, you'll notice they start to combine smoothly.
Don't rush this process; slow and steady wins the race. The mixture should be glossy and completely smooth when it's ready.
Be careful not to let any water splash into the bowl, as this can cause the chocolate to seize.
Once everything's melted, remove the bowl from the heat and let it cool slightly before incorporating it into your dry ingredients.
Step 4. Add Eggs and Vanilla
Whisks at the ready! It's time to add the eggs and vanilla to your spooky brownie batter. This step is crucial for achieving that perfect fudgy texture and enhancing the overall flavor of your Haunted Graveyard Brownies.
First, crack three large eggs into a small bowl. This allows you to check for any shell fragments before adding them to your mixture.
Now, gently pour the eggs into the chocolate and butter mixture. Don't worry if the melted chocolate is still warm; the eggs will help cool it down. Add a teaspoon of vanilla extract for that classic brownie aroma.
Here's where your whisking skills come into play:
- Start whisking slowly to avoid splashing
- Gradually increase speed as the ingredients combine
- Continue until the mixture is smooth and glossy
The eggs serve multiple purposes in your brownies:
- They act as a binding agent, holding everything together
- They contribute to the rise and structure of the brownies
- They add moisture, ensuring your treats aren't dry
Step 5. Add Spooky Candy Toppings

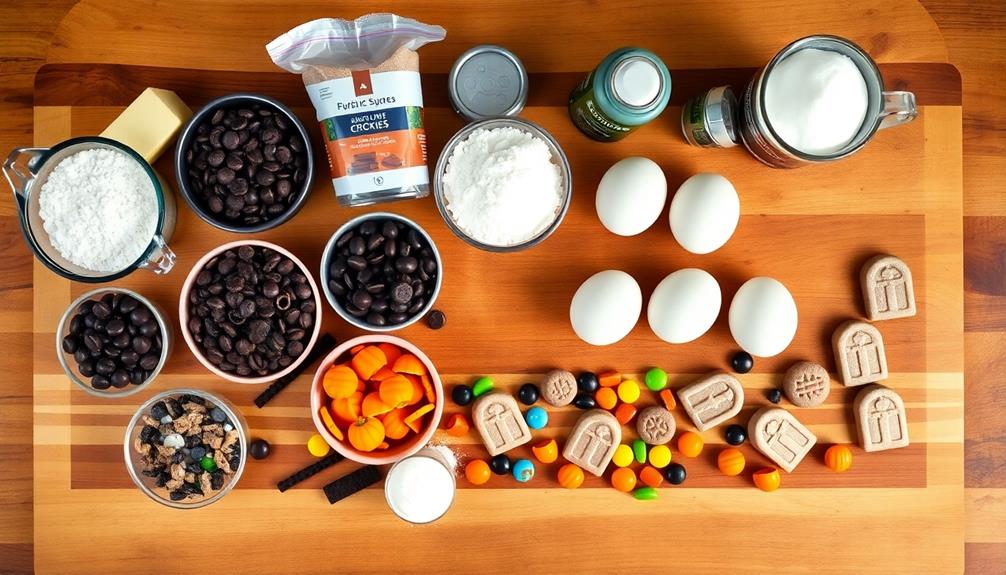
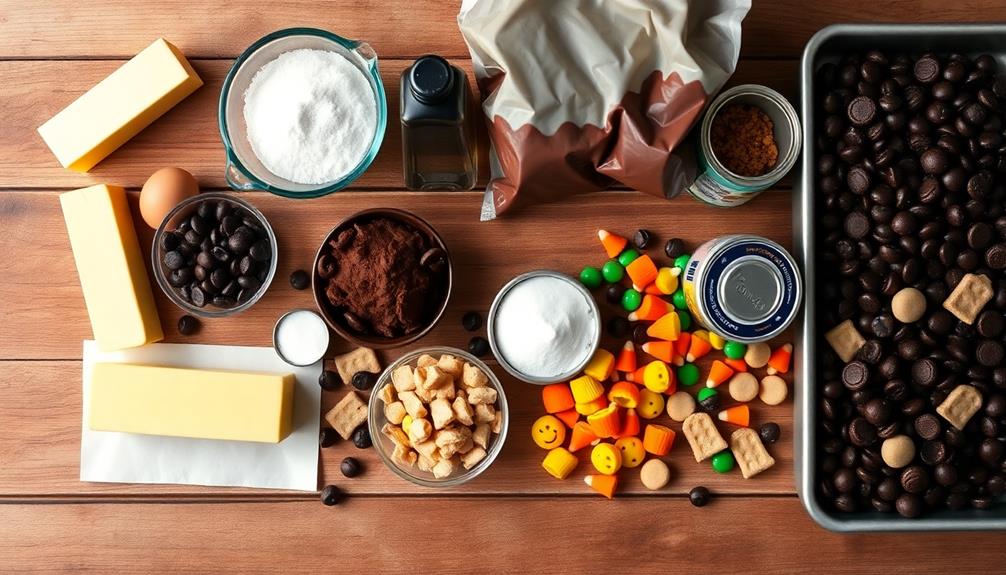
Candy time! Now that your brownie base is ready, it's time to transform it into a spooky graveyard scene. You'll need an assortment of Halloween-themed candies and decorations to bring your haunted brownies to life. Here's what you'll need:
- Chocolate sandwich cookies
- Candy pumpkins
- Gummy worms
- White chocolate chips
- Green food coloring
Start by crushing a few chocolate sandwich cookies into fine crumbs. Sprinkle these over the brownies to create a "dirt" effect.
For an extra touch of creativity, consider using essential oils, such as eucalyptus oil for its invigorating aroma, to enhance your baking experience.
Next, use whole cookies as tombstones, pressing them gently into the brownie surface at various angles for an eerie, neglected graveyard look.
Scatter candy pumpkins and gummy worms around the tombstones to add color and creepy crawlers to your scene.
For a ghostly touch, melt white chocolate chips and mix in a drop of green food coloring. Drizzle this mixture over the brownies to create a spooky, glowing effect.
Don't be afraid to get creative! You can add plastic spider rings, candy corn, or even edible bones to enhance the Halloween atmosphere.

Baker's, Premium White Chocolate Baking Bar (4 oz Box)
One 4 oz. Baker's Premium White Chocolate Baking Bar
As an affiliate, we earn on qualifying purchases.
As an affiliate, we earn on qualifying purchases.
Final Thoughts
Although creating Haunted Graveyard Brownies might seem daunting at first, you'll find it's a fun and rewarding Halloween baking project. As you've seen, it's a process that combines delicious baking with creative decoration, resulting in a spooky treat that's sure to impress your friends and family.
To keep your energy up while baking, consider starting your day with a protein-rich breakfast like an Egg Rollup and Dumpling Sauce, which can help you stay focused on your delicious endeavor.
Remember, the key to success is in the details. Take your time with each step, from baking the perfect brownie base to carefully crafting your edible tombstones. Don't be afraid to experiment with different candies and decorations to make your graveyard unique. If you're feeling adventurous, try adding other spooky elements like gummy worms or candy bones.
These brownies are more than just a dessert; they're a conversation starter and a centerpiece for your Halloween festivities. They're perfect for parties, bake sales, or as a fun activity to do with kids.
Frequently Asked Questions
Are Haunted Graveyard Brownies Suitable for Children's Halloween Parties?
You'll find these perfect for children's Halloween parties. They're fun, spooky, and delicious. Kids will love the graveyard theme and enjoy decorating their own brownie "graves." Just ensure the decorations are age-appropriate and safe for little ones.
Can I Substitute the Graveyard-Themed Decorations With Other Spooky Elements?
You can absolutely substitute graveyard-themed decorations with other spooky elements. Try using witches' hats, spider webs, or candy eyeballs. You'll still create a fun, Halloween-inspired treat that's perfect for any spooky celebration. Get creative and have fun!
How Long Do Haunted Graveyard Brownies Stay Fresh?
You'll keep your spooky treats fresh for 3-4 days at room temperature. Store them in an airtight container to maintain moisture. If you need longer shelf life, refrigerate for up to a week or freeze for 2-3 months.
Are There Any Vegan or Gluten-Free Versions of This Recipe?
You can easily make vegan and gluten-free versions of this recipe. Try using plant-based milk, flax eggs, and gluten-free flour. For toppings, opt for vegan chocolate and candies. There are many substitutes available to suit your dietary needs.
What Drink Pairs Well With Haunted Graveyard Brownies?
You'll love pairing these spooky treats with a warm cup of hot cocoa or spiced apple cider. If you're feeling adventurous, try a pumpkin spice latte or a blood-red cranberry juice for an extra eerie touch.