Bloody bandage wraps are a spooky and delicious Halloween-themed treat that you can easily make at home. You'll start with large flour tortillas, spread them with cream cheese, and add fillings like deli meats and cheese. The "bloody" effect comes from drizzling strawberry jam or syrup over the wraps. To enhance the gory look, you can use red food coloring. These wraps are best served fresh but can be prepared ahead of time and refrigerated. They're perfect for Halloween parties or themed events, offering a creepy yet tasty addition to your spread. Dive deeper to uncover the fascinating history and step-by-step process behind these ghoulish goodies.
Key Takeaways
- Bloody Bandage Wraps are Halloween-themed food items made with tortillas, cream cheese, and strawberry jam to resemble bloodstained bandages.
- These wraps can be customized with various fillings like deli meats and cheese for taste and visual appeal.
- The recipe involves baking the wraps until slightly crispy and drizzling them with strawberry syrup for a realistic bloody effect.
- They serve as versatile props for various character costumes such as mummies or zombies, enhancing overall costume impact.
- Crafting these wraps is a fun, creative process that allows for experimentation with different techniques and materials for best results.
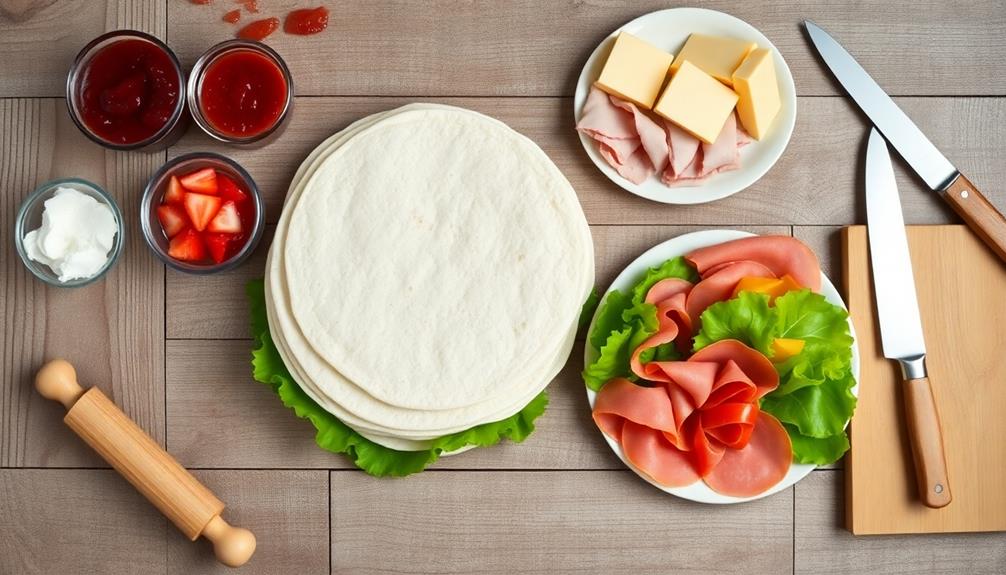
large flour tortillas for wraps
As an affiliate, we earn on qualifying purchases.
As an affiliate, we earn on qualifying purchases.
History
Bandage wraps have been around for thousands of years, dating back to ancient civilizations. You'll find evidence of their use in Egyptian mummies, where linen strips were used to bind and preserve bodies.
In ancient Greece and Rome, physicians like Hippocrates and Galen developed more sophisticated wound-dressing techniques, using materials such as wool, linen, and even spider webs.
During the Middle Ages, you'd see bandages made from a variety of materials, including plant fibers and animal skins.
It wasn't until the 19th century that you'd encounter more standardized, mass-produced bandages. In 1885, Robert Wood Johnson and his brothers founded Johnson & Johnson, which began producing sterile gauze and bandages for hospitals.
World War I brought about significant advancements in bandage technology. You'd notice the introduction of adhesive bandages and the famous Band-Aid, invented by Earle Dickson in 1920.
Today, you'll find an array of bandage types, from elastic wraps to hydrocolloid dressings, each designed for specific wound care needs.
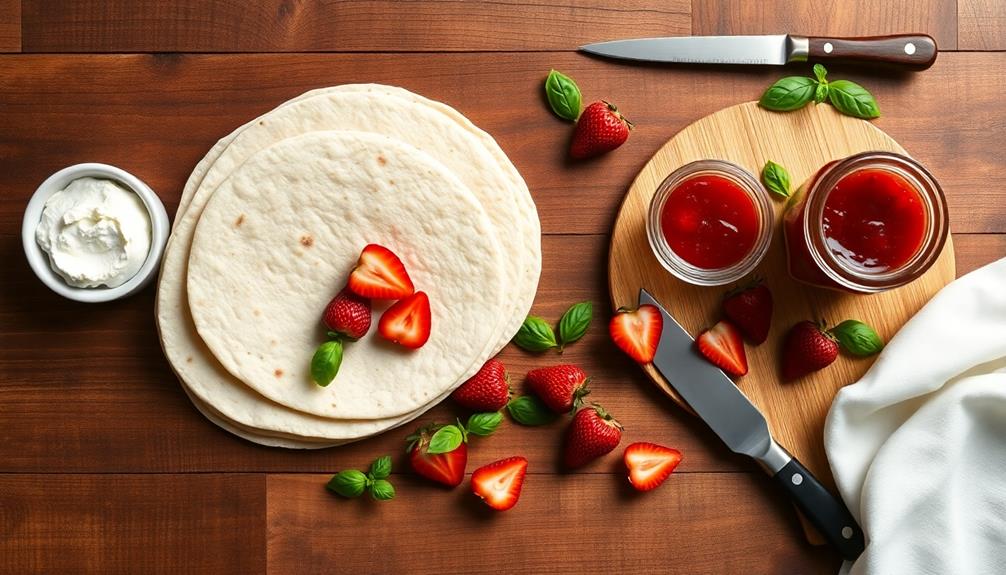
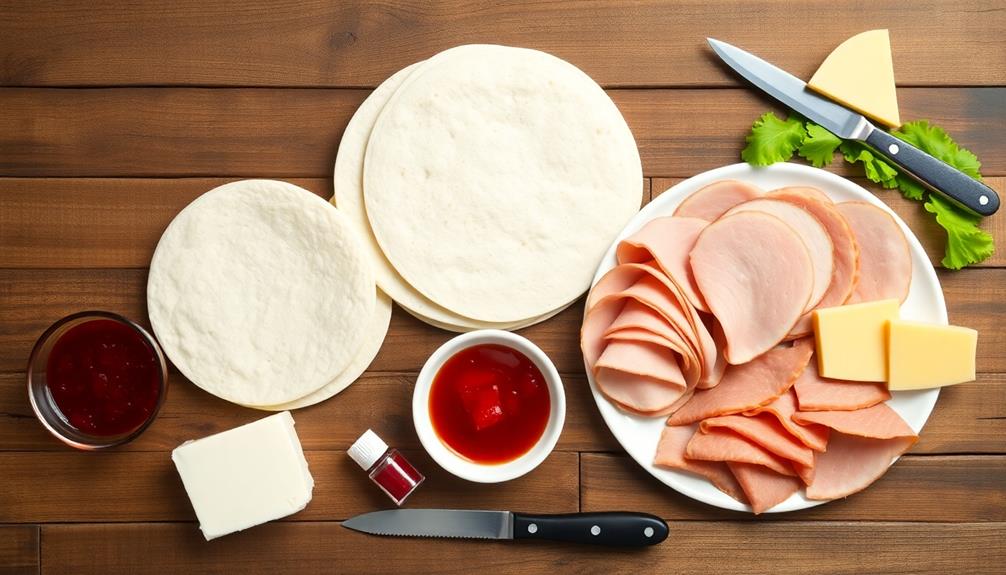
strawberry jam for baking
As an affiliate, we earn on qualifying purchases.
As an affiliate, we earn on qualifying purchases.
Recipe
This Halloween-themed recipe for Bloody Bandage Wraps is a fun and spooky twist on traditional wraps or sandwiches. Perfect for Halloween parties or a ghoulish lunchtime treat, these wraps are designed to look like bloodstained bandages while still being delicious and easy to eat.
For added sweetness, consider serving them alongside a scoop of Birthday Cake Ice Cream for a festive touch. The key to creating the eerie appearance is using large flour tortillas as the "bandages" and a combination of cream cheese and strawberry jam for the "bloody" effect.
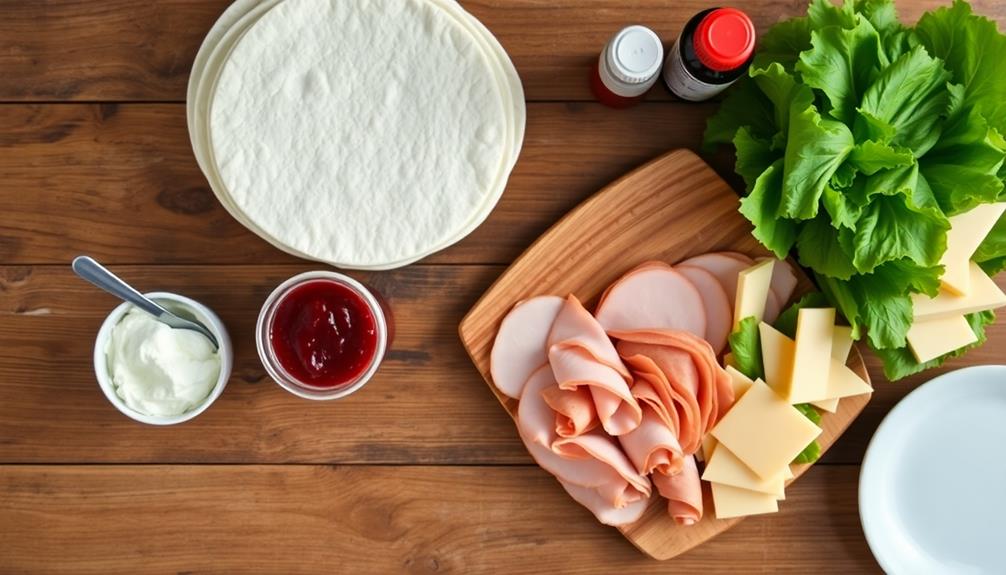
The filling can be customized to suit different tastes, but a simple mixture of deli meats and cheese works well to maintain the creepy aesthetic while providing a satisfying meal.
- Large flour tortillas
- Cream cheese, softened
- Strawberry jam
- Sliced deli meats (turkey, ham, or chicken)
- Sliced cheese
- Lettuce leaves
- Red food coloring (optional)
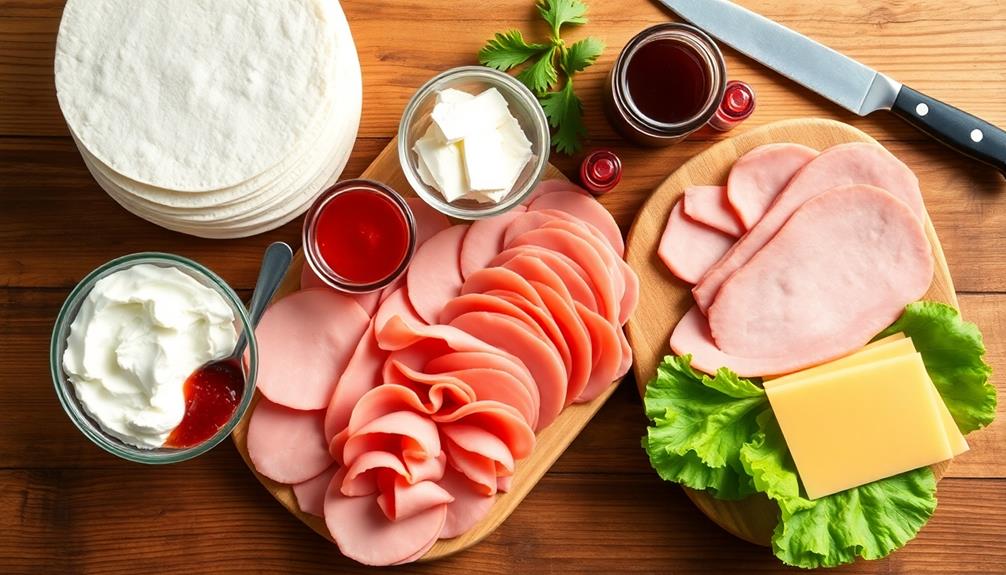
To prepare the Bloody Bandage Wraps, start by spreading a thin layer of softened cream cheese over each tortilla. Mix strawberry jam with a few drops of red food coloring (if desired) for a more vibrant "blood" effect, and drizzle it over the cream cheese.
Layer the deli meats, cheese, and lettuce leaves in the center of each tortilla. Roll the tortillas tightly, tucking in the sides as you go. Cut each wrap diagonally into halves or thirds, arranging them on a platter so that the "bloody" edges are visible.
For best results, prepare these wraps shortly before serving to prevent the tortillas from becoming soggy. If making in advance, consider wrapping each roll tightly in plastic wrap and refrigerating until ready to cut and serve.
Experiment with different fillings and "blood" consistencies to create your own unique and spine-chilling variation of this Halloween-inspired dish.
red food coloring for food
As an affiliate, we earn on qualifying purchases.
As an affiliate, we earn on qualifying purchases.
Cooking Steps

To create your spooky yet edible Bloody Bandage Wraps, you'll start by unrolling gauze bandage strips and soaking them in red food dye.
Once colored, you'll shape the bandages into spiral rolls before baking them until they're slightly crispy.
Step 1. Unroll Gauze Bandage Strips

Now that you've gathered your supplies, it's time to prepare the gauze bandages. Unrolling the strips is a crucial step in creating your bloody bandage wraps.
Start by carefully removing the gauze from its packaging, making sure not to tear or damage the material. Hold one end of the bandage with your non-dominant hand, and use your dominant hand to gently unroll the strip.
As you unroll the gauze, pay attention to its texture and consistency. High-quality gauze should feel soft and pliable, without any rough edges or loose threads. If you notice any imperfections, set that piece aside and choose another.
For best results, unroll the gauze strips to their full length before cutting them to size. This allows you to assess the overall quality and ensures that you have enough material to work with. Remember, it's always better to have a bit extra than to come up short.
Once you've unrolled your gauze strips, lay them flat on a clean, dry surface. This will make it easier to apply the fake blood and create realistic-looking wounds for your Halloween costume or special effects makeup.
Step 2. Soak Bandages in Red Dye

With your gauze strips prepared, it's time to create the bloody effect. You'll need to soak the bandages in red dye to achieve that realistic, gory look. Here's how to do it:
- Choose your dye:
- Food coloring works well and is easily accessible
- Fabric dye provides a more permanent effect
- Theatrical blood offers the most realistic appearance
- Mix the dye:
- In a large bowl, combine water and your chosen dye
- For food coloring, use about 20 drops per cup of water
- Follow package instructions for fabric or theatrical dyes
- Submerge the bandages:
- Gently place your gauze strips into the dye mixture
- Ensure they're fully covered for even coloration
- Use gloves to protect your hands from staining
- Soak and agitate:
- Let the bandages soak for 15-30 minutes
- Occasionally stir to ensure even distribution of dye
- For a more varied, realistic look, remove some strips earlier
- Remove and dry:
- Carefully take out the bandages
- Squeeze out excess liquid
- Hang them to dry completely before use
Step 3. Shape Into Spiral Rolls
Once your bloody bandages are dry, you'll need to shape them into spiral rolls for easy storage and application. This step is crucial for creating realistic-looking props that are convenient to use. Here's how to do it:
- Start at one end of the bandage and fold about an inch of fabric over itself.
- Begin rolling tightly, keeping the edges aligned as you go.
- As you roll, gently pull the bandage to maintain tension and prevent air pockets.
- Continue rolling until you reach the end of the bandage.
- Secure the end with a small piece of tape or tuck it into the roll.
For best results, aim for a uniform thickness throughout the roll. This will ensure that your bloody bandages look authentic when unraveled.
If you're making multiple rolls, try to keep them consistent in size and tightness. Remember, the tighter you roll, the more compact and easier to store your bandages will be.
Once you've mastered this technique, you'll have a supply of realistic-looking bloody bandages ready for your next costume or theatrical production.
Step 4. Bake Until Slightly Crispy
To achieve the perfect texture for your bloody bandage wraps, baking them until slightly crispy is essential. Preheat your oven to 350°F (175°C) and line a baking sheet with parchment paper. Place your spiral-shaped wraps on the sheet, making sure they're not touching each other.
Bake the wraps for about 12-15 minutes, keeping a close eye on them. You'll want to achieve a golden-brown color around the edges while maintaining a slightly soft center. This contrast in texture will give your bandage wraps a realistic, eerie appearance.
Here are some tips to ensure the best results:
- Rotate the baking sheet halfway through cooking for even browning
- If your wraps are thicker, they may need an extra 2-3 minutes
- For a crispier texture, brush the wraps with a little olive oil before baking
Once they're done, remove the wraps from the oven and let them cool for a few minutes. They'll continue to crisp up as they cool down.
Step 5. Drizzle With Strawberry Syrup

Drizzling strawberry syrup transforms your crispy bandage wraps into gory, realistic-looking props. To achieve the perfect blood-like effect, you'll want to use a high-quality, deep red strawberry syrup.
Here's how to apply it:
- Let your bandage wraps cool completely after baking.
- Place the wraps on a wire rack over a baking sheet to catch any drips.
- Pour the strawberry syrup into a squeeze bottle for precise application.
- Start at one end of the wrap and slowly drizzle the syrup in a zigzag pattern.
- Allow some syrup to pool in certain areas for a more realistic look.
- Use varying pressure on the bottle to create different thicknesses of "blood."
The key is to apply the syrup unevenly, mimicking how real blood might seep through a bandage.
Don't worry if it looks messy – that's part of the effect! Once you're satisfied with the coverage, let the syrup set for about 15 minutes. This will give it time to slightly thicken and create a more convincing texture.
Your bloody bandage wraps are now ready to add a spine-chilling touch to your Halloween spread or horror-themed party.
cream cheese spread
As an affiliate, we earn on qualifying purchases.
As an affiliate, we earn on qualifying purchases.
Final Thoughts
By and large, bloody bandage wraps are a versatile and effective prop for Halloween costumes and horror-themed events. They're easy to make, customizable, and can add a chilling touch to various character designs.
Whether you're going for a mummy, zombie, or accident victim look, these gory accessories will elevate your costume to the next level.
Remember, the key to a successful bloody bandage wrap lies in the details. Don't be afraid to experiment with different techniques and materials to achieve the most realistic effect. You can always adjust the intensity of the "blood" or the placement of the wraps to suit your specific needs.
When creating your bloody bandage wraps, keep safety in mind. Use non-toxic materials and be mindful of any allergies you or others might have.
If you're planning to wear your costume for an extended period, consider using breathable fabrics to avoid discomfort.
Lastly, have fun with the process! Creating special effects makeup and props can be an exciting and rewarding experience.
With practice, you'll develop your own unique style and techniques for crafting the perfect bloody bandage wraps.
Frequently Asked Questions
Are Bloody Bandage Wraps Suitable for Vegetarians or Vegans?
You'll find that bloody bandage wraps aren't suitable for vegetarians or vegans. They typically contain animal-derived materials or blood products. If you follow these diets, you should look for plant-based alternatives or synthetic wound dressings instead.
Can Bloody Bandage Wraps Be Prepared in Advance and Refrigerated?
You can prepare these wraps in advance and refrigerate them. They'll keep well for 1-2 days if stored properly. However, it's best to add any fresh ingredients just before serving to maintain optimal texture and flavor.
What Are Some Creative Variations or Themes for Bloody Bandage Wraps?
You can get creative with themes like zombie apocalypse, hospital horror, or mummy's curse. Try using different colored "blood" sauces, adding edible insects, or shaping the wraps into body parts for extra spookiness.
Are There Any Allergy Concerns Associated With Bloody Bandage Wraps?
You should be aware of potential allergies to latex, adhesives, or dyes in bandages. It's best to check the materials list and test a small area first if you have sensitive skin or known allergies.
How Long Do Bloody Bandage Wraps Stay Fresh at Room Temperature?
You shouldn't keep them at room temperature. They'll spoil quickly, potentially within hours. It's best to store them refrigerated or frozen. Always follow proper storage guidelines to prevent contamination and maintain freshness.