Ghostly garlic bread is a spooky twist on a classic appetizer, perfect for Halloween parties. You'll love its eerie white appearance and savory flavor. To make it, shape white bread into ghost silhouettes, then brush with a garlic butter mixture. Bake until golden and crispy, creating a delicious treat that's both tasty and visually striking. This festive bread originated in the 1980s and has since become a popular Halloween staple. You can easily customize it with different shapes or dietary alternatives, making it versatile for various occasions. Whether you're hosting a haunted gathering or just craving a unique snack, ghostly garlic bread is sure to impress. Discover how this spectral delight can elevate your next spooky soirée.
Key Takeaways
- Ghostly Garlic Bread originated in New Orleans in the 1980s and gained popularity as a Halloween-themed food item.
- The recipe typically involves shaping white bread into ghost silhouettes and applying a garlic butter spread.
- Baking at 375°F (190°C) for 10-12 minutes creates a crispy exterior while maintaining a flavorful garlic taste.
- The dish can be customized for dietary needs, such as vegan or gluten-free options, and adapted for various themes.
- Ghostly Garlic Bread combines visual appeal with savory taste, making it popular for Halloween parties and themed dinners.
History
Two key events shaped the creation of ghostly garlic bread. In the late 1980s, a small bakery in New Orleans accidentally left a batch of garlic bread in the oven overnight.
The next morning, they discovered the bread had turned an eerie white color. Instead of throwing it away, they decided to market it as "ghostly garlic bread" for Halloween.
The second event occurred in 2002 when a food scientist in California developed a method to create naturally white garlic bread using a special bleaching process.
This technique allowed bakers to produce ghostly garlic bread year-round, not just for Halloween.
Today, you'll find ghostly garlic bread in many specialty bakeries and grocery stores. It's become a popular choice for Halloween parties and spooky-themed dinners.
To make it at home:
- Use white flour and add a pinch of titanium dioxide for extra whiteness
- Choose a pale variety of garlic, like elephant garlic
- Brush the bread with a mixture of olive oil and garlic before baking
- Bake until crispy but not browned
Recipe
Ghostly Garlic Bread is a spooky twist on the classic comfort food, perfect for Halloween parties or any eerie-themed gatherings. This visually striking dish combines the savory flavors of garlic and herbs with a creepy, ghostly appearance that's sure to delight both kids and adults alike.
To create this haunting treat, we'll use a combination of white bread, garlic butter, and clever shaping techniques to form ghost-like figures. The result is a deliciously crispy, garlicky bread that's as fun to look at as it's to eat. Don't be surprised if these spectral snacks disappear faster than you can say "Boo!"
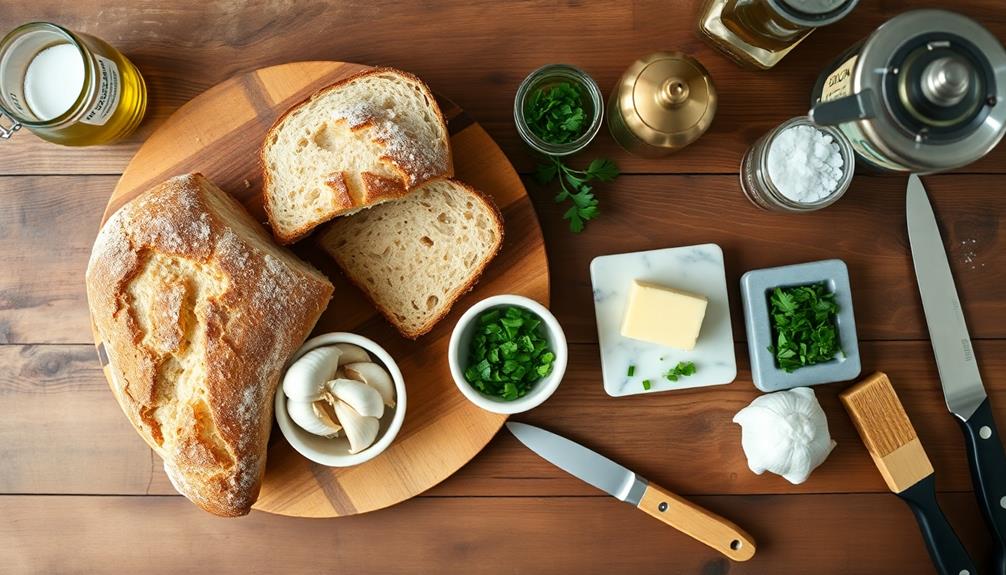
- 1 loaf of white bread
- 1/2 cup unsalted butter, softened
- 4 cloves of garlic, minced
- 1 tablespoon fresh parsley, finely chopped
- 1/2 teaspoon salt
- 1/4 teaspoon black pepper
- 2 tablespoons grated Parmesan cheese
- Edible black food coloring or black sesame seeds
Preheat your oven to 375°F (190°C). In a bowl, mix the softened butter with minced garlic, chopped parsley, salt, pepper, and Parmesan cheese.
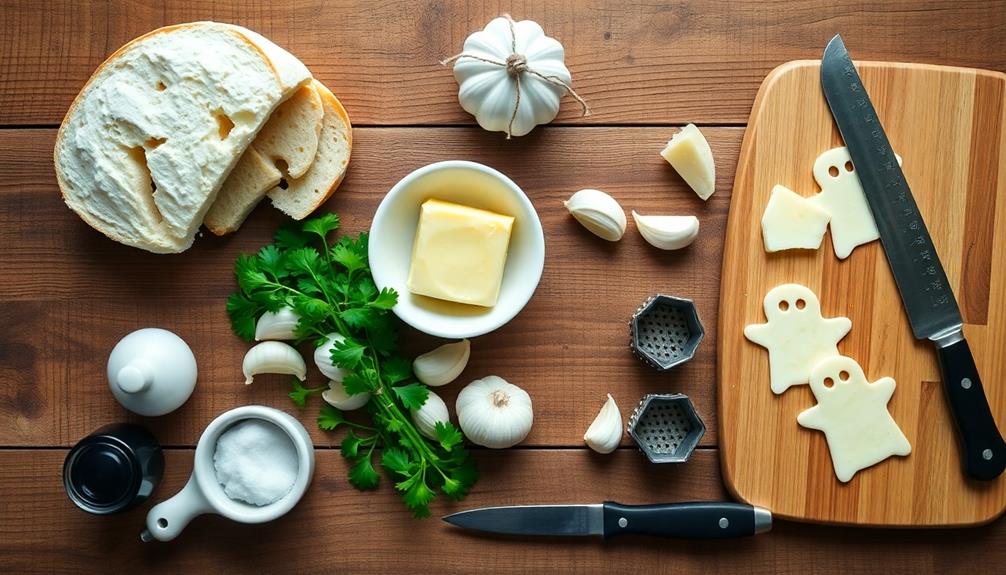
Cut the bread slices into ghost shapes using a sharp knife or a ghost-shaped cookie cutter. Spread the garlic butter mixture evenly on each ghost-shaped bread piece. Arrange the ghosts on a baking sheet and bake for 10-12 minutes, or until the edges are golden brown and crispy.
Remove from the oven and let cool slightly. Use the black food coloring or sesame seeds to create spooky eyes and mouths on each ghost.
For best results, serve the Ghostly Garlic Bread immediately while it's still warm and crispy. If you're preparing these for a party, you can make the garlic butter mixture in advance and store it in the refrigerator. Just remember to let it soften before spreading on the bread.
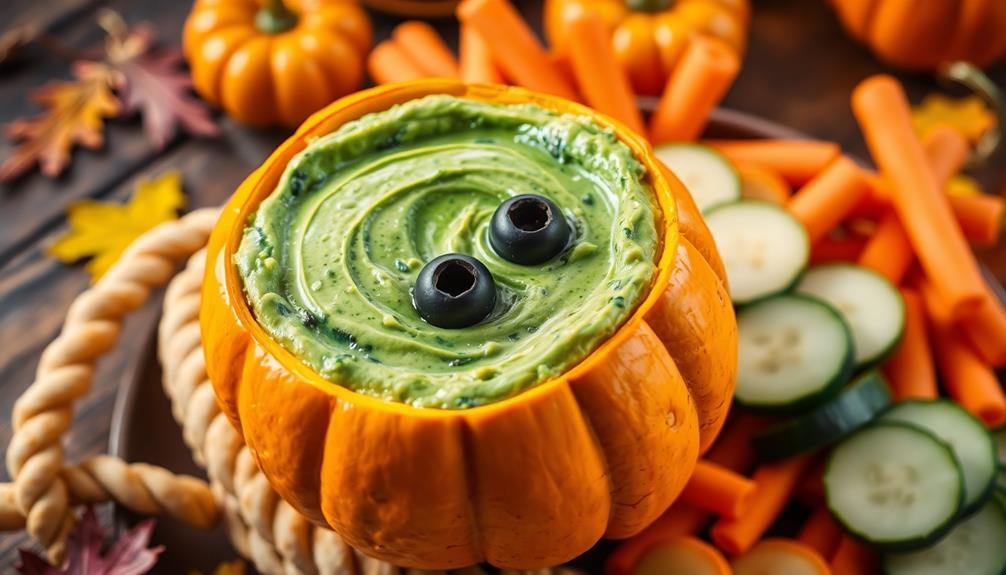
Experiment with different ghost expressions to create a variety of spooky characters on your platter. These ghoulish treats pair well with marinara sauce or a creamy dip for added flavor and fun.
Cooking Steps

You're ready to bring your ghostly garlic bread to life!
Start by preheating your oven to 375°F and mixing up a flavorful garlic butter spread.
While the oven's heating, slice your bread into spooky ghost shapes, generously apply the garlic butter, and then bake until the edges are golden brown and crispy.
Step 1. Preheat Oven to 375°F

Preheating your oven is the crucial first step in creating this spooky garlic bread. Set your oven to 375°F (190°C) and allow it to reach the desired temperature before you begin baking. This process typically takes about 10-15 minutes, depending on your oven's efficiency.
Why is preheating so important? It ensures that:
- Your bread cooks evenly from the start
- The crust develops properly
- Baking time remains consistent with the recipe
While you're waiting for the oven to heat up, you can prepare your garlic bread mixture and shape your ghostly creations. Remember, patience is key here – don't be tempted to put your bread in before the oven reaches the right temperature.
If you're using a convection oven, you might want to reduce the temperature by 25°F, as these ovens tend to cook food faster and more evenly.
Keep in mind that every oven is slightly different, so you may need to adjust cooking times accordingly. It's always a good idea to keep an eye on your garlic bread as it bakes to prevent any unwanted charring or undercooking.
Step 2. Mix Garlic Butter Spread

The next crucial step in creating your ghostly garlic bread is mixing the perfect garlic butter spread. This flavorful mixture will be the heart and soul of your spooky treat.
Start by softening 1/2 cup of unsalted butter at room temperature. Once it's pliable, transfer it to a mixing bowl.
Now, it's time to add the star ingredient: garlic. Mince 4-5 cloves of fresh garlic and add them to the butter. If you're in a pinch, you can use 1-2 teaspoons of garlic powder instead. For an extra kick of flavor, sprinkle in 1/4 teaspoon of salt and 1/8 teaspoon of black pepper.
To enhance the spread's ghostly appearance, finely chop 2 tablespoons of fresh parsley and add it to the mix. This will give your garlic bread subtle green specks, reminiscent of otherworldly ectoplasm.
Using a fork or spatula, thoroughly combine all the ingredients until they're evenly distributed throughout the butter.
For a final touch of richness, grate 2 tablespoons of Parmesan cheese into the mixture and fold it in gently. Your garlic butter spread is now ready to haunt your bread!
Step 3. Slice Bread Into Ghost Shapes

With your ghostly garlic butter prepared, it's time to shape your bread into spooky spirits. This step is where your creativity can shine, transforming ordinary bread into haunting Halloween treats. Start by selecting a sturdy bread, like a French baguette or Italian loaf, that'll hold its shape well.
To create your ghost shapes:
- Using a sharp knife, carefully cut the bread into 1-inch thick slices.
- Trim each slice into a ghost silhouette, rounding the top and creating a wavy bottom.
- Don't worry about perfection; slightly uneven edges add character to your ghosts.
- For variety, try different sizes and shapes, from tall, slender specters to plump, friendly spirits.
Remember, the key is to leave enough surface area to spread your garlic butter. As you work, consider the final presentation. You might want to create a "ghost family" with different-sized apparitions or arrange them in a spooky scene on your serving platter.
Once you've shaped all your ghostly slices, you're ready to apply the garlic butter and bring these spirits to life in your oven. This simple yet effective technique will surely impress your Halloween party guests!
Step 4. Apply Butter to Bread Slices

Now that you've shaped your ghostly bread slices, it's time to bring them to life with the garlic butter mixture. This step is crucial for infusing your spooky treats with rich, savory flavor. Butter, which comprises approximately 80% fat, won't only enhance the taste but also contribute to a crispy texture when baked, making your garlic bread truly delightful.
Here's how to do it:
- Prepare the garlic butter:
- Soften 1/2 cup of unsalted butter
- Mince 3-4 cloves of garlic
- Mix butter and garlic in a bowl
- Add 1 tablespoon of chopped parsley
- Season with salt and pepper to taste
- Apply the mixture:
- Use a pastry brush for even coverage
- Spread generously on both sides of each slice
- Pay extra attention to the edges and cut-outs
The garlic butter will seep into the bread's crevices, ensuring a flavorful bite throughout.
Don't worry if it seems like too much butter – it'll create a deliciously crispy exterior when baked. If you're feeling adventurous, try adding grated Parmesan cheese or a pinch of red pepper flakes to the mixture for an extra kick.
Remember, the key to ghostly garlic bread that's both tasty and visually appealing is in this butter-application step, so take your time and enjoy the process!
This nutritional composition of butter highlights the importance of moderation, so savor each bite while being mindful of your overall dietary choices.
Step 5. Bake Until Golden Brown

Once you've applied the garlic butter mixture, it's time to bake your ghostly creations to crispy, golden perfection. Preheat your oven to 375°F (190°C) and arrange the prepared bread slices on a baking sheet. Make sure they're spaced evenly to allow for proper heat circulation.
Slide the baking sheet into the preheated oven and set your timer for 10-12 minutes. Keep a close eye on the bread as it bakes, as ovens can vary in temperature. You're looking for that perfect golden-brown color that indicates a crispy exterior and a soft, warm interior.
For extra crispiness, you can:
- Broil the bread for the last 1-2 minutes, watching carefully to prevent burning
- Flip the slices halfway through baking for even browning on both sides
Once your ghostly garlic bread reaches the desired level of golden-brown perfection, carefully remove it from the oven using oven mitts.
Let it cool for a minute or two before serving, as it'll be piping hot. The aroma of garlic and herbs will fill your kitchen, tempting everyone to grab a slice of this spooky, savory treat.
Final Thoughts

This ghostly garlic bread recipe wraps up a spooky and delicious addition to your Halloween party spread. You'll find that it's not only visually appealing but also incredibly tasty, making it a hit with both kids and adults alike.
The combination of garlic's savory punch and the bread's crispy exterior creates a perfect balance of flavors and textures.
Remember, you can easily customize this recipe to suit your preferences or dietary needs. If you're looking for a vegan option, simply swap out the butter for a plant-based alternative. For a gluten-free version, use your favorite gluten-free bread as the base.
Don't be afraid to get creative with your ghost shapes! While simple ovals work well, you can experiment with different sizes and expressions to create a variety of spooky characters.
If you have leftover bread, consider making "ghost croutons" for salads or soups.
Lastly, this ghostly garlic bread isn't just for Halloween. With a few tweaks, you can adapt the concept for other holidays or themes throughout the year, making it a versatile recipe to keep in your culinary repertoire.
Frequently Asked Questions
Is Ghostly Garlic Bread Actually Haunted?
No, ghostly garlic bread isn't actually haunted. You're likely encountering a playful Halloween-themed food item. It's probably regular garlic bread with a spooky twist, using ingredients or presentation to create a ghostly appearance. Don't worry, it won't scare you!
Can I Use Regular Bread Instead of Ghost-Shaped Bread?
You can absolutely use regular bread instead of ghost-shaped bread. It won't change the flavor or texture of your garlic bread. If you're aiming for a spooky look, try cutting regular bread into ghost shapes yourself.
How Long Does Ghostly Garlic Bread Stay Fresh?
You'll find that garlic bread stays fresh for 1-2 days at room temperature. If you refrigerate it, it'll last up to a week. For longer storage, freeze it for up to 3 months. Always store it properly wrapped.
Are There Any Special Utensils Needed to Make Ghostly Garlic Bread?
You don't need special utensils for this recipe. A standard baking sheet, knife, and mixing bowl will do. You'll also want a pastry brush for applying garlic butter and a spatula for serving. That's all you need!
Can I Freeze Ghostly Garlic Bread for Later Consumption?
You can freeze garlic bread for later consumption. It's best to wrap it tightly in foil or plastic wrap before freezing. When you're ready to eat, thaw it in the fridge and reheat in the oven for best results.

With over a decade of experience in editorial leadership, Esther has been at the helm of Mother Baby Kids since its inception. Her journey into parenting content was inspired by her own experiences as a mother, navigating the joys and challenges with a desire to support other parents. Esther is passionate about storytelling that connects, educates, and empowers families from all walks of life.