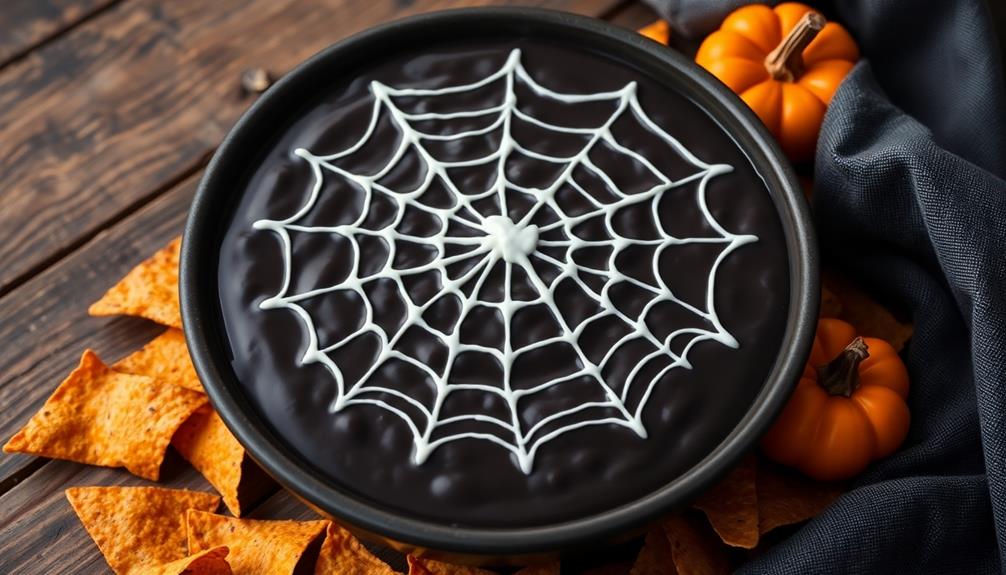
Graveyard Dirt Cake is a playful, no-bake Halloween dessert that's been delighting party-goers since the late 20th century. You'll create a spooky scene by layering chocolate pudding, crushed Oreos, and whipped topping in a clear dish. The pudding and cookies mimic dirt, while gummy worms and cookie tombstones complete the graveyard aesthetic. It's simple to make: crush cookies, mix pudding, layer ingredients, and decorate. You can customize it with different cookies or candies to suit your taste. This visually striking treat is not only delicious but also serves as a fun centerpiece for your Halloween gathering. Discover how easy it is to bring this creepy-cute dessert to life.
Key Takeaways
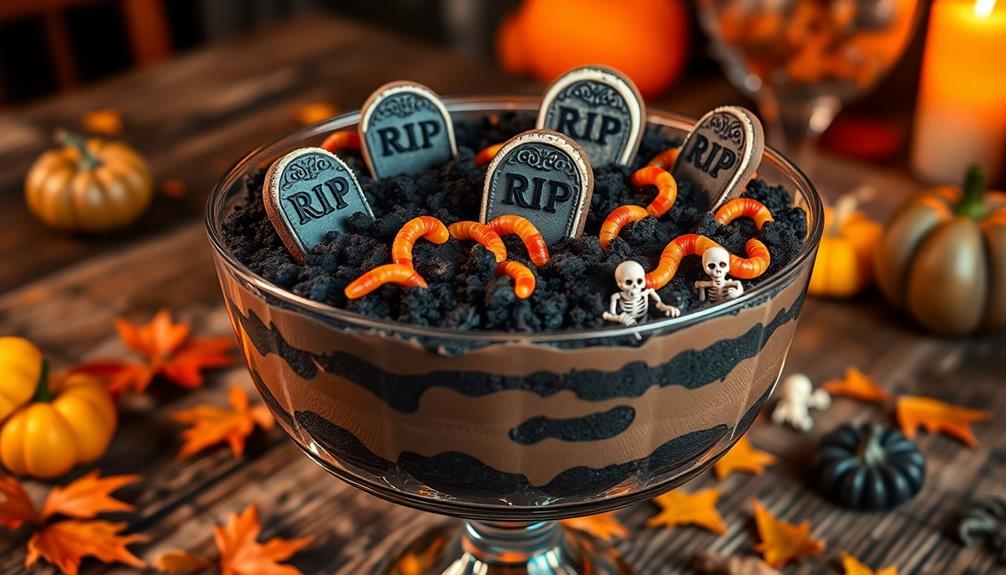
- Graveyard Dirt Cake is a no-bake Halloween dessert made with layers of chocolate pudding and crushed Oreo cookies.
- The dessert features a "dirt" appearance created by alternating pudding and cookie crumb layers.
- Decorations include gummy worms, Milano cookies as tombstones, and other Halloween-themed candies.
- Preparation involves crushing cookies, mixing pudding, layering ingredients, and chilling for at least 4 hours.
- Customization options allow for dietary adaptations and creative variations in presentation and flavors.
Oreo cookies for baking
As an affiliate, we earn on qualifying purchases.
As an affiliate, we earn on qualifying purchases.
History
The origins of Graveyard Dirt Cake are shrouded in mystery, but this whimsical dessert likely emerged in the late 20th century. While you won't find it in traditional cookbooks, it's become a popular Halloween treat in recent decades. This playful dessert combines crushed chocolate cookies, pudding, and gummy worms to create a spooky, graveyard-themed confection.
The appeal of this dessert is enhanced by its user experience enhancement through the playful presentation and interactive elements, making it a favorite among both kids and adults.
You might be surprised to learn that Graveyard Dirt Cake's popularity grew through word-of-mouth and community cookbooks. It's a prime example of how modern food traditions can spread rapidly, especially with the advent of the internet.
The dessert's appeal lies in its simplicity and visual impact, making it a hit at Halloween parties and fall gatherings.
As you explore the history of this treat, you'll notice variations popping up over time. Some recipes incorporate cream cheese for added richness, while others use different types of cookies or candies.
The beauty of Graveyard Dirt Cake is its adaptability, allowing you to put your own spin on this relatively new dessert tradition.
instant chocolate pudding mix
As an affiliate, we earn on qualifying purchases.
As an affiliate, we earn on qualifying purchases.
Recipe
Graveyard Dirt Cake is a playful and spooky dessert that's perfect for Halloween parties or any occasion that calls for a touch of whimsy. This no-bake treat combines creamy pudding, crushed cookies, and candy decorations to create a visually appealing "dirt" cake that resembles a miniature graveyard.
The beauty of this dessert lies in its simplicity and versatility. You can easily customize the decorations to suit your preferences or the theme of your event. While the recipe traditionally uses chocolate pudding and crushed Oreo cookies, you can experiment with different flavors and add-ins to create your own unique version of this crowd-pleasing dessert.
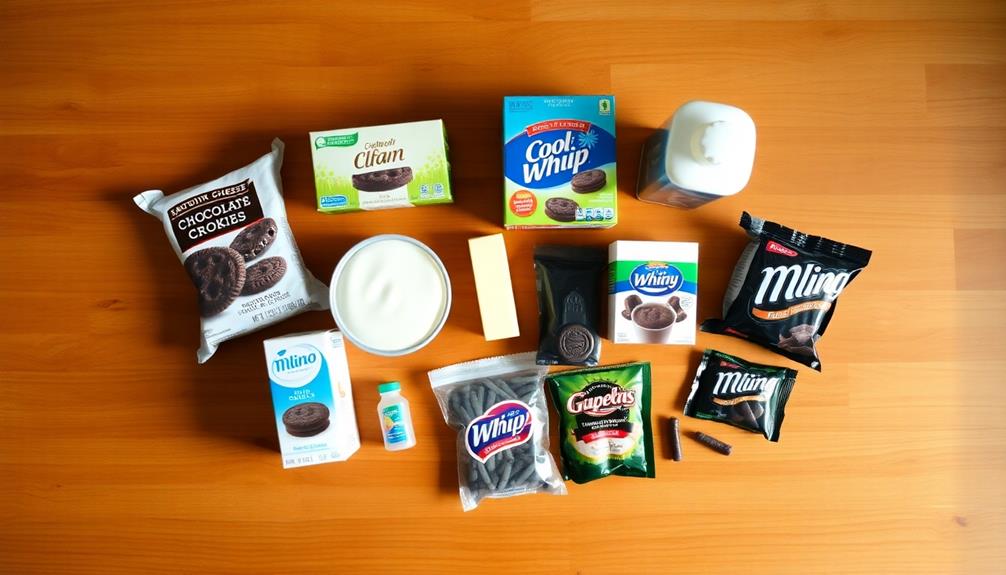
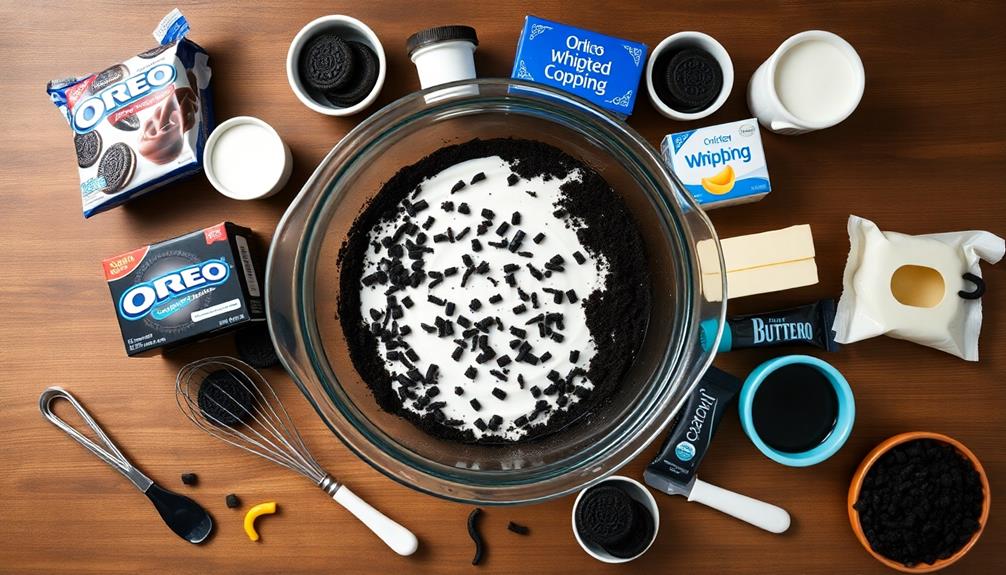
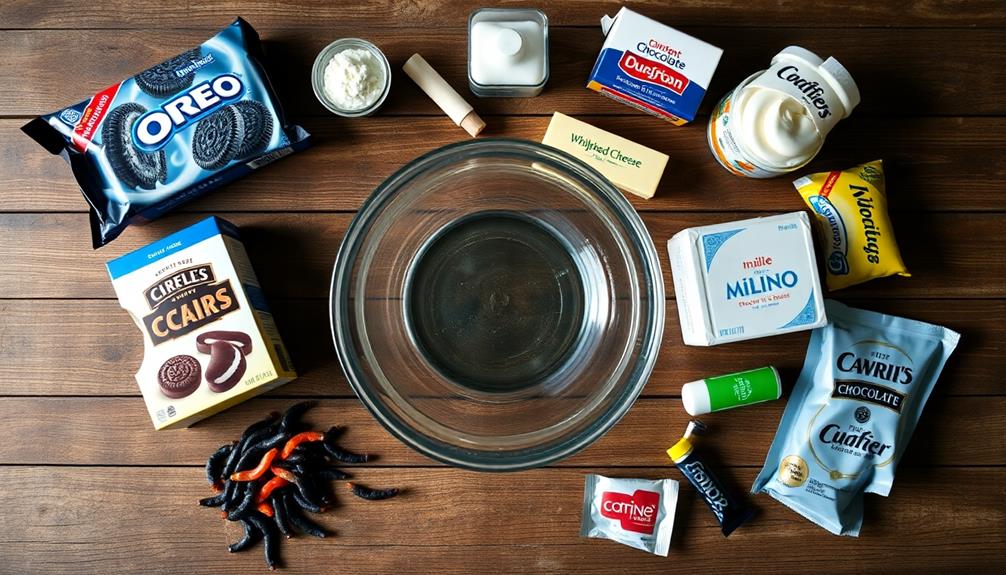
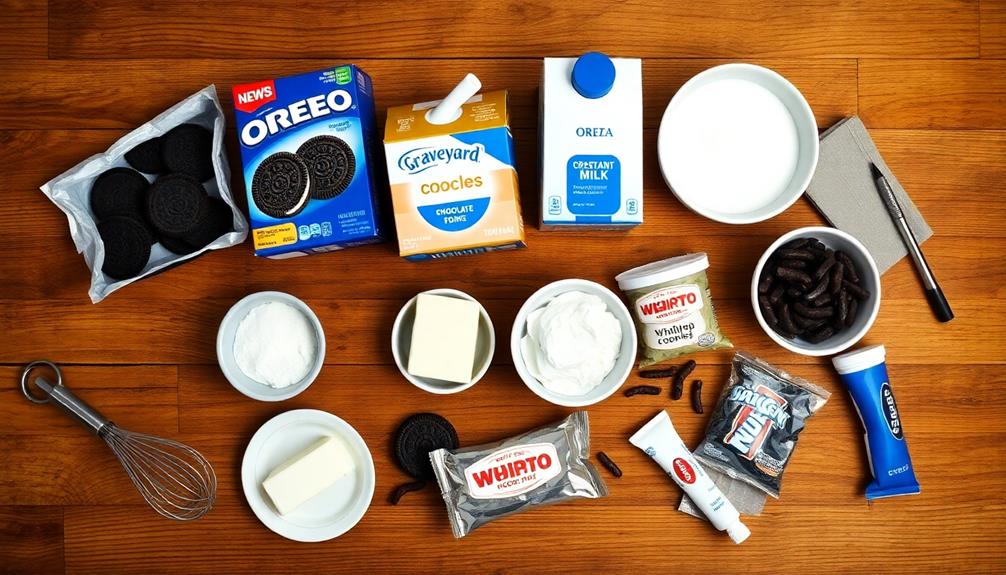
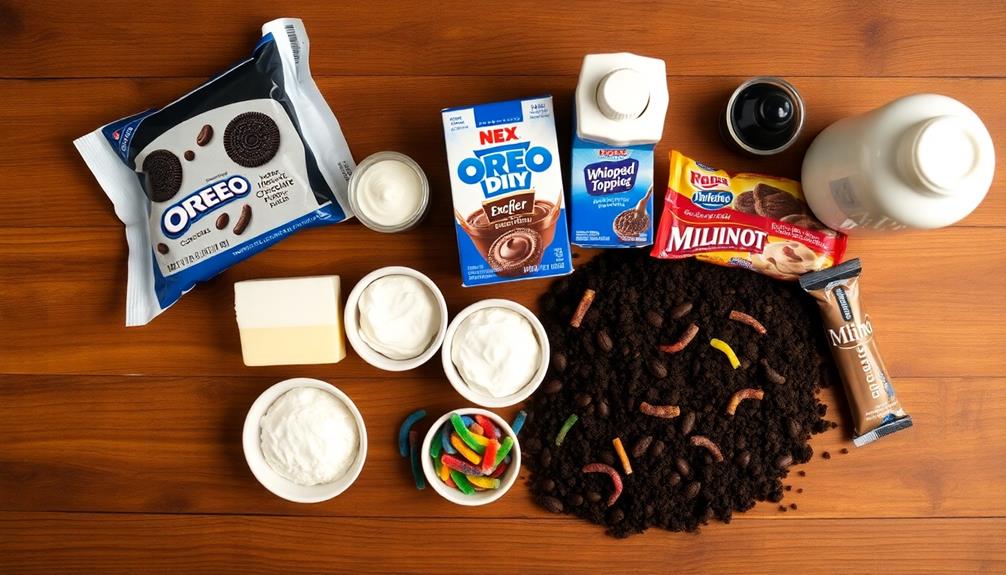
- 1 package (14.3 oz) Oreo cookies
- 2 packages (3.9 oz each) instant chocolate pudding mix
- 3 cups cold milk
- 1 container (8 oz) whipped topping, thawed
- 1 package (8 oz) cream cheese, softened
- 1/4 cup butter, softened
- 1 cup powdered sugar
- Gummy worms
- Milano cookies or rectangular shortbread cookies
- Black decorating gel
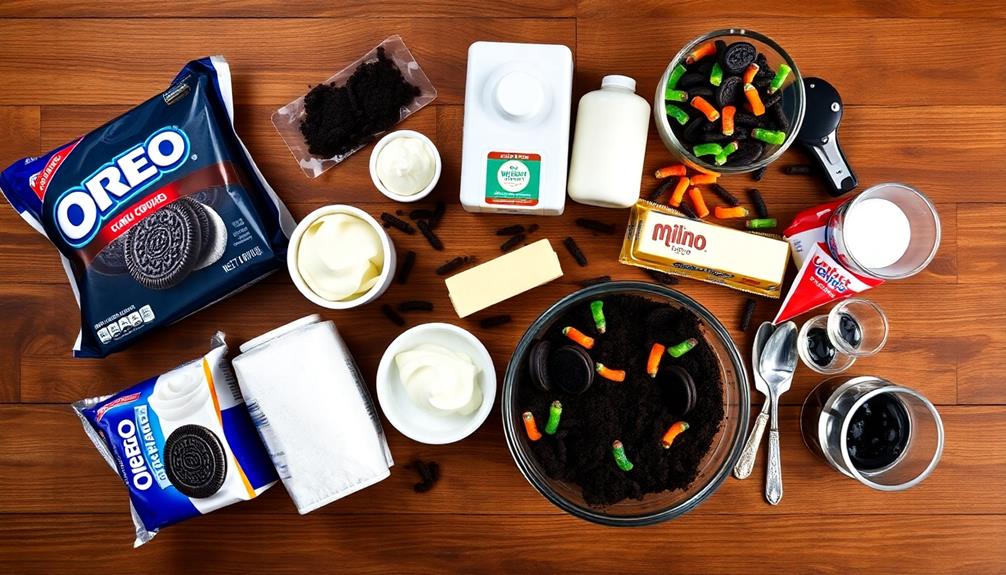
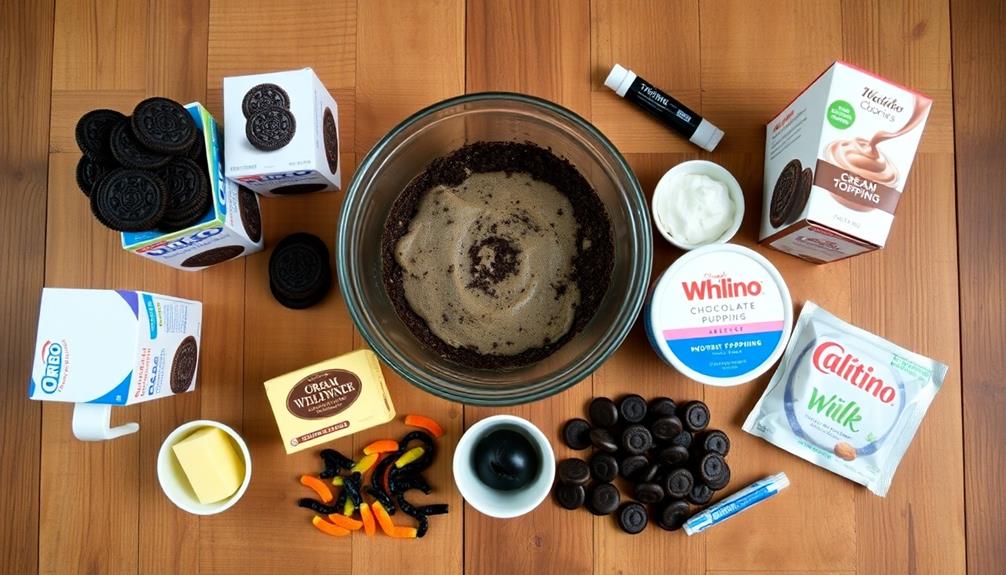
To prepare the Graveyard Dirt Cake, start by crushing the Oreo cookies in a food processor or by placing them in a sealed plastic bag and crushing them with a rolling pin. In a large bowl, whisk together the pudding mix and milk until smooth, then fold in the whipped topping.
In a separate bowl, beat the cream cheese, butter, and powdered sugar until creamy. Combine the cream cheese mixture with the pudding mixture, then layer the dessert in a clear serving dish or individual cups, alternating between the cookie crumbs and the pudding mixture. Finish with a layer of cookie crumbs on top.
Decorate with gummy worms, and use the Milano cookies as tombstones by writing "RIP" on them with black decorating gel. Refrigerate for at least 4 hours or overnight before serving.
For best results, make this dessert a day in advance to allow the flavors to meld and the texture to set properly. You can also add other Halloween-themed candies or decorations, such as candy pumpkins or plastic spiders, to enhance the graveyard effect.
If you're serving this at a party, consider providing small plastic shovels or spoons for guests to "dig" into their dessert, adding to the fun and interactive nature of the Graveyard Dirt Cake.
Halloween dessert decorations
As an affiliate, we earn on qualifying purchases.
As an affiliate, we earn on qualifying purchases.
Cooking Steps
To create your spooky graveyard dirt cake, you'll need to follow a few key steps.
Start by crushing chocolate sandwich cookies and mixing pudding with milk, then add a cream cheese mixture for richness.
Once your base is ready, you'll layer the pudding and cookie crumbs to create the "dirt" effect, finishing with gummy worms and decorations for that perfect graveyard look.
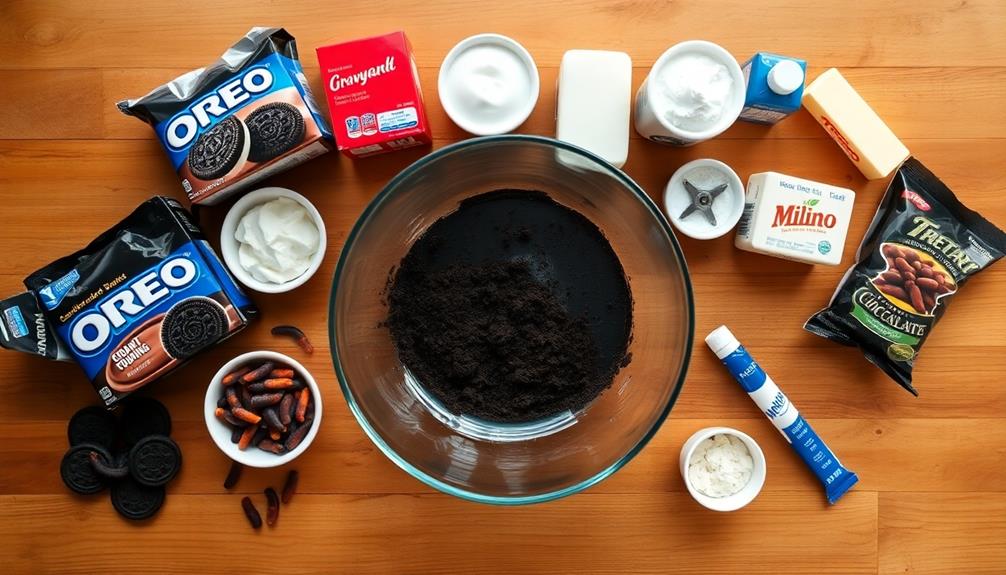
Step 1. Crush Chocolate Sandwich Cookies
Before assembling your spooky graveyard dirt cake, you'll need to create the "dirt" by crushing chocolate sandwich cookies. This step is crucial for achieving the realistic, earthy appearance that makes this dessert so fun and visually appealing.
To crush the cookies, you've got a few options:
- Food processor: This is the quickest method. Simply pulse the cookies until they're finely ground.
- Rolling pin: Place the cookies in a resealable plastic bag and crush them with a rolling pin.
- Manual crushing: Put the cookies in a bag and use your hands to break them into small pieces.
Whichever method you choose, aim for a mixture of fine crumbs and some slightly larger pieces to mimic the texture of real dirt.
You'll want to crush enough cookies to cover the entire surface of your cake, plus extra for decorating. Don't forget to set aside a few whole cookies for tombstones!
Step 2. Mix Pudding and Milk
Now that you've prepared the "dirt," it's time to create the creamy base for your graveyard cake. This step involves mixing pudding and milk, which will form the deliciously smooth foundation of your spooky dessert. You'll need instant pudding mix and cold milk for this part of the recipe.
Start by pouring the instant pudding mix into a large mixing bowl. Make sure you're using a bowl that's big enough to accommodate both the pudding and the milk.
Next, measure out the cold milk according to the package instructions. It's crucial to use cold milk, as this helps the pudding set properly and achieve the right consistency.
Gradually add the milk to the pudding mix while whisking continuously. You can use an electric mixer for this step, but a hand whisk works just as well.
Mix vigorously for about two minutes, or until the pudding starts to thicken. You'll notice it becoming smoother and creamier as you whisk.
Once it's well combined and free of lumps, set the bowl aside and let the pudding set for about five minutes. This brief resting period allows the pudding to firm up slightly, making it easier to layer in your graveyard cake.
Step 3. Add Cream Cheese Mixture
With the pudding base prepared, it's time to incorporate the cream cheese mixture. This creamy layer adds a delightful tangy flavor and smooth texture to your Graveyard Dirt Cake.
In a separate bowl, you'll need to combine softened cream cheese, powdered sugar, and a dollop of cool whip. Beat these ingredients together until they're smooth and well-blended, ensuring there are no lumps of cream cheese remaining.
Once your cream cheese mixture is ready, gently fold it into the chocolate pudding base. Use a spatula to carefully combine the two, creating a marbled effect throughout the mixture. This step is crucial for achieving the perfect balance of flavors and textures in your dessert.
As you fold, be mindful not to overmix, as this can deflate the airy texture you've worked to create. The resulting combination will have a rich, indulgent consistency that's perfect for layering with the cookie crumbs in your dirt cake.
This creamy mixture serves as the "soil" in your graveyard-themed dessert, providing a delicious contrast to the crunchy cookie layers.
Step 4. Layer Pudding and Cookie Crumbs
The layering process brings your Graveyard Dirt Cake to life.
It's time to create the eerie, yet delicious layers that'll make your dessert a spooky sensation. Start by grabbing your serving dish, which can be a clear trifle bowl, a large glass container, or even a clean flower pot for added authenticity.
Begin with a layer of crushed chocolate cookies at the bottom, representing the graveyard's soil. Spread it evenly, creating a solid foundation.
Next, carefully pour a layer of the chocolate pudding mixture over the cookie crumbs. Use a spatula to smooth it out, ensuring it reaches the edges of your container.
Now, it's time to alternate layers:
- Add another layer of cookie crumbs
- Follow with a layer of the cream cheese mixture
- Repeat the pudding layer
- Continue this pattern until you've used all your ingredients
Make sure to end with a thick layer of cookie crumbs on top, giving your "dirt cake" its signature graveyard look.
As you layer, don't worry about perfection – the slightly uneven layers add to the dessert's charm and spooky appeal.
Step 5. Add Gummy Worms and Decorations
Decoration time brings your Graveyard Dirt Cake to life with creepy-crawly additions. Now that you've layered your pudding and cookie crumbs, it's time to add the finishing touches that'll make your dessert truly spooktacular.
Start by placing gummy worms strategically throughout the "dirt." You can partially bury them, leaving some parts visible as if they're wriggling out of the ground. For an extra realistic touch, consider using a variety of sizes and colors of gummy worms.
Next, add some tombstones to your graveyard. You can make these easily by using Milano cookies or rectangular graham crackers. Write "RIP" or funny epitaphs on them with edible marker or melted chocolate. Stick these into the dirt at various angles for an authentic, eerie look.
To enhance the graveyard atmosphere, sprinkle some candy pumpkins or candy corn around the tombstones. You can also add plastic skeleton parts, like hands or skulls, peeking out from the dirt.
no-bake Halloween cake molds
As an affiliate, we earn on qualifying purchases.
As an affiliate, we earn on qualifying purchases.
Final Thoughts

Creativity shines through in this delightful Graveyard Dirt Cake recipe. You've now created a spooky and delicious dessert that's sure to be a hit at any Halloween party or autumn gathering.
The combination of rich chocolate pudding, crushed cookies, and playful decorations makes for a visually striking and tasty treat that both kids and adults will enjoy.
Remember, you can always customize this recipe to suit your preferences or dietary needs. For instance, you might use sugar-free pudding for a lower-calorie option or swap out the gummy worms for other Halloween-themed candies.
Don't be afraid to experiment with different cookie flavors or add your own unique touches to make the graveyard scene even more elaborate.
As you serve your Graveyard Dirt Cake, you'll likely find that it's not just a dessert, but a conversation starter. It's a fun way to get into the Halloween spirit and showcase your culinary creativity.
Frequently Asked Questions
Can I Use Real Dirt Instead of Cookie Crumbs for Authenticity?
No, you shouldn't use real dirt in your dessert. It's unsanitary and potentially harmful if ingested. Stick with edible ingredients like crushed cookies or chocolate crumbs. They'll give you the authentic look without compromising food safety.
Is It Safe to Use Plastic Toys or Decorations in the Cake?
You can use plastic toys or decorations in your cake, but ensure they're food-safe. Wash them thoroughly before use. Don't push them deep into the cake, and remind guests to remove them before eating. It's best to use edible decorations.
How Long Can Graveyard Dirt Cake Be Stored in the Refrigerator?
You can store this dessert in the refrigerator for up to 3-4 days. It's best to cover it tightly with plastic wrap or place it in an airtight container. Consume it within this time for optimal freshness and taste.
Can I Make This Recipe Gluten-Free or Vegan-Friendly?
You can definitely make this recipe gluten-free and vegan-friendly. For gluten-free, use gluten-free cookies. To make it vegan, swap dairy ingredients for plant-based alternatives like vegan cream cheese, non-dairy milk, and vegan pudding mix.
What Are Some Creative Alternatives to Gummy Worms for the "Creepy Crawlies"?
You've got plenty of creepy options! Try licorice laces for "worms," gummy spiders or beetles, candy bones, or edible sugar ants. You can even make your own creepy crawlies using fondant or marzipan for a truly custom touch.