To make perfect ice cream at home every time, start by choosing high-quality ingredients and preparing your base thoroughly by dissolving sugar and chilling it for at least 4 hours. Use the right freezing method, like an ice cream maker or proper refrigeration, and add mix-ins at the right moment. For a smooth texture, incorporate stabilizers and avoid overmixing. Proper storage keeps it fresh. Keep learning to master all the tips for ultimate homemade ice cream.
Key Takeaways
- Use high-quality ingredients and ensure all equipment is clean for optimal flavor and safety.
- Chill the base mixture thoroughly for at least 4 hours to develop flavor and improve texture.
- Follow proper freezing techniques with an ice cream maker or precise methods to prevent ice crystal formation.
- Incorporate mix-ins during churning for even distribution and added texture.
- Store ice cream in airtight containers at consistent freezing temperatures to maintain creaminess and prevent freezer burn.

Cuisinart Ice Cream Maker Machine, 2-Quart Ice Cream, Sorbet and Frozen Yogurt Machine, Fully Automatic Double-Insulated Freezer Bowl Makes Frozen Desserts in Under 30 Minutes, ICE30BCP1, Silver
DOUBLE-INSULATED FREEZER BOWL: This Cuisinart Cuisinart Ice Cream Maker Machine with double-insulated freezer bowl holds a generous 2…
As an affiliate, we earn on qualifying purchases.
As an affiliate, we earn on qualifying purchases.
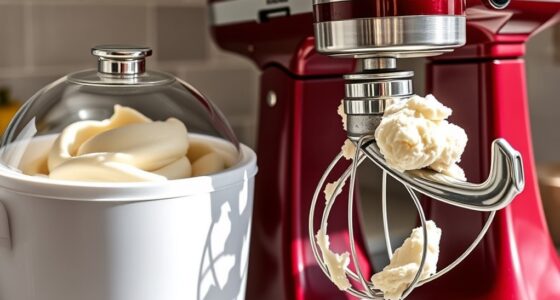
Gather Your Ingredients and Equipment

Before you begin making your ice cream, gather all the necessary ingredients and equipment. Start by sourcing ingredients that suit your flavor preferences, whether it’s fresh cream, milk, sugar, or unique mix-ins. Opt for high-quality products to guarantee the best results. When choosing equipment, select a reliable ice cream maker or a sturdy mixing bowl if you’re hand-churning. Make sure your tools are clean and ready to go. Having everything prepared beforehand streamlines the process and prevents disruptions later. Check that you have measuring cups, spoons, and any special utensils needed. Preparing your ingredients and equipment in advance helps you stay organized and focused, so you can enjoy the process of making perfect homemade ice cream without unnecessary stress. Proper preparation is key to achieving consistent results.

Priority Chef Premium Mixing Bowls With Lids Set, Airtight Lids, Thicker Stainless Steel, Non-Slip Base, 5 Nesting Steel Bowls for Kitchen, Large Prep Metal Bowl Set 1.5/2/3/4/5 Qt, Black
Premium Quality With Thicker Steel – This top rated set of mixing bowls is made using thicker than…
As an affiliate, we earn on qualifying purchases.
As an affiliate, we earn on qualifying purchases.
Prepare Your Base Mixture

Start by selecting high-quality ingredients to guarantee your ice cream tastes rich and fresh. Mix everything thoroughly and then chill the base to improve texture and flavor development. Taste and adjust the sweetness or flavors as needed before moving on to freezing. To achieve a smooth and consistent texture, consider the processing techniques used in dairy production, which can influence the final quality of your homemade ice cream. Incorporating the right filtration methods can help remove impurities from ingredients, ensuring a cleaner and purer base. Additionally, understanding color accuracy in ingredient selection can help you achieve a more vibrant and appealing final product. Employing temperature control during preparation can further enhance the texture and consistency of your ice cream. Proper handling procedures are essential to maintain ingredient freshness and prevent contamination, resulting in a superior homemade dessert.
Choose Quality Ingredients
Using high-quality ingredients is essential for creating rich, flavorful ice cream at home. To achieve this, prioritize local ingredients and opt for premium quality dairy, fruits, and flavorings. Fresh, local produce enhances taste and supports your community. Investing in premium ingredients may cost a bit more but results in a superior final product. Incorporating cultural significance into your ingredient choices can also elevate the overall dining experience. Additionally, selecting ingredients with authentic flavors ensures your ice cream authentically reflects traditional or regional tastes, adding depth and character to your homemade treats. As automation and data privacy concerns continue to evolve, choosing trustworthy ingredients and sources remains crucial for a successful culinary experience. Moreover, paying attention to AI safety measures can help ensure that your sourcing and food preparation processes adhere to the highest standards of quality and integrity. Considering the benefits of heat pumps in your home can also contribute to an energy-efficient environment that supports your culinary endeavors by reducing operational costs and environmental impact.
Mix Thoroughly and Chill
After selecting your high-quality ingredients, the next step is to combine them into a smooth, well-mixed base. Use a whisk or blender to mix thoroughly, ensuring the sugar dissolves fully and the ingredients are evenly incorporated. Proper mixing creates a consistent, creamy mixture that will yield better results. Once your base is smooth, transfer it to a container and chill thoroughly in the refrigerator. Chilling thoroughly is essential because it helps the flavors meld and cools the mixture to the right temperature for freezing. This step also improves texture, making your ice cream creamier and more enjoyable. Be patient—allow at least 4 hours or overnight for the best results. A well-mixed, thoroughly chilled base sets the foundation for perfect homemade ice cream. Additionally, ensure that your ingredients are free from contaminants to prevent health risks associated with improper handling, and using quality ingredients can significantly enhance the final flavor and texture of your ice cream. Incorporating proper food safety practices further ensures your ice cream remains safe and delicious. Also, using proper storage techniques helps maintain freshness and prevents spoilage during the chilling process. Using reliable appliances such as a good freezer or ice cream maker can also make a difference in achieving perfect results.
Adjust Flavor and Sweetness
To guarantee your ice cream has the perfect flavor and sweetness, taste your chilled base and make adjustments as needed. For sweetness adjustment, add a small amount of sugar, honey, or syrup gradually, tasting after each addition to prevent oversweetening. If the base feels too sweet, balance it with a splash of lemon juice or a pinch of salt to enhance the overall flavor. Proper flavor balancing involves evaluating the current taste and making subtle tweaks—adding vanilla extract, cocoa, or fruit purees to enrich the flavor profile. Remember, flavors often develop as the mixture chills, so avoid overcorrecting at this stage. Adjust gradually until the taste is just right, ensuring your final ice cream is perfectly sweet and well-balanced. Additionally, understanding macronutrient ratios can help tailor your flavor adjustments for specific dietary preferences. Being aware of dynamic communication exercises for couples can also inspire you to share your culinary creations with loved ones, fostering connection and shared joy in the process. Incorporating flavor development techniques can further improve the depth and complexity of your homemade ice cream. Moreover, exploring remote hackathons can spark new ideas and techniques for innovative recipes and presentation styles.

Avacream Ice Cream Stabilizer Mix (8 oz)
Avacream – Ice Cream Stabilizer Mix is a standarized blend of hydrocolloids and emulsifiers from vegetable and seaweed…
As an affiliate, we earn on qualifying purchases.
As an affiliate, we earn on qualifying purchases.
Chill the Mixture Thoroughly

Chilling the mixture thoroughly is vital to achieve the perfect creamy texture in your homemade ice cream. To do this, ensure your mixture reaches the freezing temperature, typically around 0°F (-18°C). Proper refrigeration duration allows the flavors to meld and the mixture to cool evenly, which is essential before churning. Aim to refrigerate the mixture for at least 4 hours, or ideally overnight, to guarantee it’s well chilled. The longer it spends in the fridge, the better the texture and taste will be. Avoid rushing this step, as insufficient chilling can lead to icy, grainy ice cream. Taking the time to thoroughly chill your mixture sets the foundation for smooth, velvety ice cream every time. Additionally, understanding the importance of proper refrigeration techniques can help you achieve consistent results.
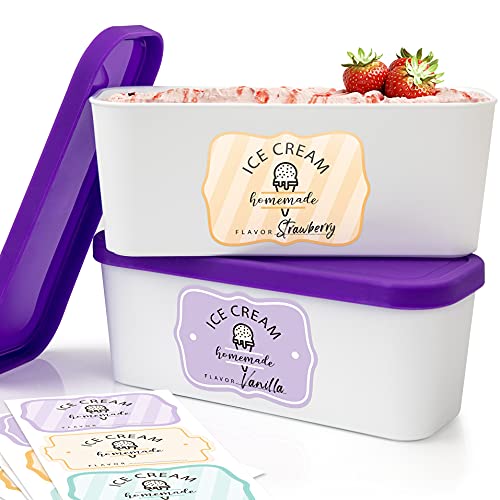
Set of 2 Reusable Ice Cream Tub Containers 1.6 Quart Ea. – Perfect for Homemade Sorbet, Frozen Yogurt Or Gelato – Stackable Storage Containers, Stickers And Lids Stores Easily In Freezer
Perfect For Homemade Ice Cream & More: The ice cream tub set of 2 is a great way…
As an affiliate, we earn on qualifying purchases.
As an affiliate, we earn on qualifying purchases.
Use the Right Freezing Method
Choosing the right freezing method is vital for achieving smooth, creamy ice cream. The type of freezing equipment you use directly impacts the texture and quality of your final product. If you have an ice cream maker with a built-in compressor, you can skip pre-freezing the bowl and maintain consistent temperature control throughout the process. For those using a traditional ice and salt method, precise control of the mixture’s temperature is indispensable—keep it cold enough to freeze evenly without becoming too hard. No matter which method you choose, monitor the temperature carefully. Proper freezing equipment and consistent temperature control ensure your ice cream freezes uniformly, prevents ice crystal formation, and results in a silky, professional-quality treat every time. Additionally, understanding cookie usage policies can help you manage your preferences for website functionality and privacy. Using the right filtration system can also help keep your ice cream free of unwanted particles, ensuring a smooth texture. Selecting the appropriate freezing method and maintaining optimal temperature are essential for achieving the best possible texture and flavor in your homemade ice cream.
Incorporate Texture and Mix-ins

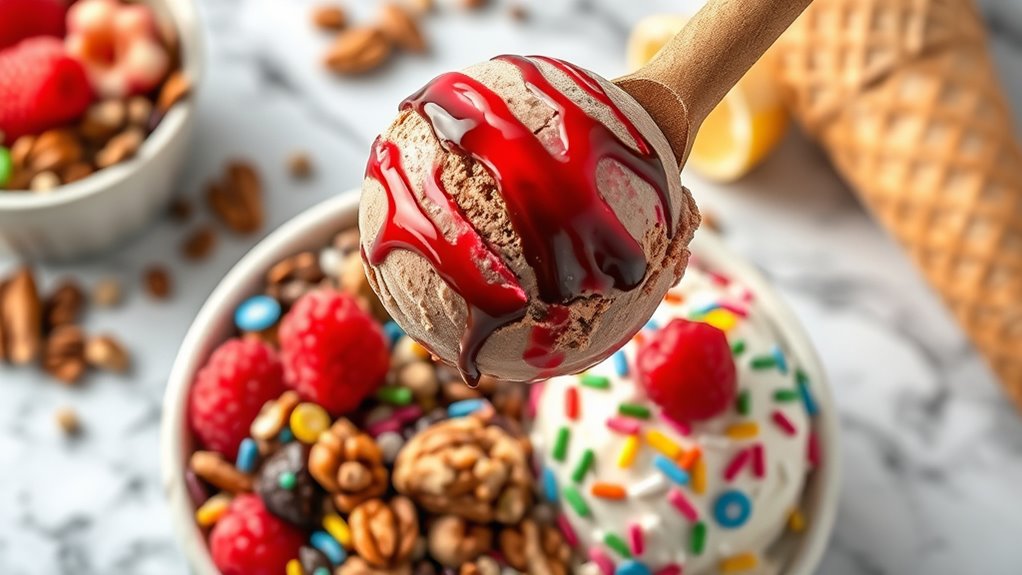
Adding texture and mix-ins is a great way to customize your homemade ice cream and make it more enjoyable. Incorporating texture contrast keeps each bite exciting and prevents your ice cream from feeling monotonous. You can experiment with various mix in options to enhance flavor and add visual appeal. When choosing mix-ins, consider their texture, size, and flavor compatibility.
Adding mix-ins creates exciting texture and flavor variety in homemade ice cream.
Some great options include:
- Chopped chocolate or cookies
- Fresh fruit pieces
- Nuts or toasted seeds
- Swirls of caramel or fudge
- Candy bits or sprinkles
Mix in options should be added at the right moment—usually during the churning process—to evenly distribute and prevent sinking. This ensures every scoop offers a delightful combination of flavors and textures.
Achieve a Creamy Consistency
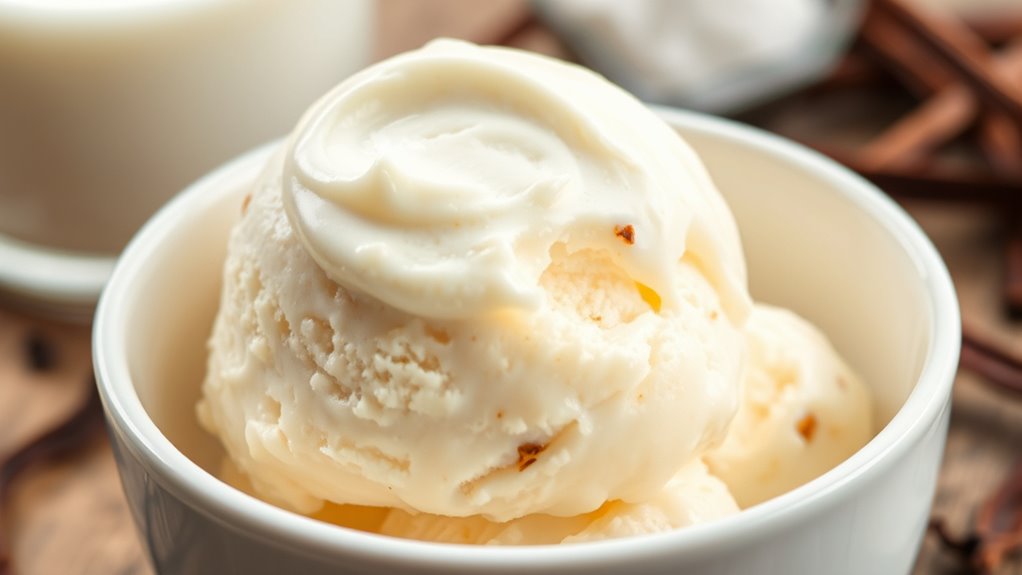
To get that smooth, creamy texture, start by chilling your mixture thoroughly before freezing. Using stabilizers like gelatin or egg yolks can also help prevent ice crystals and create a richer consistency. Properly managing these steps makes all the difference in achieving perfect ice cream at home.
Chill the Mixture
Have you ever wondered why chilling your ice cream mixture is so important? Proper chilling ensures your ice cream becomes irresistibly creamy and smooth. It helps with temperature control, preventing ice crystals from forming and improving texture. To achieve this, carefully select a container that distributes cold evenly and allows quick cooling.
- Use a shallow, wide container for faster chilling
- Cover tightly to prevent ice crystals and absorb odors
- Chill the mixture for at least 2-4 hours or overnight
- Stir occasionally during chilling to promote even cooling
- Keep the mixture at a consistent temperature before churning
Use Stabilizers Wisely
Using stabilizers wisely can make a significant difference in achieving a smooth, creamy ice cream. The right stabilizer types, such as guar gum, carrageenan, or xanthan gum, help prevent ice crystal formation and improve texture. When it comes to stabilizer usage, start with small amounts—usually around 0.2-0.5% of your total mixture weight—and adjust as needed. Too much stabilizer can make the ice cream gummy or overly dense, so measure carefully. Incorporate stabilizers gradually, blending them thoroughly into your mixture before churning. This ensures even distribution and excellent results. Proper stabilizer use enhances creaminess, giving your ice cream that perfect, velvety consistency every time. Remember, balance is key to achieving professional-quality homemade ice cream.
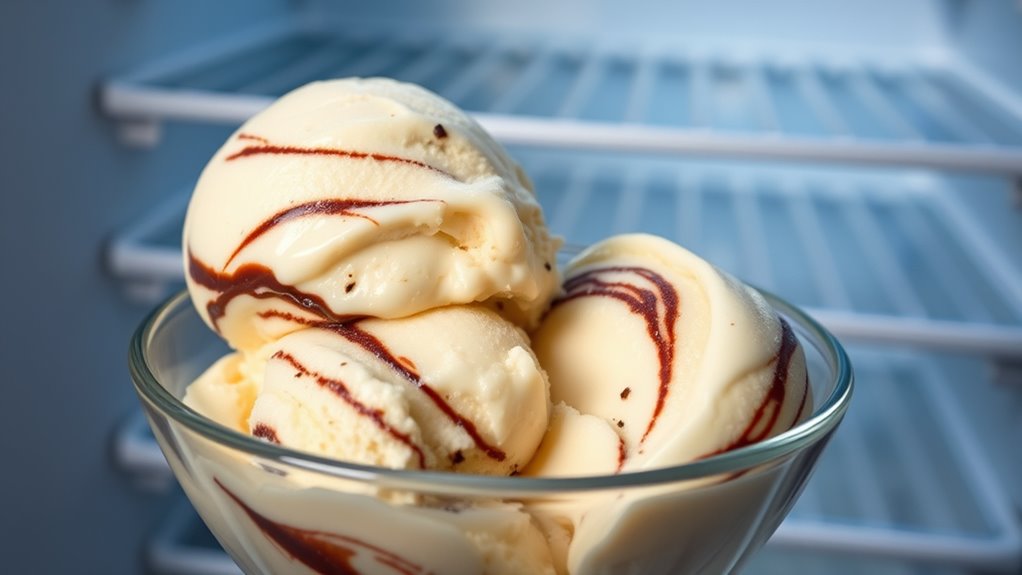
Store and Maintain Your Ice Cream

Proper storage is essential to keep your homemade ice cream fresh and maintain its creamy texture. To do this, focus on effective ice cream storage and good freezer organization. Keep your ice cream in an airtight container to prevent freezer burn and absorption of other odors. Always label your containers with the date to track freshness. Maintain a consistent freezer temperature, ideally around 0°F (-18°C), to prevent ice crystals from forming. For better freezer organization, store your ice cream in the coldest part and avoid over-packing, which can raise temperature. Here are some tips:
- Use sturdy, airtight containers
- Keep the ice cream in the back of the freezer
- Avoid frequent temperature fluctuations
- Wrap containers with plastic wrap
- Rotate stock regularly to use older ice cream first
Troubleshoot Common Issues

Even with careful preparation, you might encounter common issues when making homemade ice cream. One problem is overmixing, which can lead to a gritty texture or ice crystals. To prevent this, mix just until the ingredients are combined. Freezer burn is another issue, caused by exposure to air or improper storage, resulting in dry, flavorless ice cream. To avoid this, always cover your ice cream tightly and consume it within a few weeks. Here’s a quick guide:
| Issue | Cause | Solution |
|---|---|---|
| Overmixing | Excessive blending | Mix only until smooth |
| Freezer Burn | Air exposure, long storage | Seal well and consume quickly |
| Texture Problems | Inconsistent churning | Use proper equipment and timing |
Stay attentive, and you’ll keep your ice cream silky and delicious.
Get Creative With Flavors and Variations
Getting creative with flavors and variations allows you to customize your homemade ice cream and make it uniquely yours. Experiment with unique flavor combinations like lavender and honey or chili and chocolate to surprise your taste buds. Incorporate dietary alternatives such as dairy-free milks, coconut cream, or sugar substitutes to accommodate different needs. This approach keeps your ice cream exciting and accessible for everyone.
Consider these ideas:
- Mix in fresh fruit, nuts, or candy pieces
- Create swirls with caramel, fudge, or fruit preserves
- Use herbs or spices like basil or cinnamon for added depth
- Blend in vegan or gluten-free ingredients
- Try infusing with extracts like vanilla or almond for extra flavor
The possibilities are endless—have fun customizing your perfect ice cream!
Frequently Asked Questions
How Long Should I Ideally Churn My Ice Cream for the Best Texture?
You should churn your ice cream for about 20-30 minutes for the best texture. Keep an eye on the churning speed—it should be steady but gentle to create a smooth consistency. Also, make certain your ingredients are cold, ideally just above freezing, as warmer ingredients can affect churning time and texture. Adjust the time slightly if needed, but avoid over-churning, which can make your ice cream overly hard.
Can I Make Dairy-Free Ice Cream at Home Successfully?
Did you know that plant-based diets are on the rise, with 39% of Americans interested in dairy-free options? You can definitely make dairy-free ice cream at home successfully. Just use dairy-free ingredients like coconut milk, almond milk, or cashew cream, which work as excellent alternative milk bases. Blend your ingredients, add flavorings, and churn. With a little experimentation, you’ll create creamy, delicious dairy-free ice cream every time!
What’s the Best Way to Prevent Ice Crystals From Forming?
To prevent ice crystal formation, you should focus on proper freezing techniques. Stir your ice cream mixture every 30-45 minutes during freezing to break up large crystals. Using a shallow, airtight container helps minimize air exposure and keeps temperature consistent. Adding alcohol or sugar lowers the freezing point, reducing large ice crystals. These methods guarantee your ice cream remains smooth and creamy, giving you perfect results every time.
How Do I Adjust Recipes for Larger or Smaller Batches?
With recipe scaling and batch size adjustment, you can easily make more or less ice cream. To modify your recipe, simply multiply or divide each ingredient by the same factor based on your desired batch size. Keep in mind, larger batches might need slightly longer churning or freezing times. Always taste and adjust sweetness or flavorings as needed after scaling to ensure your ice cream turns out perfect.
Are There Specific Types of Equipment That Yield Better Results?
Choosing the right equipment is like selecting a fine instrument for a symphony. For better ice cream texture, invest in a high-quality ice cream maker with a built-in churn or compressor. Regular equipment maintenance keeps things humming smoothly, preventing ice crystals and ensuring creamy results. While manual hand-crank machines work, electric models often produce more consistent, professional-quality ice cream, making your homemade treats truly sing.
Conclusion
Think of making perfect ice cream at home as orchestrating a delicious symphony. With the right ingredients, patience, and a bit of creativity, you’ll craft a masterpiece every time. Remember, each step is a note that brings harmony to your frozen treat. So, embrace the process, experiment with flavors, and enjoy the sweet melody of your homemade ice cream—your taste buds will thank you for the sweet serenade.