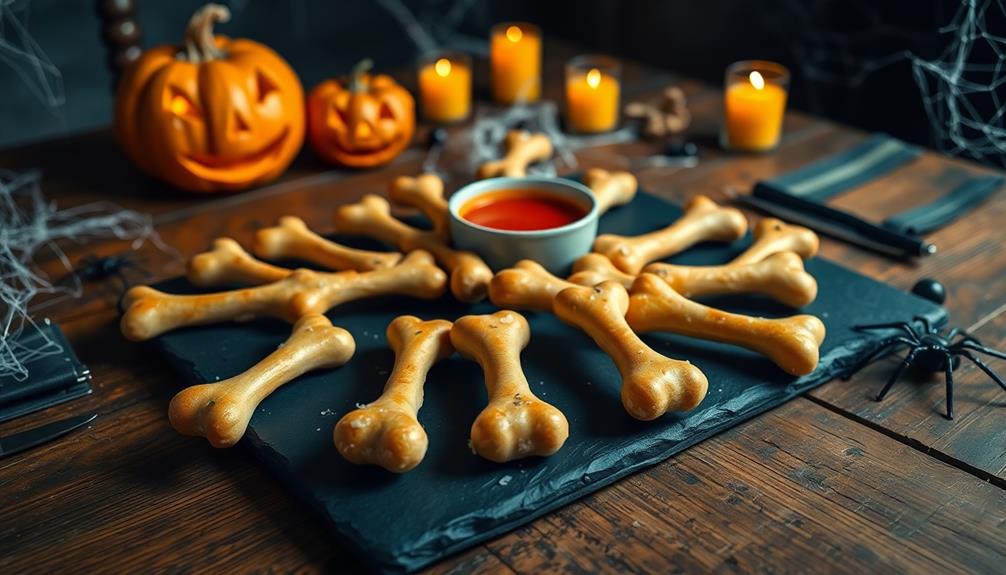
Skeleton bone breadsticks are a spooky twist on traditional Italian grissini, perfect for Halloween parties or Day of the Dead celebrations. You'll need all-purpose flour, yeast, salt, sugar, warm water, and olive oil to create these eerie treats. The key to their bone-like appearance lies in the shaping technique: roll the dough into ropes, form knobs at both ends, and flatten the center slightly. Brush with egg wash and sprinkle with coarse sea salt before baking at 375°F until golden brown. These savory snacks pair well with dips like blood-red marinara or ghoulish green pesto. For an even more spine-tingling experience, explore creative variations and serving suggestions.
Key Takeaways
- Skeleton Bone Breadsticks combine Italian grissini tradition with Halloween and Day of the Dead themes.
- Key ingredients include all-purpose flour, bread flour, yeast, salt, sugar, warm water, and olive oil.
- Dough preparation and shaping techniques are crucial for achieving a realistic bone-like appearance.
- Bake at 375°F (190°C) on parchment-lined sheets, brushing with egg wash and sprinkling with toppings before baking.
- Serve at Halloween parties or Day of the Dead gatherings, paired with themed dips like blood-red marinara sauce.
History

Three distinct culinary traditions converged to create the whimsical Skeleton Bone Breadsticks we know today. You'll find their origins rooted in:
- Italian grissini: These thin, crispy breadsticks date back to 17th-century Turin. Bakers crafted them to aid the young Duke of Savoy's digestion.
- Day of the Dead celebrations: Mexico's vibrant holiday honors deceased loved ones with skeleton-themed foods and decorations.
- Halloween party snacks: The spooky holiday's influence on themed treats has grown since the mid-20th century.
In the 1980s, creative home cooks began experimenting with shaping breadsticks to resemble bones for Halloween parties.
By the 1990s, you'd see these ghoulish treats popping up in cookbooks and magazines. The trend gained momentum as food blogs and social media emerged in the 2000s, allowing bakers to share their bone-shaped creations worldwide.
Today, you'll find Skeleton Bone Breadsticks as a popular addition to Halloween spreads and Day of the Dead-inspired gatherings.
They've evolved from a niche party snack to a beloved seasonal treat, with countless variations on the basic recipe available online and in cookbooks.
Recipe

These spooky Skeleton Bone Breadsticks are the perfect addition to any Halloween party or themed dinner. With their eerie shape and delicious taste, they're sure to be a hit with both kids and adults alike.
These breadsticks aren't only fun to look at but also easy to make, requiring just a few simple ingredients and some basic shaping techniques. The key to achieving the bone-like appearance lies in the dough preparation and shaping process.
By using a combination of all-purpose flour and bread flour, you'll get the right texture for molding the dough into convincing bone shapes. The addition of herbs and Parmesan cheese gives these breadsticks a savory flavor that pairs well with soups, salads, or as a standalone snack.
- 2 cups all-purpose flour
- 1 cup bread flour
- 2 1/4 tsp active dry yeast
- 1 tsp salt
- 1 tsp sugar
- 1 1/4 cups warm water
- 2 tbsp olive oil
- 1 tsp dried rosemary
- 1 tsp dried thyme
- 1/4 cup grated Parmesan cheese
- 1 egg white (for egg wash)
- Coarse sea salt (for sprinkling)
To make the breadsticks, combine the flours, yeast, salt, and sugar in a large bowl. Add warm water and olive oil, mixing until a dough forms. Knead the dough for about 10 minutes, then let it rise in a warm place for an hour.
Once risen, divide the dough into 12 portions. Roll each portion into a rope, then shape it to resemble a bone by creating knobs at each end. Place the shaped breadsticks on a baking sheet, brush with egg wash, sprinkle with herbs, Parmesan, and sea salt, then bake at 400°F (200°C) for 15-20 minutes until golden brown.
For best results, make sure your yeast is fresh and active. If you want to make the breadsticks ahead of time, you can prepare the dough and shape the bones, then refrigerate them overnight. Bring them to room temperature before baking.
To achieve a more realistic bone-like appearance, you can use kitchen scissors to make small cuts along the length of the breadsticks before baking. This will create a more textured surface that resembles the grooves and ridges found in real bones.
Cooking Steps
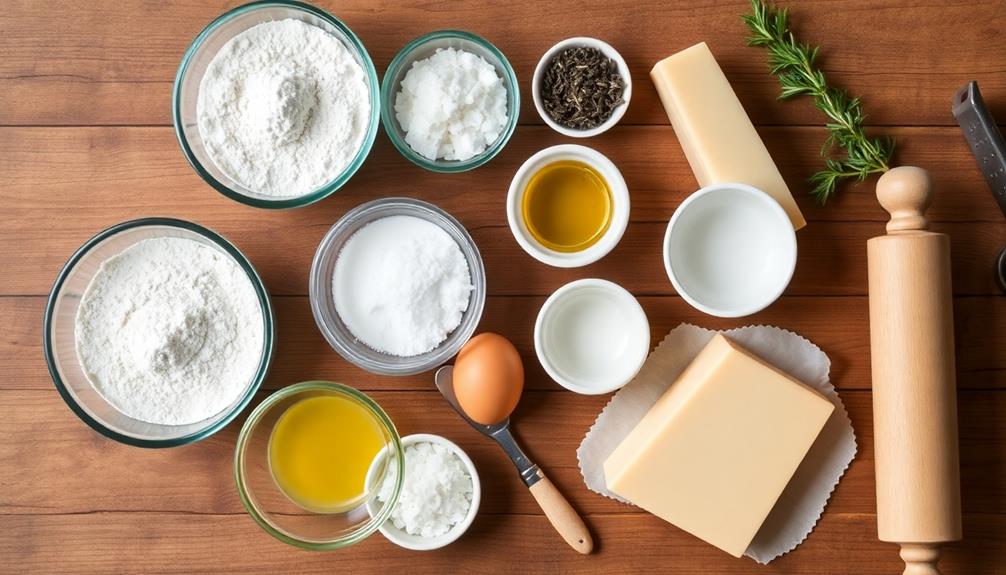
You'll start by preheating your oven to 375°F and mixing the dry ingredients together in a large bowl.
Next, you'll need to add the yeast to warm water, allowing it to activate before combining it with the dry mixture and kneading until you have a smooth, elastic dough.
Step 1. Preheat Oven to 375°F
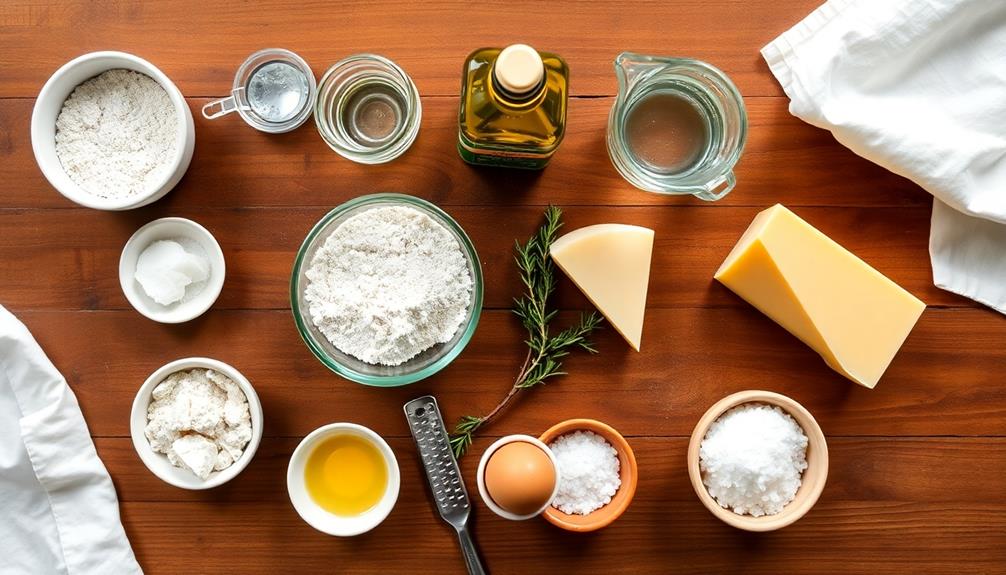
Before diving into the dough preparation, it's crucial to preheat your oven to 375°F (190°C). This step ensures your oven reaches the ideal temperature for baking your spooky skeleton bone breadsticks. Regular maintenance of your kitchen appliances, including ovens, can also enhance their performance, ensuring even cooking and reliable results.
Here's why preheating is so important:
- It creates an even cooking environment
- It helps your breadsticks rise properly
- It ensures a crispy exterior and soft interior
While your oven's heating up, you'll have time to gather your ingredients and prepare your workspace. Don't rush this process; a properly preheated oven is key to achieving that perfect golden-brown color and bone-like texture.
Additionally, monitoring your kitchen's air quality can prevent dust and allergens from settling on your food, ensuring a cleaner cooking environment air quality indicators.
If you're using a convection oven, you might want to lower the temperature by about 25°F, as these ovens tend to cook food faster. Remember, every oven is slightly different, so you may need to adjust cooking times accordingly.
Once your oven signals it's reached 375°F, give it an extra 10-15 minutes to ensure it's thoroughly heated. This extra time allows the oven walls to absorb heat, creating a more stable cooking environment for your skeleton bone breadsticks.
Step 2. Mix Dry Ingredients Together
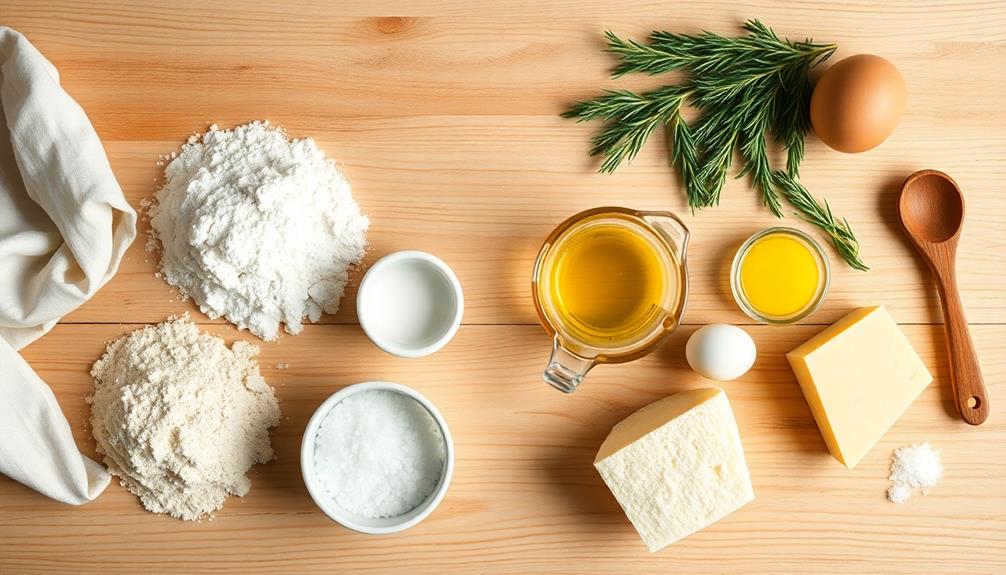
Typically, the first step in preparing your skeleton bone breadsticks is mixing the dry ingredients.
You'll need to gather all-purpose flour, salt, and baking powder. In a large mixing bowl, combine 2 cups of flour, 1 teaspoon of salt, and 1 teaspoon of baking powder. Use a whisk or fork to thoroughly blend these ingredients, ensuring there are no lumps or pockets of unmixed powder.
It's crucial to mix the dry ingredients well before adding any wet components. This step helps distribute the salt and baking powder evenly throughout the flour, which will result in a consistent texture and flavor in your finished breadsticks.
If you're feeling adventurous, you can add some dried herbs or spices to the mix at this point. A pinch of garlic powder or dried rosemary can add an extra dimension of flavor to your skeleton bones.
Once you've mixed the dry ingredients, create a well in the center of the bowl. This depression will be where you'll add the wet ingredients in the next step, making it easier to gradually incorporate them into the dry mix.
Step 3. Add Yeast to Warm Water
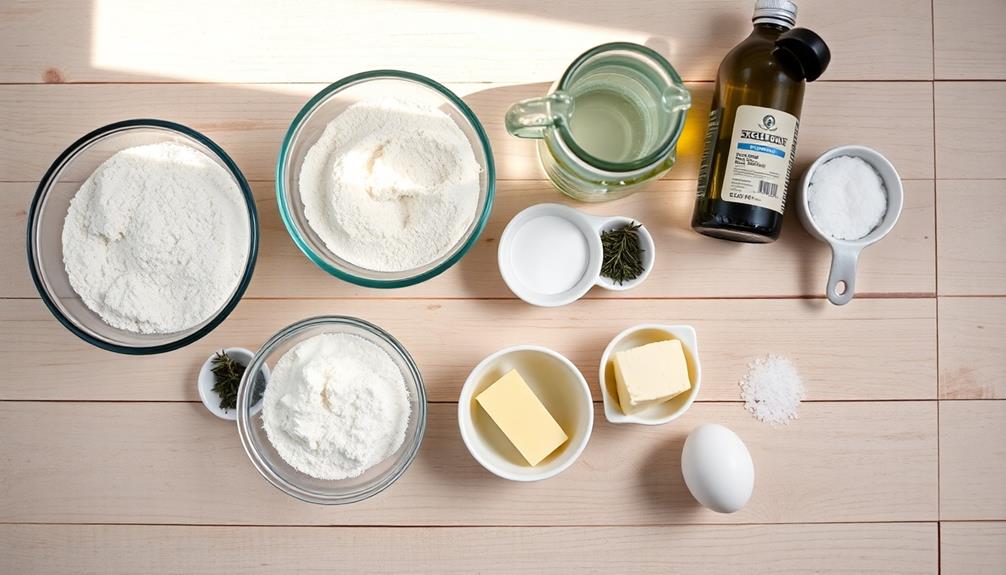
With the dry ingredients mixed, it's time to prepare the yeast. This step is crucial for your skeleton bone breadsticks, as it'll bring your dough to life.
You'll need to activate the yeast in warm water, which creates the perfect environment for it to thrive. Start by measuring out the specified amount of warm water. It should be between 100°F and 110°F (37°C to 43°C). If it's too hot, you'll kill the yeast; if it's too cold, it won't activate properly. Use a thermometer to ensure accuracy.
Once you've got the right temperature, sprinkle the yeast over the water's surface. Next, add a pinch of sugar to feed the yeast. Gently stir the mixture and let it sit for about 5-10 minutes.
You'll know it's ready when you see a frothy layer on top, which indicates that the yeast is active and ready to work its magic in your dough.
Step 4. Knead Dough Until Elastic

After activating the yeast, it's time to knead your dough into a smooth, elastic consistency. This crucial step develops the gluten in your flour, giving your skeleton bone breadsticks their characteristic chewy texture. Incorporating techniques from yoga for back pain can help alleviate any strain you might feel during this process. Here's how to do it:
- Place your dough on a lightly floured surface.
- Push the dough away from you with the heel of your hand.
- Fold the dough back over itself.
- Give it a quarter turn and repeat.
Continue this process for about 10 minutes, or until the dough becomes smooth and elastic. You'll know it's ready when it springs back when you press it with your finger.
Don't worry if it's sticky at first; as you knead, it'll become less so.
If you're new to breadmaking, you might find this step a bit tiring. But don't give up! It's an essential part of the process that'll make your skeleton bones look authentically "bony" when baked.
Plus, it's a great arm workout! Remember, practice makes perfect, and soon you'll be kneading like a pro.
Once your dough is elastic, it's ready for the next step in creating your spooky Halloween treats.
Step 5. Shape Dough Into Bones
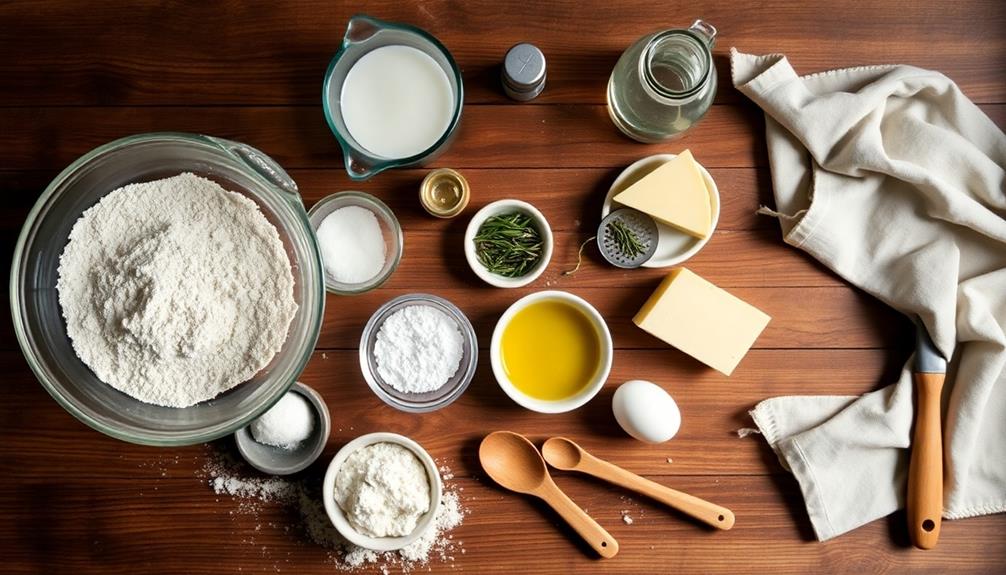
Having kneaded your dough to perfection, it's time to transform it into spooky skeleton bones.
Divide your dough into 12 equal portions, and roll each piece into a rope about 10 inches long. To create the bone shape:
- Form knobs at each end by gently pinching and rolling the dough between your fingers.
- Slightly flatten the center of the rope for a more realistic bone appearance.
- For added detail, use a knife to make small indentations along the length of the bone.
Place your shaped bones on a parchment-lined baking sheet, leaving about 2 inches of space between each one. They'll need room to rise and expand during baking.
If you're feeling extra creative, you can form some of the bones into different shapes, like ribcages or finger bones, to add variety to your skeleton-themed spread.
Final Thoughts
These Skeleton Bone Breadsticks are sure to be a hit at your next Halloween party or spooky gathering. They're not only deliciously crunchy but also visually striking, making them a perfect addition to your themed spread.
As you've learned, creating these eerie treats isn't as daunting as it might seem. With a bit of patience and creativity, you'll have a platter full of bone-chilling snacks in no time. Plus, serving these alongside freshly made dips can enhance the overall experience, just like how air purifiers can improve indoor air quality for a more enjoyable gathering.
Remember, the key to success lies in the details. Don't rush the shaping process, and take care to create realistic-looking joints and knobs. If you're feeling adventurous, you can experiment with different seasonings or dips to complement the breadsticks. A blood-red marinara sauce or a ghoulish green pesto could add an extra layer of spookiness to your presentation.
Lastly, don't forget to have fun with the process! Baking these Skeleton Bone Breadsticks can be a great activity to do with friends or family, especially children who'll love getting their hands messy while creating edible art.
Frequently Asked Questions
Are Skeleton Bone Breadsticks Suitable for Vegetarians or Vegans?
You'll find that most breadsticks are suitable for vegetarians, but not always for vegans. It depends on the ingredients used. Check the label or ask the manufacturer to be sure about specific dietary restrictions.
How Long Do Skeleton Bone Breadsticks Stay Fresh After Baking?
You'll find your breadsticks stay fresh for 2-3 days when stored in an airtight container at room temperature. If you want them to last longer, you can freeze them for up to 3 months. They're best enjoyed fresh, though!
Can Skeleton Bone Breadsticks Be Frozen for Later Use?
Yes, you can freeze breadsticks for later use. They'll stay fresh for up to 3 months when properly stored. Wrap them tightly in plastic wrap and place in a freezer bag. Thaw at room temperature before reheating.
What Are Some Popular Dips to Serve With Skeleton Bone Breadsticks?
You'll love pairing these breadsticks with marinara sauce, garlic aioli, or spinach artichoke dip. Don't forget classic options like ranch or cheese dip. For a spooky twist, try a pumpkin-based dip or black bean hummus.
Are There Gluten-Free Alternatives for Making Skeleton Bone Breadsticks?
Yes, you can make gluten-free "bone" breadsticks! Try using almond flour, rice flour, or a gluten-free all-purpose blend. You'll need to adjust the recipe slightly, but you'll still achieve that spooky, bone-like appearance for your Halloween spread.
