
Yes, homemade ice cream can go bad if not stored properly. It usually lasts 1-2 months in the freezer, but signs like off smell, ice crystals, or freezer burn mean it’s time to toss it. To keep it fresh longer, use airtight containers, maintain a consistent cold temperature below 0°F, and include stabilizers if needed. Want to learn the best storage tricks and avoid common mistakes? Keep exploring to guarantee your treat stays delicious!
Key Takeaways
- Homemade ice cream typically lasts 1-2 months if properly stored; beyond that, quality decreases and spoilage signs may appear.
- Proper airtight containers and consistent freezing below 0°F (-18°C) prevent freezer burn and microbial growth.
- Signs of spoilage include off smell, ice crystals, freezer burn, discoloration, or mold, indicating the ice cream has gone bad.
- Using stabilizers and proper handling techniques helps maintain smooth texture and extends shelf life.
- Thaw ice cream in the refrigerator to preserve quality and prevent contamination, avoiding room temperature thawing.
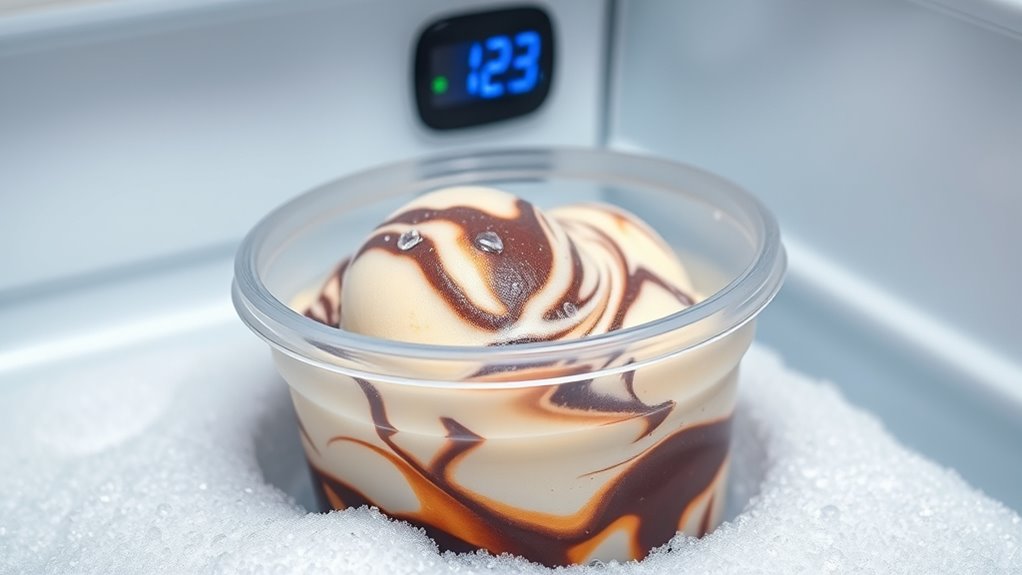
How Long Can Homemade Ice Cream Last in the Freezer?
How long can homemade ice cream last in the freezer? Generally, it stays good for about 1 to 2 months if stored properly. To preserve flavor variations and ingredient substitutions, make sure you use airtight containers to prevent freezer burn. Keep in mind that different recipes may have slight variations in shelf life, especially if you’ve added fresh fruit or dairy. Over time, flavors can become muted, and textures may change. If you notice ice crystals forming or an off smell, it’s best to discard it. For best results, consume your homemade ice cream within the first month for ideal flavor and texture. Proper storage helps maintain your creative flavor variations and ingredient substitutions, ensuring each scoop tastes as fresh as when you made it. Additionally, understanding freezer storage tips can help maximize freshness and prevent spoilage, especially when considering Tuning techniques that optimize performance and longevity.
Signs That Homemade Ice Cream Has Gone Bad
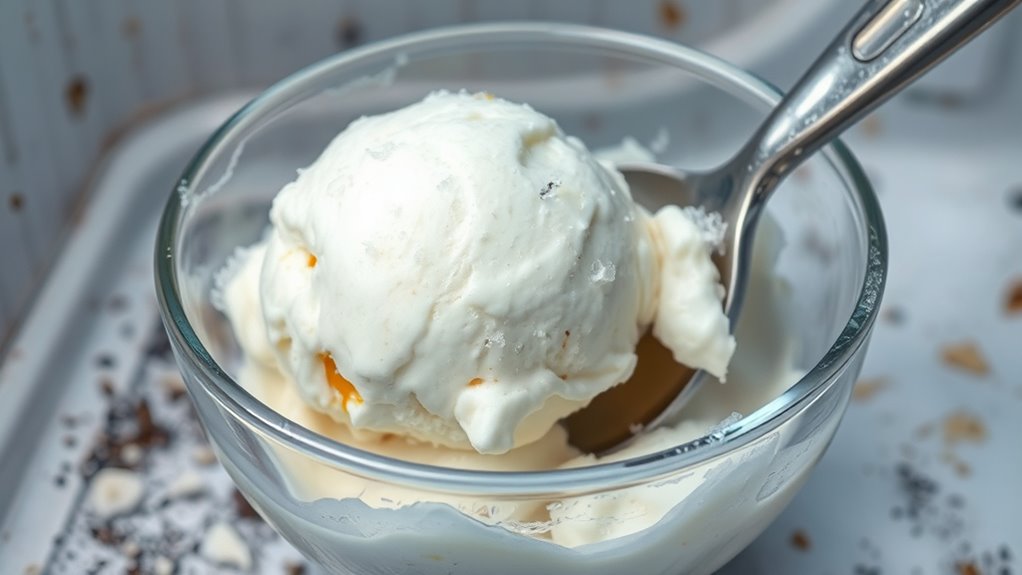
Even when stored properly, homemade ice cream can spoil over time, and recognizing the signs is key to avoiding health risks. The shelf life of homemade ice cream varies, but spoilage indicators often appear before the expiration date. Keep an eye out for these signs:
- Unpleasant odor: A sour or off smell indicates bacterial growth.
- Ice crystals or freezer burn: Excessive ice can suggest improper storage or spoilage.
- Changes in texture: A slimy or grainy consistency signals deterioration.
- Discoloration or mold: Visible spots or mold growth mean it’s time to discard.
- Inadequate Seal Integrity: can also lead to spoilage, allowing air and contaminants to enter the container. Proper sealing techniques help maintain freshness and prevent contamination. Additionally, understanding storage duration guidelines for homemade ice cream can help you determine when it’s best to discard leftovers to ensure safety. Regularly monitoring temperature control during storage is also essential to prevent bacterial growth and maintain quality. Being aware of storage conditions, such as avoiding temperature fluctuations, can further extend the shelf life of your homemade treat.
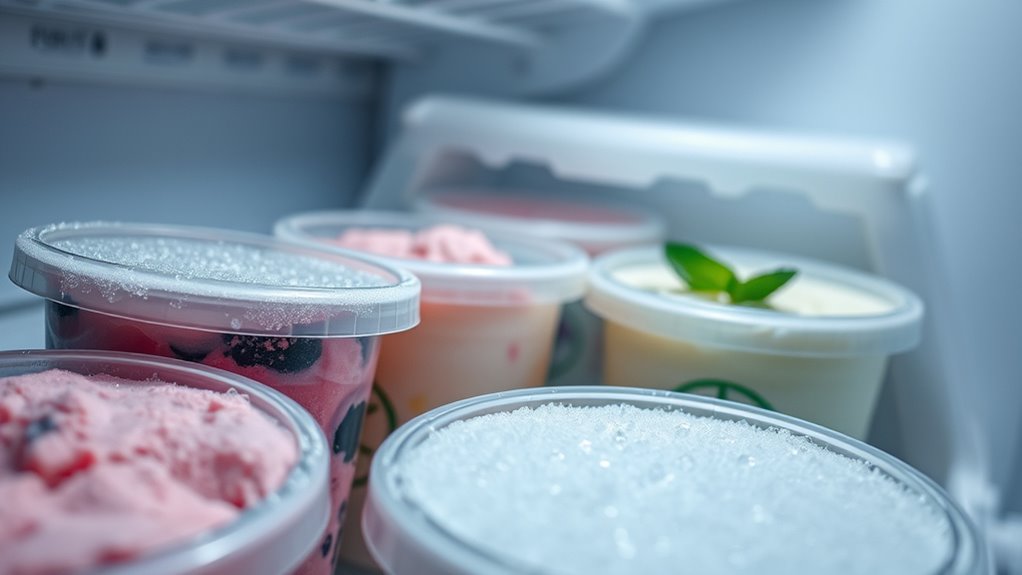
Proper Storage Containers for Homemade Ice Cream

Choosing the right storage container is essential to keep your homemade ice cream fresh and prevent spoilage. Opt for sustainable packaging options, such as biodegradable or eco-friendly containers, to reduce environmental impact. Reusable containers are a smart choice—they’re durable, airtight, and keep ice cream better preserved. Look for containers with tight-fitting lids to prevent freezer burn and minimize air exposure. Avoid flimsy or porous materials like thin plastic wrap or paper cartons, which can lead to ice crystal formation and contamination. Silicone or glass containers with secure seals are excellent alternatives. Proper sealing and material durability are crucial factors in maintaining ice cream quality. Selecting containers with airtight seals helps keep your homemade ice cream fresher longer and prevents unwanted odors from seeping in. Additionally, choosing appropriate storage temperatures ensures optimal preservation and prevents bacterial growth. Maintaining a consistent freezer temperature is vital for preventing ice crystal formation and ensuring texture quality. Using proper storage techniques can significantly extend the shelf life of your ice cream and preserve its creamy texture. By choosing the proper storage containers, you guarantee your ice cream stays creamy and delicious longer, while also making environmentally conscious choices. Proper containers are key to maintaining quality and freshness.
The Importance of Temperature Control
Maintaining the correct temperature is essential for preserving the texture and flavor of your homemade ice cream. Fluctuations in temperature can cause ice crystals to form, ruining its smoothness. To guarantee freshness, keep your ice cream consistently cold, ideally below 0°F (-18°C). Proper temperature control helps extend storage duration and prevents spoilage. Be mindful of:
- Avoiding frequent temperature fluctuations during storage
- Using a reliable freezer thermometer to monitor conditions
- Keeping the freezer door closed as much as possible
- Storing ice cream in the coldest part of the freezer to prevent temperature swings
- Proper placement of the ice cream within the freezer can help maintain consistent temperatures and prevent uneven freezing. Ensuring your freezer maintains a steady temperature also supports the growth of beneficial bacteria control, which is crucial for food safety.
Consistent, ideal temperatures prevent the growth of bacteria and ice crystal formation. Additionally, understanding storage guidelines can help you better manage your frozen treats. By controlling storage temperature, you maximize your ice cream’s quality and enjoy it at its best longer.
How to Prevent Ice Crystal Formation

To prevent ice crystal formation in your homemade ice cream, it’s essential to incorporate practices that limit moisture and rapid temperature changes. One effective way is to use proper freezing techniques, such as placing the mixture in shallow, airtight containers to minimize air exposure. Stirring the ice cream periodically during the initial freezing process helps break up forming ice crystals and ensures a smoother texture. Make sure your freezer is set to the coldest setting to promote quick freezing, which reduces large ice crystal development. Avoid opening the freezer frequently, as fluctuating temperatures encourage crystal growth. Using ingredients like alcohol or sugar can also lower the freezing point, helping prevent large ice crystals. Additionally, employing proper tuning techniques that optimize your freezer’s performance can further enhance ice cream quality. Maintaining a consistent temperature is crucial for preventing unwanted crystal growth, and understanding freezing point depression can help you adjust recipes accordingly. Employing insulation methods can also help maintain stable temperatures and prevent temperature fluctuations that lead to ice crystal formation. Implementing a quality storage method ensures the ice cream remains at a consistent temperature, preventing unwanted crystal growth. Following these strategies keeps your ice cream creamy and free of unwanted ice crystal formation.
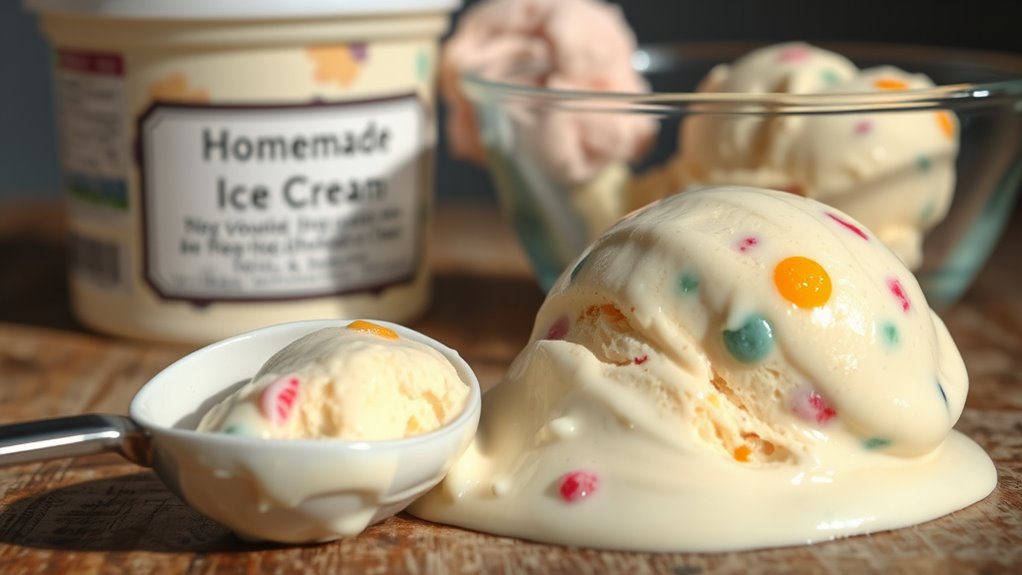
Tips for Extending the Freshness of Your Ice Cream

To keep your homemade ice cream fresh for as long as possible, it’s important to store it properly and minimize exposure to air and moisture. Proper sealing helps prevent freezer burn and maintains flavor integrity. Using airtight containers is key, especially if you’ve experimented with unique flavor combinations or ingredient substitutions. For added freshness, press a piece of plastic wrap directly onto the surface before sealing the container. Consider dividing large batches into smaller portions to reduce repeated exposure to air. Label your ice cream with the date to track freshness. To keep flavors vibrant, avoid mixing in ingredients that can spoil quickly or cause ice crystallization. Additionally, understanding energy-efficient storage techniques can help prevent spoilage and maintain optimal texture over time. Implementing proper temperature control within your freezer can further extend the shelf life of your homemade ice cream. When storing homemade ice cream, adding a layer of parchment paper on top before sealing can provide an extra barrier against moisture and air. These tips help preserve the taste, texture, and overall quality of your homemade treat.
The Role of Additives and Stabilizers in Preservation
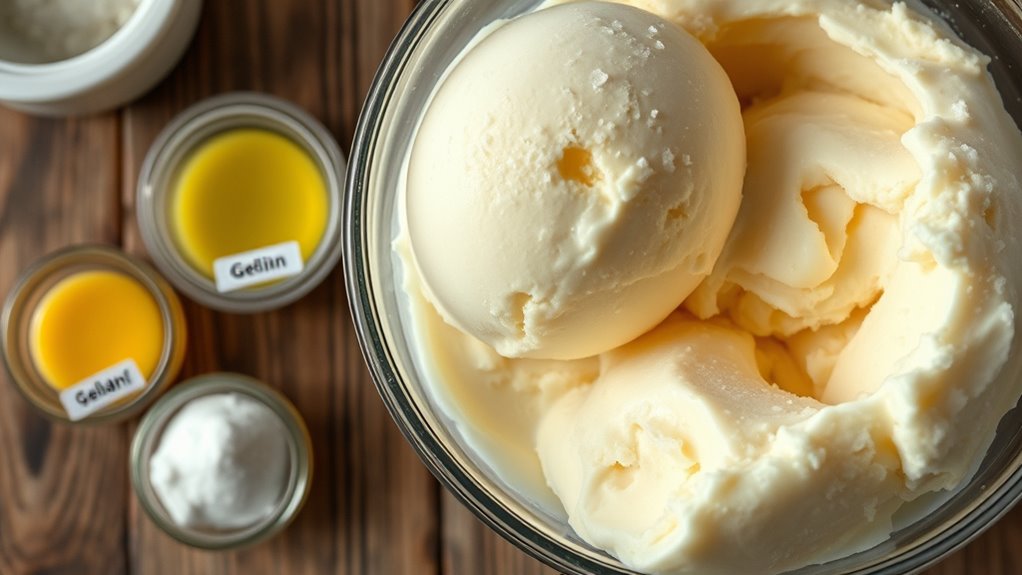
Additives and stabilizers play a key role in keeping your homemade ice cream fresh longer. Stabilizers help extend its quality by preventing the mixture from separating, while additives halt the formation of ice crystals. Together, they ensure your ice cream stays smooth and delicious.
Stabilizers Extend Freshness
Have you ever wondered how homemade ice cream stays fresh longer? Stabilizers play a key role in homemade ice cream preservation by preventing ice crystals and maintaining a smooth texture. They work by binding water molecules, which helps stabilize the mixture during freezing and storage. This means your ice cream remains creamy and enjoyable over time. Using stabilizers can considerably extend freshness, reducing spoilage and freezer burn.
Here are some ways stabilizers help:
- Keep ice cream soft and scoopable
- Prevent ice crystal formation
- Maintain consistent texture
- Lengthen shelf life
Incorporating stabilizers into your recipe ensures your homemade ice cream stays fresh longer, giving you more time to enjoy your delicious creation without worrying about it going bad.
Additives Prevent Ice Crystals
When you add certain ingredients to homemade ice cream, they actively prevent the formation of ice crystals, ensuring a smooth and creamy texture. These additives, like gelatin or guar gum, enhance ice crystal prevention by stabilizing water molecules and reducing large crystal growth. The additive benefits include better texture, extended freshness, and improved scoopability. To visualize, consider this table:
| Additive | Purpose | Result |
|---|---|---|
| Gelatin | Stabilizes water molecules | Creamy, smooth texture |
| Guar Gum | Binds water, prevents crystal growth | Softer, less icy ice cream |
| Corn Syrup | Lowers freezing point | Fewer large crystals |
Using these additives helps keep your homemade ice cream fresh longer and maintains that desirable velvety consistency.
Common Mistakes That Lead to Spoilage

One of the most common mistakes that leads to homemade ice cream spoilage is not storing it at the proper temperature. If your freezer isn’t cold enough, bacteria can develop, and ice crystals can form, ruining texture and flavor. Additionally, using improper flavor combinations or ingredient substitutions can introduce moisture or bacteria, accelerating spoilage.
To avoid these issues, watch out for:
- Leaving ice cream out at room temperature for too long
- Using ingredients past their expiration dates
- Mixing incompatible flavor combinations that may introduce moisture
- Not sealing containers tightly, allowing air and moisture in
Paying attention to proper storage practices guarantees your homemade ice cream stays fresh longer and maintains its delicious taste and texture.
Safe Thawing and Serving Practices
When thawing your homemade ice cream, use proper techniques like transferring it to the refrigerator to keep it safe. Make sure to serve it at the right temperature to prevent melting and bacteria growth. Also, avoid cross-contamination by using clean utensils and containers each time you scoop.
Proper Thawing Techniques
Proper thawing is essential to guarantee your homemade ice cream remains safe to enjoy and maintains its quality. To achieve this, follow safe thawing techniques that protect flavor consistency and preserve texture. Thaw your ice cream in the refrigerator for slow, even melting, which helps avoid ice crystal formation. Never thaw at room temperature, as this increases bacterial risk. Use a microwave on the defrost setting if you need faster results, but do so in short intervals to prevent melting. Always serve ice cream promptly after thawing to keep its original texture.
- Keep the ice cream in a sealed container during thawing
- Use a thermometer to monitor temperature
- Avoid refreezing melted ice cream
- Thaw in the refrigerator for best results
Serving Temperature Guidelines
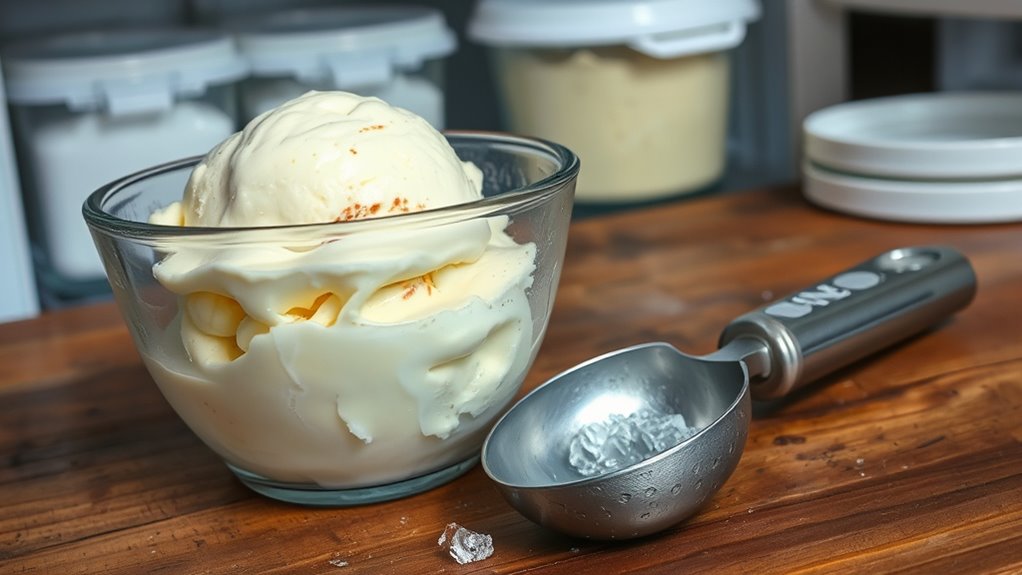
Serving ice cream at the right temperature is crucial to guarantee it tastes ideal and maintains its texture. The perfect serving temperature for homemade ice cream is around 6°F to 10°F (-14°C to -12°C). If it’s too cold, scooping becomes difficult, and the texture may be too hard or icy. Conversely, if it’s too warm, the ice cream will melt quickly, losing its creamy consistency. To ensure smooth ice cream scooping, keep it just below freezing, but not frozen solid. Before serving, let it sit at room temperature for a few minutes to soften slightly, making scooping easier. Maintaining the correct serving temperature enhances flavor and prevents melting too fast, ensuring a perfect, enjoyable experience every time.
Avoiding Cross-Contamination
Maintaining the right temperature for serving ice cream is important, but equally vital is preventing cross-contamination during thawing and serving. Cross contamination prevention helps avoid contamination risks that can compromise your ice cream’s safety and quality. To minimize these risks, always use clean utensils and serving dishes, and avoid double-dipping. Keep different flavors separate to prevent flavor transfer and contamination. Wash your hands thoroughly before handling ice cream, and store it in airtight containers. When thawing, do so in the refrigerator, not at room temperature, to control bacteria growth.
- Use separate utensils for different flavors
- Keep ice cream covered to prevent external contamination
- Never refreeze melted ice cream that has been out
- Regularly sanitize serving tools and containers
Frequently Asked Questions
Can Homemade Ice Cream Develop Harmful Bacteria Over Time?
Homemade ice cream can develop harmful bacteria over time if not stored properly. Bacterial growth occurs when it’s kept at unsafe temperatures, increasing the risk of spoilage indicators such as off smells or ice crystals. To prevent this, you should store your ice cream in an airtight container in the freezer and consume it within a couple of weeks. Regularly check for signs of spoilage before enjoying your homemade treat.
Does the Type of Freezer Affect Homemade Ice Cream’s Shelf Life?
Think of your freezer as the guardian of your homemade ice cream. The type of freezer and its temperature play a big role in preserving its quality. A freezer with a consistent, cold temperature (around 0°F) keeps ice cream fresh longer. Using an airtight storage container prevents freezer burn and keeps flavors locked in. So, yes, your freezer’s quality directly impacts how long your homemade treat stays delightful.
How Does Homemade Ice Cream Compare to Store-Bought in Spoilage Risk?
You might wonder about the shelf life comparison between homemade and store-bought ice cream. Homemade versions often have a shorter shelf life because they lack preservatives, making spoilage indicators like ice crystals or off odors more noticeable sooner. Store-bought ice cream usually lasts longer due to additives. To prevent spoilage, always check for changes in texture, smell, or appearance, and store both properly.
Can Homemade Ice Cream Cause Food Poisoning if Stored Improperly?
You’re playing with fire if you don’t store homemade ice cream properly, as it can cause food poisoning. Keep your freezer at the right temperature—around 0°F—and make certain ingredients are fresh before freezing. Even a small slip in storage habits can lead to bacteria growth. So, don’t leave it to chance; proper storage keeps your treat safe and tasty, and your health intact.
Are There Natural Preservatives That Can Extend Homemade Ice Cream’s Freshness?
You can extend your homemade ice cream’s freshness using natural preservatives like honey or lemon juice, which help inhibit bacteria growth. Additionally, flavor enhancers such as vanilla extract or cinnamon not only improve taste but also act as mild preservatives. Proper storage in airtight containers and keeping it consistently cold are essential. These natural options keep your ice cream fresher longer without artificial additives, ensuring every scoop stays delicious.
Conclusion
Now that you know the secrets to keeping your homemade ice cream fresh, imagine opening your freezer and finding a scoop that’s still perfectly creamy and delicious. But beware—without proper storage and attention, that tempting treat could turn icy or sour. Will your next batch stay heavenly or spoil before you get to enjoy it? Stay vigilant, follow these tips, and your homemade ice cream will remain a sweet surprise, ready whenever craving strikes.