You'll impress your Halloween party guests with a creepy and delicious Zombie Brain Cheese Ball, a festive appetizer that's both visually striking and tasty. This gruesome treat originated in the late 1990s and gained popularity with the zombie craze in pop culture. To create it, you'll mix cream cheese, cheddar, and seasonings, shape it into a brain, and add realistic details with food coloring and texture. Serve it with an array of crackers and veggies for a complete presentation. With its versatility, you can adapt this cheese ball for various occasions beyond Halloween. There's more to uncover about this spine-chilling centerpiece.
Key Takeaways
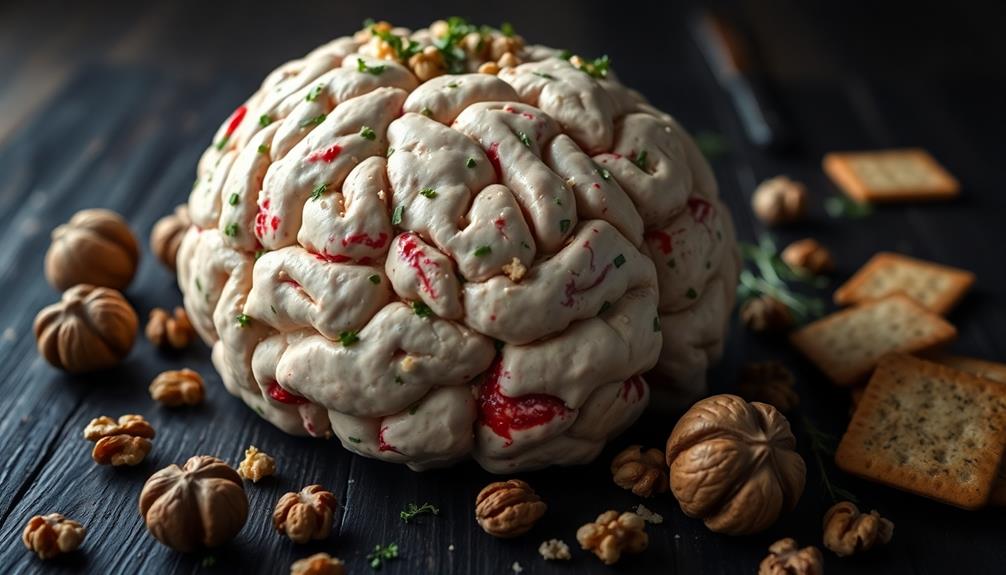
- A Zombie Brain Cheese Ball is a Halloween-themed appetizer shaped and decorated to resemble a brain.
- It typically contains cream cheese, cheddar cheese, and seasonings mixed together and molded into a brain shape.
- The surface is textured and colored with food coloring to mimic brain tissue and blood for a realistic appearance.
- Serve with crackers and vegetables for a creepy yet delicious party snack.
- Originated in the late 1990s and gained popularity with the rise of zombie-themed entertainment in pop culture.
History
The origins of the Zombie Brain Cheese Ball date back to the late 1990s when Halloween-themed party foods began to take off. You might remember this era as a time when creative, spooky appetizers started appearing at holiday gatherings.
The concept of a brain-shaped cheese ball quickly caught on, appealing to both horror enthusiasts and party hosts looking for unique offerings.
As the trend grew, recipe variations began popping up in magazines, cookbooks, and early food blogs. You'd find different cheese combinations, coatings, and serving suggestions, all designed to make your Zombie Brain Cheese Ball the hit of the party.
The dish's popularity soared in the early 2000s, coinciding with the zombie craze in pop culture.
Today, you'll find countless versions of the Zombie Brain Cheese Ball, from simple recipes using basic ingredients to more elaborate creations featuring intricate details and gory embellishments.
Whether you're a seasoned chef or a novice in the kitchen, you can easily whip up this crowd-pleasing appetizer for your next Halloween bash or horror movie night.
Recipe
This spooky and delicious Zombie Brain Cheese Ball is the perfect centerpiece for your Halloween party spread. Not only does it look frighteningly realistic, but it also tastes amazing, combining creamy cheese with savory herbs and spices that will keep your guests coming back for more.
Coffee culture adds an interesting twist to your gathering, providing a conversation starter as guests enjoy their treats.
Creating this gruesome yet appetizing dish is easier than you might think. With just a few simple ingredients and some creative shaping, you can transform ordinary cheese into a brain-like masterpiece that's sure to be the talk of your Halloween gathering. The key is in the careful blending of flavors and the artistic application of food coloring to achieve that authentic zombie brain appearance.
- 16 oz cream cheese, softened
- 8 oz sharp cheddar cheese, shredded
- 2 tbsp minced onion
- 2 tsp Worcestershire sauce
- 1 tsp garlic powder
- 1/4 tsp cayenne pepper
- 1/4 cup chopped fresh parsley
- 1/4 cup chopped walnuts
- Red food coloring
- Green food coloring
In a large bowl, mix the cream cheese, cheddar cheese, minced onion, Worcestershire sauce, garlic powder, and cayenne pepper until well combined. Shape the mixture into a ball, then use your hands to create brain-like creases and folds on the surface. Chill the cheese ball for at least 2 hours.
Mix a few drops of red and green food coloring to create a pale pinkish-gray color. Using a small brush or your fingers, carefully apply the coloring to the creases of the "brain" to enhance its zombie-like appearance. Just before serving, roll the cheese ball in the chopped parsley and walnuts to add texture and flavor.
For best results, make sure all cheeses are at room temperature before mixing to ensure a smooth consistency. If you're short on time, you can use a food processor to quickly blend the ingredients.
To make the brain shape more defined, consider using plastic wrap to help mold the cheese mixture. Remember, the key to a realistic-looking zombie brain is in the details, so take your time with the shaping and coloring process.
Cooking Steps
To create your spooky Zombie Brain Cheese Ball, you'll need to follow a series of steps that transform simple ingredients into a ghoulishly delightful centerpiece.
You'll start by preparing your ingredients and utensils, then mix the cream cheese blend before shaping it into a brain-like form.
Once you've got the basic shape, you'll add intricate surface details to make it look realistically brain-like, and finally serve it alongside an assortment of crackers and veggies for your guests to enjoy.
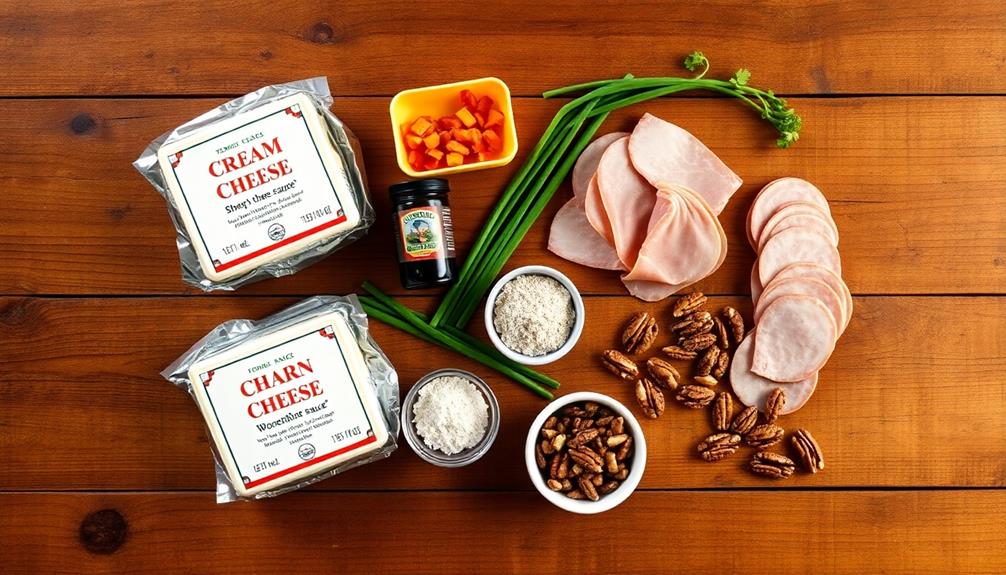
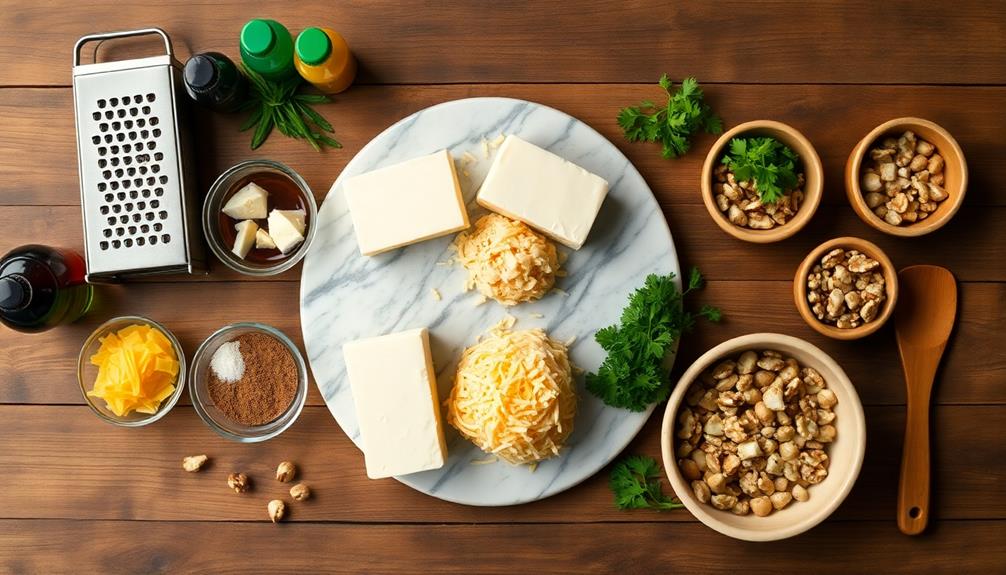
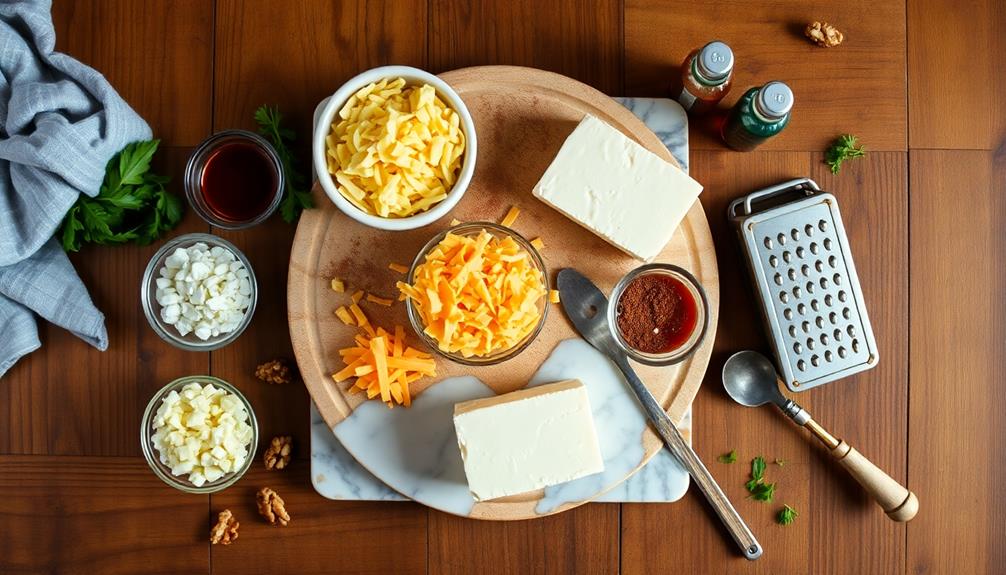
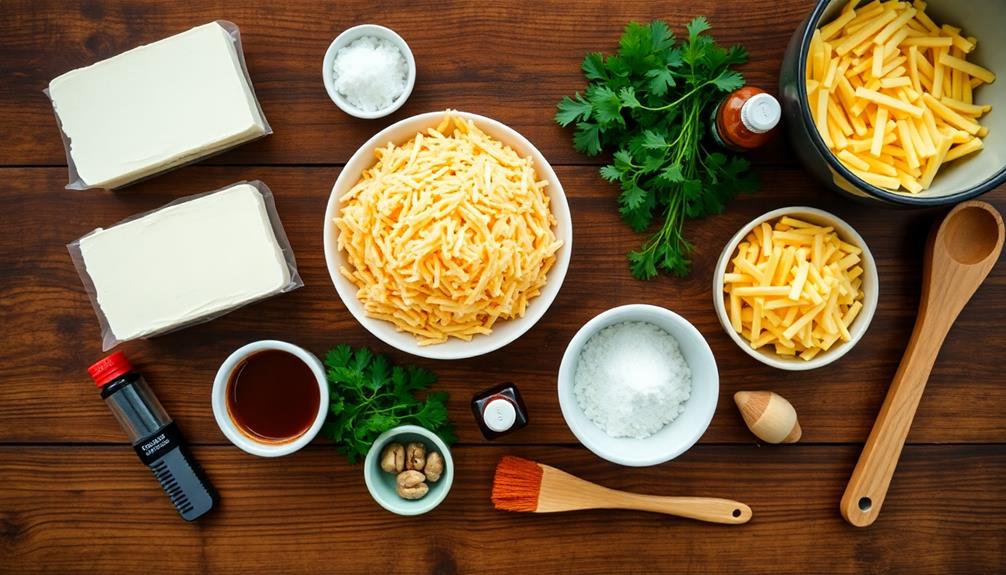
Step 1. Prepare Ingredients and Utensils
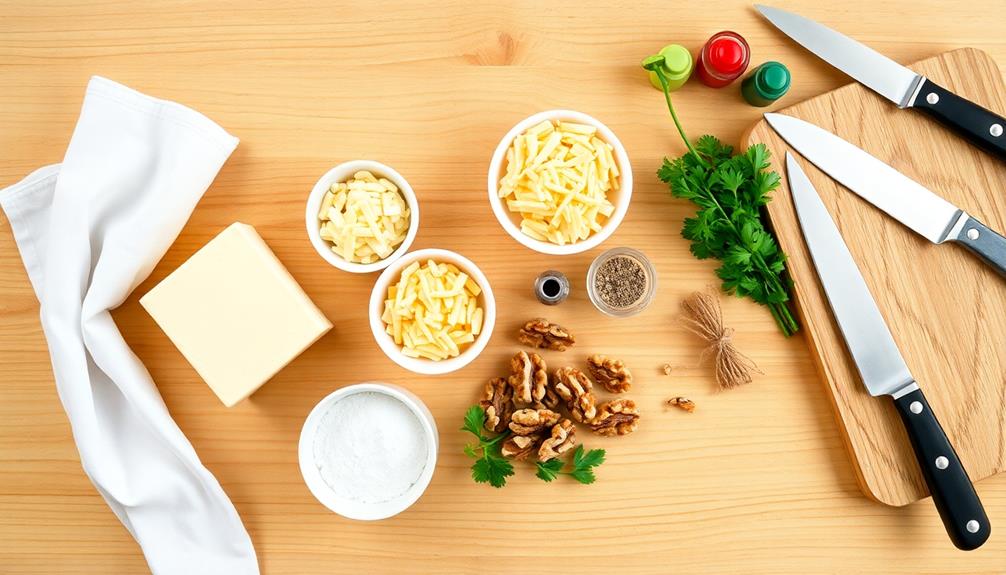
Preparation is key when crafting your zombie brain cheese ball. Before you begin, gather all the necessary ingredients and utensils to ensure a smooth cooking process.
You'll need:
- 16 ounces of cream cheese, softened
- 1 cup of shredded cheddar cheese
- 1/4 cup of crumbled blue cheese
- 2 tablespoons of minced onion
- 1 tablespoon of Worcestershire sauce
- 1/4 cup of chopped walnuts
- Red food coloring
For utensils, make sure you have:
- A large mixing bowl
- A wooden spoon or electric mixer
- Plastic wrap
- A serving platter
It's important to let your cream cheese soften at room temperature for about an hour before you start. This will make it easier to mix and shape.
While you're waiting, you can chop the onions and walnuts, and measure out your other ingredients. Having everything ready to go will make the assembly process much smoother.
Don't forget to clear some space in your refrigerator, as you'll need to chill the cheese ball for at least two hours before serving.
With these preparations complete, you're ready to create your spooky and delicious zombie brain cheese ball!
[DIRECTIONS]:Step 2. Mix Cream Cheese Blend
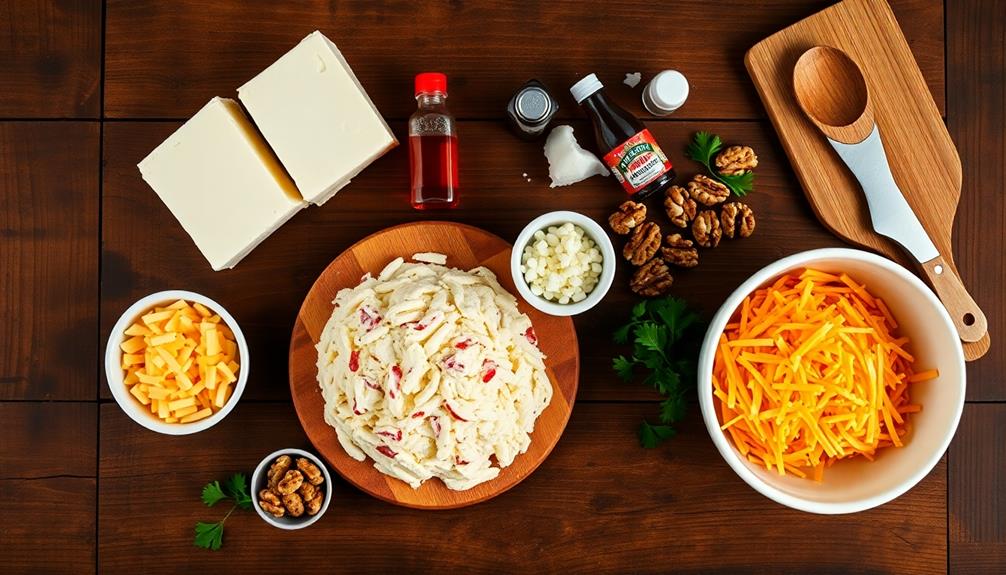
Begin by combining the softened cream cheese, shredded cheddar, and crumbled blue cheese in a large mixing bowl. Use a hand mixer or sturdy spoon to blend these ingredients until they're well incorporated. The mixture should be smooth but still have some texture from the shredded cheese.
Next, add the minced garlic, chopped green onions, and Worcestershire sauce to the bowl. These ingredients will give your cheese ball a savory depth of flavor that perfectly complements the creamy base. Mix everything thoroughly, ensuring that the garlic and onions are evenly distributed throughout the cheese mixture.
Now, it's time to season your blend. Add salt and pepper to taste, starting with a small amount and adjusting as needed. Remember, you can always add more seasoning later, but you can't take it out once it's mixed in.
If you're feeling adventurous, consider adding a pinch of cayenne pepper for a subtle kick that'll wake up your taste buds.
Once you're satisfied with the flavor, cover the bowl with plastic wrap and refrigerate for at least an hour. This chilling time allows the flavors to meld and makes the mixture easier to shape into your spooky zombie brain.
Step 3. Shape Cheese Into Brain
After chilling, remove the cheese mixture from the refrigerator.
It's time to shape your zombie brain cheese ball! The chilled mixture will be easier to mold, so let's get started.
First, place a large piece of plastic wrap on your work surface. This will help you shape the brain without making a mess.
Scoop the cheese mixture onto the plastic wrap and use your hands to form it into a rough oval shape, about 5-6 inches long. This will be the base of your brain.
Next, create a deep indentation down the center of the oval to represent the brain's two hemispheres. Use your fingers to gently press and shape the surface, creating wavy ridges and folds that mimic the texture of a brain.
Once you're satisfied with the shape, carefully wrap the plastic around the cheese ball and place it back in the refrigerator for at least an hour. This will help it firm up and hold its shape.
When you're ready to serve, unwrap the brain and transfer it to a serving plate. For an extra creepy touch, you can brush the surface with a mixture of red food coloring and water to create a bloody effect.
Step 4. Add Brain Surface Details

To create realistic brain surface details, you'll need a few simple tools and ingredients. Gather a butter knife, a toothpick, and some food coloring in shades of pink and red. These items will help you transform your cheese ball into a convincingly gruesome brain.
Start by using the butter knife to create shallow, winding grooves across the surface of your cheese ball. These will represent the brain's sulci, or the folds and crevices found in real brain tissue. Don't worry about making them perfectly symmetrical; a bit of irregularity will add to the realistic appearance.
Next, use the toothpick to add finer details, creating smaller wrinkles and textures within the larger grooves. This step helps to mimic the brain's complex structure and gives your cheese ball a more intricate, organic look.
Step 5. Serve With Crackers and Veggies

Your zombie brain cheese ball is now ready to serve, and it's time to prepare the accompaniments. Choose a variety of crackers and fresh vegetables to complement your creepy creation.
For crackers, consider options like:
- Buttery round crackers
- Whole grain crisp breads
- Sesame seed flatbreads
- Pretzel crisps
These provide different textures and flavors that'll pair well with your cheese ball.
For vegetables, opt for crunchy, colorful choices that'll add visual appeal to your spread:
- Carrot sticks
- Celery stalks
- Bell pepper slices
- Cherry tomatoes
- Cucumber rounds
Arrange your crackers and veggies artfully around the brain cheese ball on a large serving platter. You can create a circular pattern or fan them out in sections.
Don't forget to provide small cheese knives or spreaders for your guests to easily scoop the "brain matter" onto their crackers.
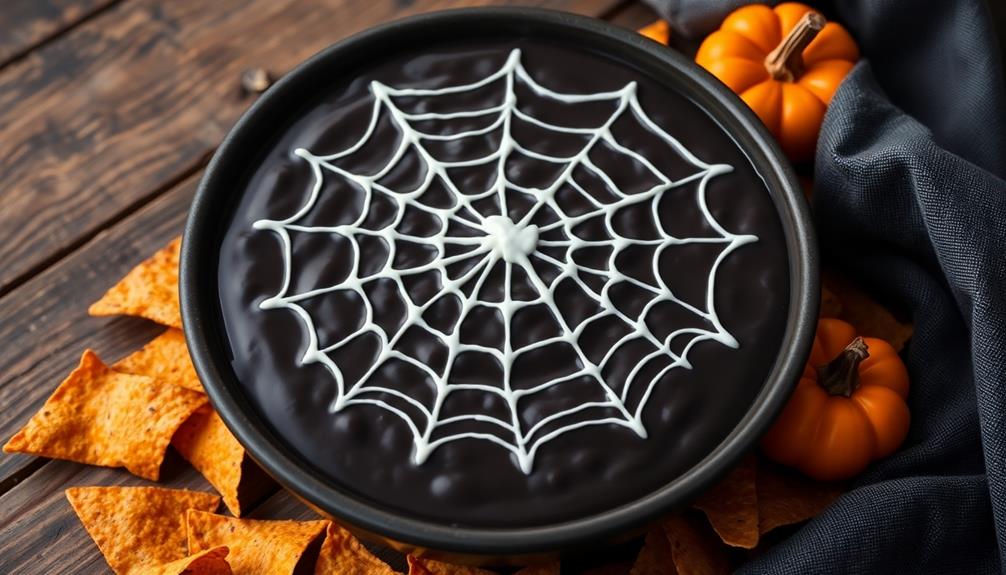
For an extra touch of Halloween flair, consider adding some plastic spiders or fake cobwebs to your serving area.
Remember to keep the cheese ball chilled until you're ready to serve, ensuring it maintains its shape and freshness throughout your spooky gathering.
Final Thoughts

This Zombie Brain Cheese Ball is sure to be a hit at your next Halloween party.
It's not only a delicious appetizer but also a creepy conversation starter that'll have your guests talking.
You'll love how easy it's to prepare, and the fact that you can make it ahead of time is a real bonus for busy hosts.
For those looking to impress their guests further, consider pairing this dish with a selection of best body washes for a luxurious shower to enhance the overall experience.
Remember, presentation is key.
Serve your brain cheese ball on a platter surrounded by crackers and veggies arranged to look like a gruesome autopsy scene.
Don't forget to include some plastic knives or scalpels for added effect.
While this recipe is perfect for Halloween, you can easily adapt it for other occasions.
Try shaping the cheese mixture into different forms, like a pumpkin for Thanksgiving or a snowman for winter parties.
The possibilities are endless!
Frequently Asked Questions
Can I Use Different Types of Cheese for This Recipe?
You can absolutely use different types of cheese for this recipe! Don't be afraid to experiment with various cheeses to find your favorite flavor combination. Mix hard and soft cheeses for texture, or try spicy options for a kick.
How Long Can the Zombie Brain Cheese Ball Be Stored?
You can store your cheese ball in the refrigerator for up to 5 days. Make sure you wrap it tightly in plastic wrap. For best flavor and texture, you'll want to serve it within 2-3 days of making it.
Are There Any Vegetarian Alternatives for the Bacon Bits?
You've got plenty of vegetarian options for bacon bits! Try using crispy fried onions, sun-dried tomatoes, or smoked almonds. You can also make your own by seasoning and baking tempeh or coconut flakes until they're crispy and flavorful.
Can I Prepare the Cheese Ball in Advance for a Party?
You can definitely prepare your cheese ball in advance. It's best to make it 1-2 days before your party. Just wrap it tightly in plastic wrap and refrigerate. Take it out about 30 minutes before serving to soften.
What Are Some Creative Serving Suggestions for This Halloween-Themed Appetizer?
You'll wow your guests with these spooky serving ideas: Place it on a bed of "bloody" marinara sauce, surround it with crackers shaped like tombstones, or serve it on a platter decorated with plastic spiders and cobwebs.