
Your ice cream maker can quickly become a breeding ground for bacteria, mold, and residues that spoil flavors and harm your health. Regular cleaning is essential—disassemble parts, wash with warm soapy water, and dry thoroughly to prevent mold and cross-contamination. Pay attention to crevices and seals, and use natural cleaners like vinegar or baking soda for tough spots. Keep it spotless and well-maintained, so it stays safe and performs at its best. Keep going to learn how to do it right!
Key Takeaways
- Visible residue, mold, or unpleasant odors indicate your ice cream maker needs immediate cleaning.
- Bacteria buildup can occur if parts aren’t washed after each use, risking health.
- Sticky or slimy surfaces suggest mold or bacteria growth, requiring thorough disinfection.
- Regular cleaning prevents flavor cross-contamination and maintains optimal appliance performance.
- Neglecting cleaning can shorten your machine’s lifespan and compromise ice cream quality.
Why Regular Cleaning Is Essential for Your Ice Cream Maker
Regularly cleaning your ice cream maker is essential to guarantee it functions properly and produces safe, delicious treats. Hygienic maintenance prevents bacteria buildup and ensures your machine stays in top condition. When you neglect cleaning, residue from previous batches can spoil the flavor of new ice cream, so flavor preservation becomes difficult. Bacteria and mold can develop if parts aren’t cleaned regularly, risking health issues and compromising taste. Consistent cleaning also extends the lifespan of your appliance, saving you money in the long run. By maintaining a clean machine, you keep your ice cream fresh and prevent cross-contamination. Regular cleaning isn’t just about appearance; it’s a crucial step to ensure every batch is safe, tasty, and enjoyable.
Gathering the Right Supplies for a Thorough Clean
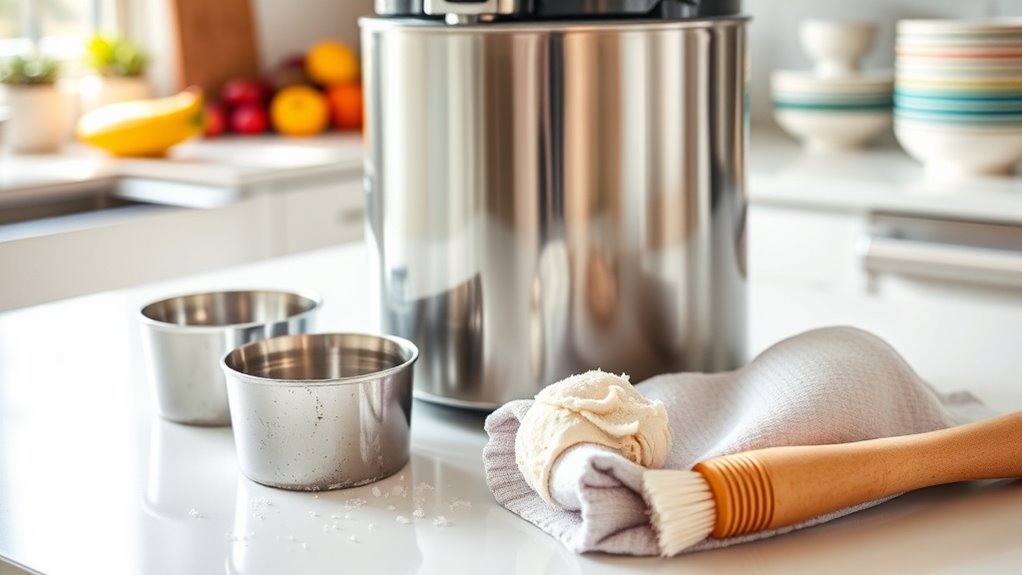
Before you start cleaning your ice cream maker, gather all the supplies you’ll need to guarantee a thorough and efficient process. First, collect the right cleaning tools, such as soft brushes, sponges, and microfiber cloths, to avoid damaging parts. Next, choose effective cleaning solutions, like mild dish soap or specialized appliance cleaners, to remove residue without harming surfaces. You might also want a small bottle of vinegar or baking soda for tougher spots. Having a bucket or basin nearby can help rinse parts easily. Confirm you have towels or drying racks ready for air drying. Preparing these supplies beforehand saves time and keeps you organized during cleaning, making sure every nook and cranny gets properly sanitized. Additionally, understanding the importance of proper maintenance can help extend the lifespan of your appliance. Proper cleaning also ensures your home theatre projector remains in optimal condition, delivering the best possible viewing experience over time.
Step-by-Step Guide to Disassembling Your Ice Cream Maker
Start by unplugging your ice cream maker to guarantee safety. Next, carefully remove and detach all removable parts, taking note of how they fit together. To ensure optimal performance, make sure to maintain your appliance regularly, which includes cleaning and inspecting parts for wear. Proper cleaning techniques are essential to prevent mold and bacteria buildup and avoid damaging sensitive components. Finally, clean each component thoroughly and dry them completely before reassembling.
Unplug and Prepare
Have you unplugged your ice cream maker yet? Before starting, ensure safety and prep your workspace. First, remove any ice cream flavors stored in the freezer or fridge. Second, empty any remaining ice cream from storage containers to prevent messes. Third, detach the lid and paddle, setting them aside for cleaning. Fourth, disconnect the power cord from the outlet to avoid accidents. Taking these steps keeps you safe and makes disassembly easier. Removing leftover ice cream and cleaning storage containers beforehand prevents contamination and lingering odors. Additionally, understanding the importance of proper cleaning and maintenance can help extend the life of your appliance and ensure optimal performance. Proper appliance maintenance not only keeps your ice cream maker functioning well but also prevents bacterial buildup. Once unplugged and prepared, you can confidently proceed to disassemble the machine, knowing it’s safe and ready for thorough cleaning. Ensuring proper airflow around the unit can enhance the cleaning process and help maintain the appliance’s longevity. Using the right cleaning tools designed for small appliances can facilitate more effective sanitation. These preparations set the stage for a hygienic and effective cleaning process, which is essential for maintaining healthy, safe food preparation.
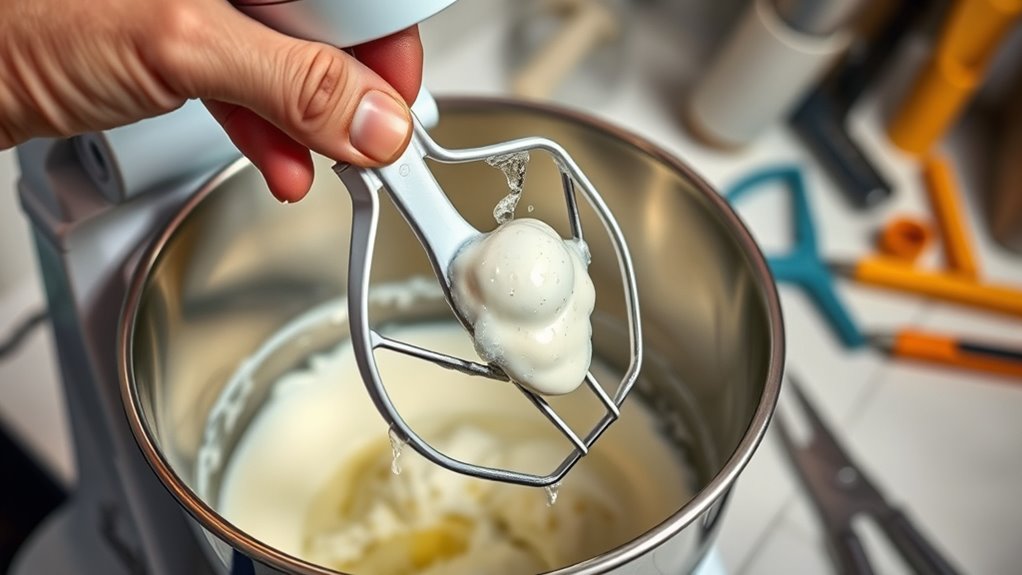
Remove and Detach Parts
To begin removing the parts of your ice cream maker, carefully detach the lid and paddle first, as these are usually secured with clips or screws. Once loosened, remove the mixing bowl or storage container, especially if it’s removable for cleaning or storing different ice cream flavors. If your model has a removable churn or paddle assembly, take it out next, ensuring you handle it gently. Check the surrounding parts for any residue or stuck bits. If your machine has additional components like a lid gasket or splash guard, detach these as well. Keeping track of each part makes reassembly easier. Handling all parts with care, avoiding forced removal that could cause damage, is crucial. This step ensures thorough cleaning and proper maintenance for your ice cream maker. Regular inspection of cleaning and maintenance routines can help prolong the lifespan of your appliance, and inspecting for residue buildup can prevent mold and bacteria growth. Additionally, examining jet propulsion systems in jet boats can reveal the importance of regular cleaning to prevent blockages and ensure optimal performance. Proper disassembly not only keeps your machine in top condition but also helps prevent clog formation in the internal components. Moreover, understanding the automation involved in some models can guide you in handling complex parts safely.
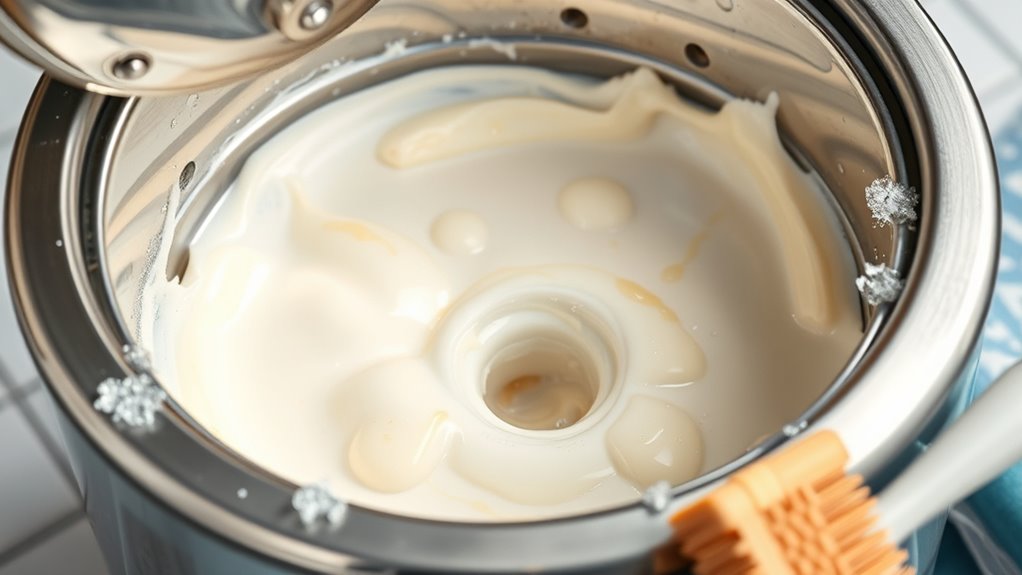
Clean and Dry Components
After removing the parts of your ice cream maker, it’s time to clean and dry them thoroughly. Proper cleaning prevents flavor transfer and mold buildup, especially when switching between ice cream flavors. Use warm, soapy water to wash all components, including storage containers, blades, and mixing bowls. Rinse well to remove soap residue. Dry each part completely with a clean towel or air dry to prevent rust or mold.
Here are the steps:
- Wash all removable parts in warm, soapy water.
- Rinse thoroughly to remove any soap or residue.
- Dry each component completely to avoid moisture buildup.
- Store components in a dry, clean area, including storage containers for future use.
Proper Techniques for Cleaning Different Parts
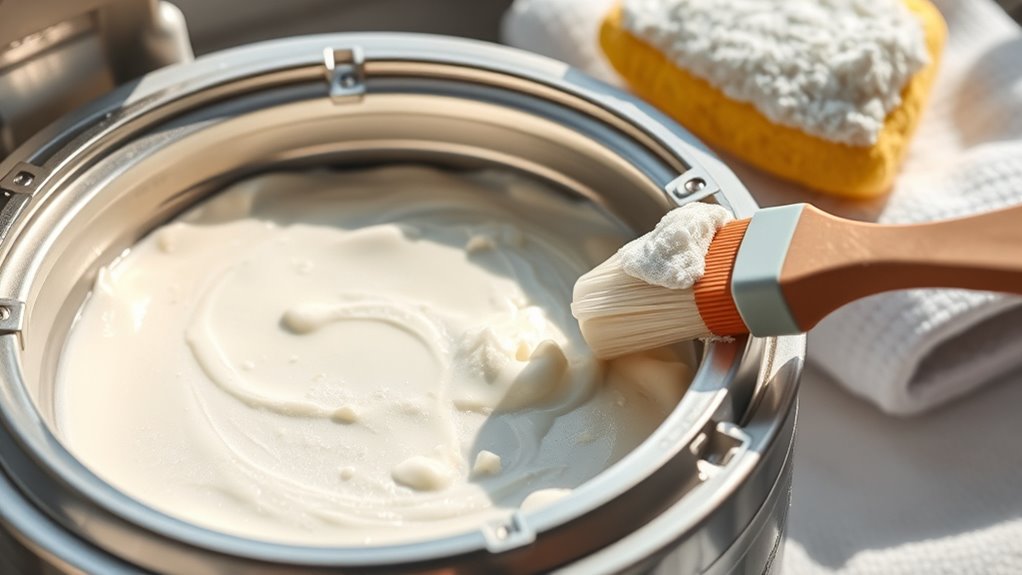
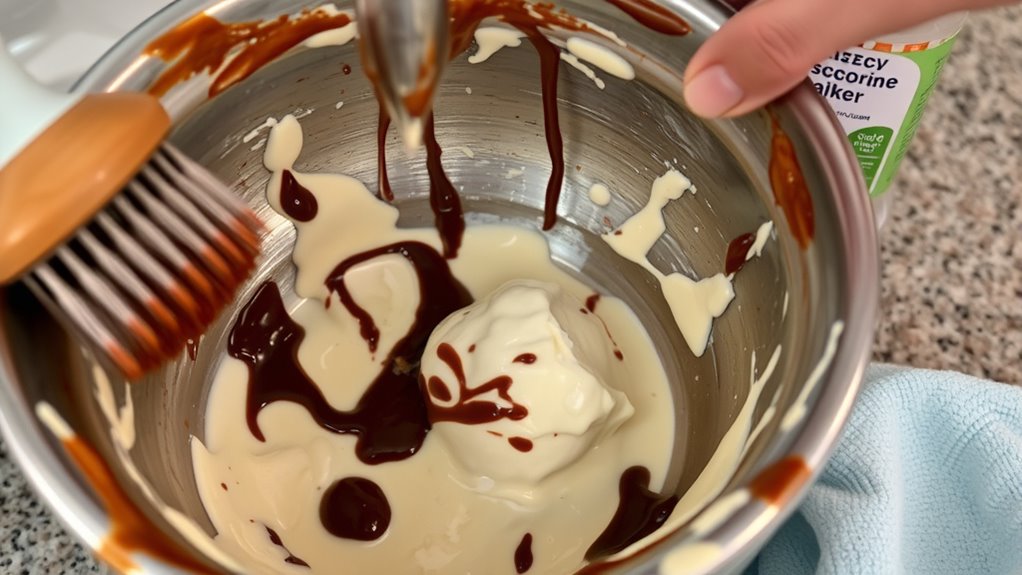
Cleaning the different parts of your ice cream maker requires careful attention to detail to guarantee ideal hygiene and performance. Use cleaning brushes to reach into tight spots like the churning blade and lid seals, ensuring all residues are removed. Gently scrub these areas to avoid damage. For flat surfaces like the freezer bowl and exterior, sanitizing wipes are quick and effective, killing germs without harsh chemicals. Be sure to wipe down all removable parts thoroughly, paying close attention to crevices and seams. After cleaning, rinse with warm water if necessary, then dry completely before reassembling. Proper cleaning techniques help prevent mold and odors, keeping your ice cream maker in top condition and your treats safe to enjoy. Additionally, regular maintenance and filter replacement indicators can help ensure your machine continues to operate efficiently and safely. Remember that hygienic practices are essential for preventing bacterial buildup and ensuring your ice cream remains fresh and safe to consume. Incorporating proper disinfection methods can further enhance the cleanliness of your appliance. Regular cleaning also supports the trustworthiness of your machine and reduces the risk of vulnerabilities such as mold growth or contamination. Using AI-powered insights to monitor your cleaning schedule can help optimize maintenance routines and prevent issues before they arise.
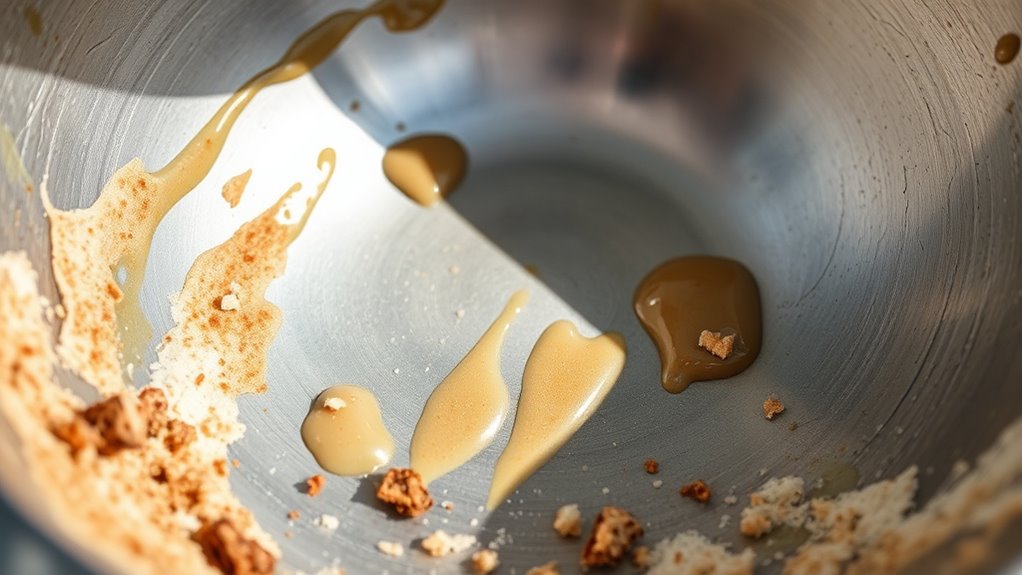
Tips for Removing Stubborn Residues and Odors
When stubborn residues or unpleasant odors linger after cleaning, applying targeted solutions can make a big difference. To effectively tackle residue removal and odor elimination, try these tips:
- Use a mixture of baking soda and water for a natural scrub to lift stubborn residues.
- Soak affected parts in white vinegar to neutralize odors and break down build-up.
- Apply a paste of baking soda and water to tough spots, then scrub gently.
- Rinse thoroughly with warm water to guarantee no cleaning agents remain and odors are fully eliminated.
- Incorporating cleaning routines about cleaning routines can help maintain your ice cream maker’s cleanliness and prevent future buildup.
- Regularly inspecting and maintaining your appliance can prevent the accumulation of residues and odors, keeping it in optimal condition.
- Using proper cleaning tools like soft brushes and microfiber cloths can enhance the effectiveness of your cleaning process.
- Selecting the right cleaning agents suitable for food-grade appliances ensures safety and thorough cleaning.
Drying and Reassembling to Prevent Future Buildup

Ensuring your ice cream maker is thoroughly dried before reassembling is essential to prevent mold, bacteria, and future buildup. After cleaning, gently shake off excess water and let the parts air drying in a well-ventilated area. Avoid using towels that might leave lint or introduce bacteria. Once dry, reassemble the machine carefully to guarantee all components fit snugly. Proper storage tips include keeping the lid slightly ajar or storing the parts in a dry, cool place to promote airflow and prevent moisture buildup. This approach minimizes the risk of mold growth and keeps your ice cream maker fresh and ready to use. Taking these steps ensures your machine stays clean, hygienic, and in prime condition for your next batch.
Establishing a Cleaning Routine to Maintain Freshness
Creating a consistent cleaning routine keeps your ice cream maker fresh and ready to use. You should set a regular schedule and follow proper storage techniques to prevent buildup and odors. Staying on top of these steps guarantees your machine stays clean and your ice cream tastes its best.
Regular Cleaning Schedule
Establishing a regular cleaning schedule for your ice cream maker is essential to keep it functioning ideally and to prevent the buildup of bacteria or mold. Consistent cleaning ensures your ice cream flavors stay fresh and your storage containers remain sanitary. To maintain proper hygiene, consider these steps:
- Clean the bowl and paddle after each use to prevent residue buildup.
- Wash storage containers thoroughly, especially if you switch flavors frequently.
- Wipe down the exterior and lid weekly to remove dust and spills.
- Deep clean all parts monthly, including any removable parts, to avoid mold growth.
Sticking to this routine will keep your ice cream maker in top condition, ensuring each batch tastes just as delicious as the last. Regular cleaning is key to long-lasting freshness and ideal performance.
Proper Storage Techniques
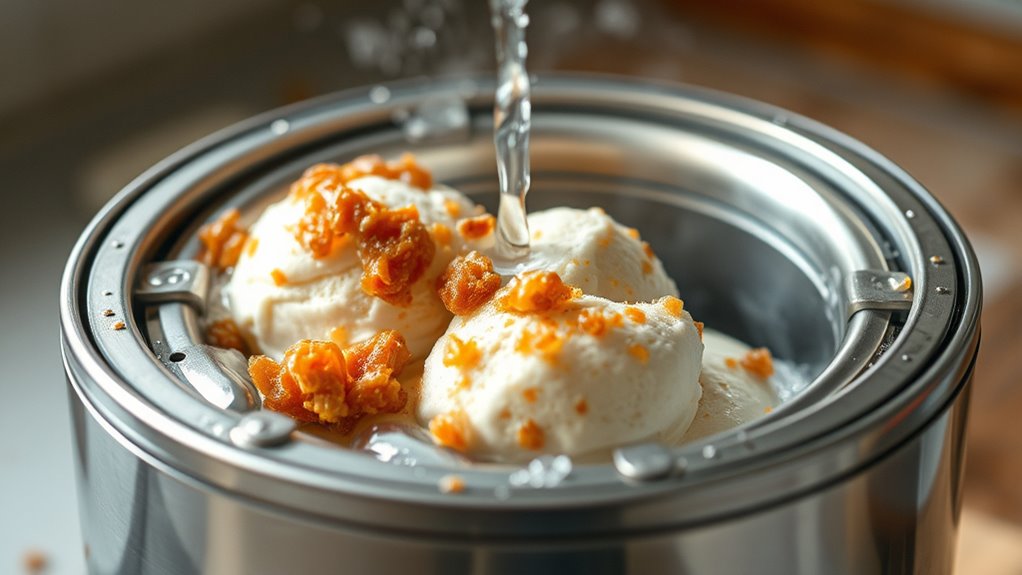
To keep your ice cream fresh and tasting great, proper storage techniques are essential. Using the right storage containers helps preserve flavors and prevents freezer burn. Always choose airtight containers to lock in the ice cream flavors and maintain quality. Label containers with the date to track freshness and avoid keeping old ice cream too long. Store containers at the back of the freezer where temperatures stay consistent. Avoid stacking heavy items on top to prevent crushing.
| Storage Tip | Reason |
|---|---|
| Use airtight containers | Prevents freezer burn and preserves flavors |
| Label with date | Ensures you consume ice cream while fresh |
| Store at the back | Maintains consistent temperature |
| Keep upright | Prevents spills and messes |
| Avoid stacking | Protects ice cream from damage |
Frequently Asked Questions
How Often Should I Clean My Ice Cream Maker?
You should clean your ice cream maker after every use to maintain proper sanitizing procedures. Regular cleaning prevents bacteria buildup and guarantees peak performance. Follow a consistent maintenance schedule, including thorough washing and drying of all parts. Don’t forget to check manufacturer instructions for specific cleaning recommendations. By sticking to this routine, you keep your machine hygienic and in great condition, making each batch of ice cream safe and delicious.
Can I Use Harsh Chemicals to Clean It?
Ever find yourself wondering if harsh chemical cleaners or abrasive solutions are safe for your ice cream maker? You shouldn’t risk damaging your appliance with strong chemicals, as they can leave residues or harm surfaces. Instead, opt for gentle, food-safe cleaners and warm water. Using the right cleaning methods guarantees your machine stays spotless without risking contamination or damage, keeping your ice cream delicious and safe to enjoy.
Is It Safe to Store the Parts Wet?
Storing your ice cream maker parts wet isn’t safe because residual moisture can lead to residue buildup and promote mold growth. You should always dry all parts thoroughly after cleaning to prevent moisture retention. Leaving parts damp can cause bacteria and mold to develop, making your next batch unsafe. Always wipe down with a clean towel and let everything air dry completely before storage to keep your machine hygienic and in top shape.
How Do I Prevent Mold Growth Inside the Machine?
Think of your ice cream maker as a garden that needs regular tending. To prevent mold, focus on mold prevention and proper storage tips. Always dry parts thoroughly before storing, and keep the lid open or loosely covered to allow airflow. Regularly clean and inspect the machine, especially after each use. These steps help keep mold at bay, ensuring your ice cream stays fresh and your machine stays in top shape.
What Are Signs That My Ice Cream Maker Needs a Deep Clean?
You’ll notice signs your ice cream maker needs a deep clean when you see residue buildup on the parts or detect a lingering odor. These indicate bacteria or mold may be hiding, affecting taste and safety. If your machine’s surface feels sticky or smells off even after wiping, it’s time for a thorough cleaning. Regular deep cleans prevent residue buildup and odor retention, keeping your ice cream fresh and your machine in top condition.
Conclusion
Keep your ice cream maker shining like a mirror and tasting fresh. Regular cleaning is the secret ingredient to prevent stubborn residues from taking root and turning your treats into icy nightmares. By following these simple steps, you’ll make certain every scoop is as delightful as the first. Think of your ice cream maker as a garden—tend to it often, and it’ll reward you with sweet, creamy harvests all season long.